Quick Answer
Two short psoas sessions per week (15–20 minutes each) is sufficient for most endurance athletes. Start with activation before attempting to strengthen. Do psoas work after easy sessions — never before key interval or long runs. Results typically appear within 4–6 weeks: smoother knee lift in running, a rounder pedal stroke in cycling, and less lower back tension across both.

Why the Psoas Matters Differently for Each Sport
For Runners
The psoas is the primary driver of the leg swing phase in running — it fires to lift the knee and guide the thigh forward at every stride. A strong, well-timed psoas produces knee lift that feels automatic and effortless. A tight or weak psoas produces a stride that feels laboured, with the lower back compensating for the missing hip flexion power. Over time, this compensation shifts load to the lumbar erectors, creating the pattern many runners recognise as lower back pain that worsens with mileage but has no obvious structural cause.
Psoas tightness also limits hip extension at push-off — the rear leg cannot travel fully behind the body when the psoas is shortened. This reduces stride length and forces the runner into a shuffling, forward-leaning pattern that increases ground contact time and reduces running economy. Our complete psoas exercises guide covers the tight vs weak distinction and the self-tests for each.
For Cyclists
Cycling keeps the psoas in a chronically shortened, hip-flexed position for the entire ride. Long hours on the bike without targeted recovery work progressively tighten the muscle, limiting the hip extension needed to stand comfortably after riding and reducing power transfer through the top of the pedal stroke. The psoas drives the 12 o’clock to 3 o’clock phase of the pedal rotation — when it is underactive, cyclists lose power at this phase and compensate by overloading the quads through the down-stroke.
A weak psoas from underloading (the bike position never requires the psoas to work through its full range) also produces what cyclists feel as a “dead spot” at the top of the stroke and a sense that effort is not translating into speed proportionately.
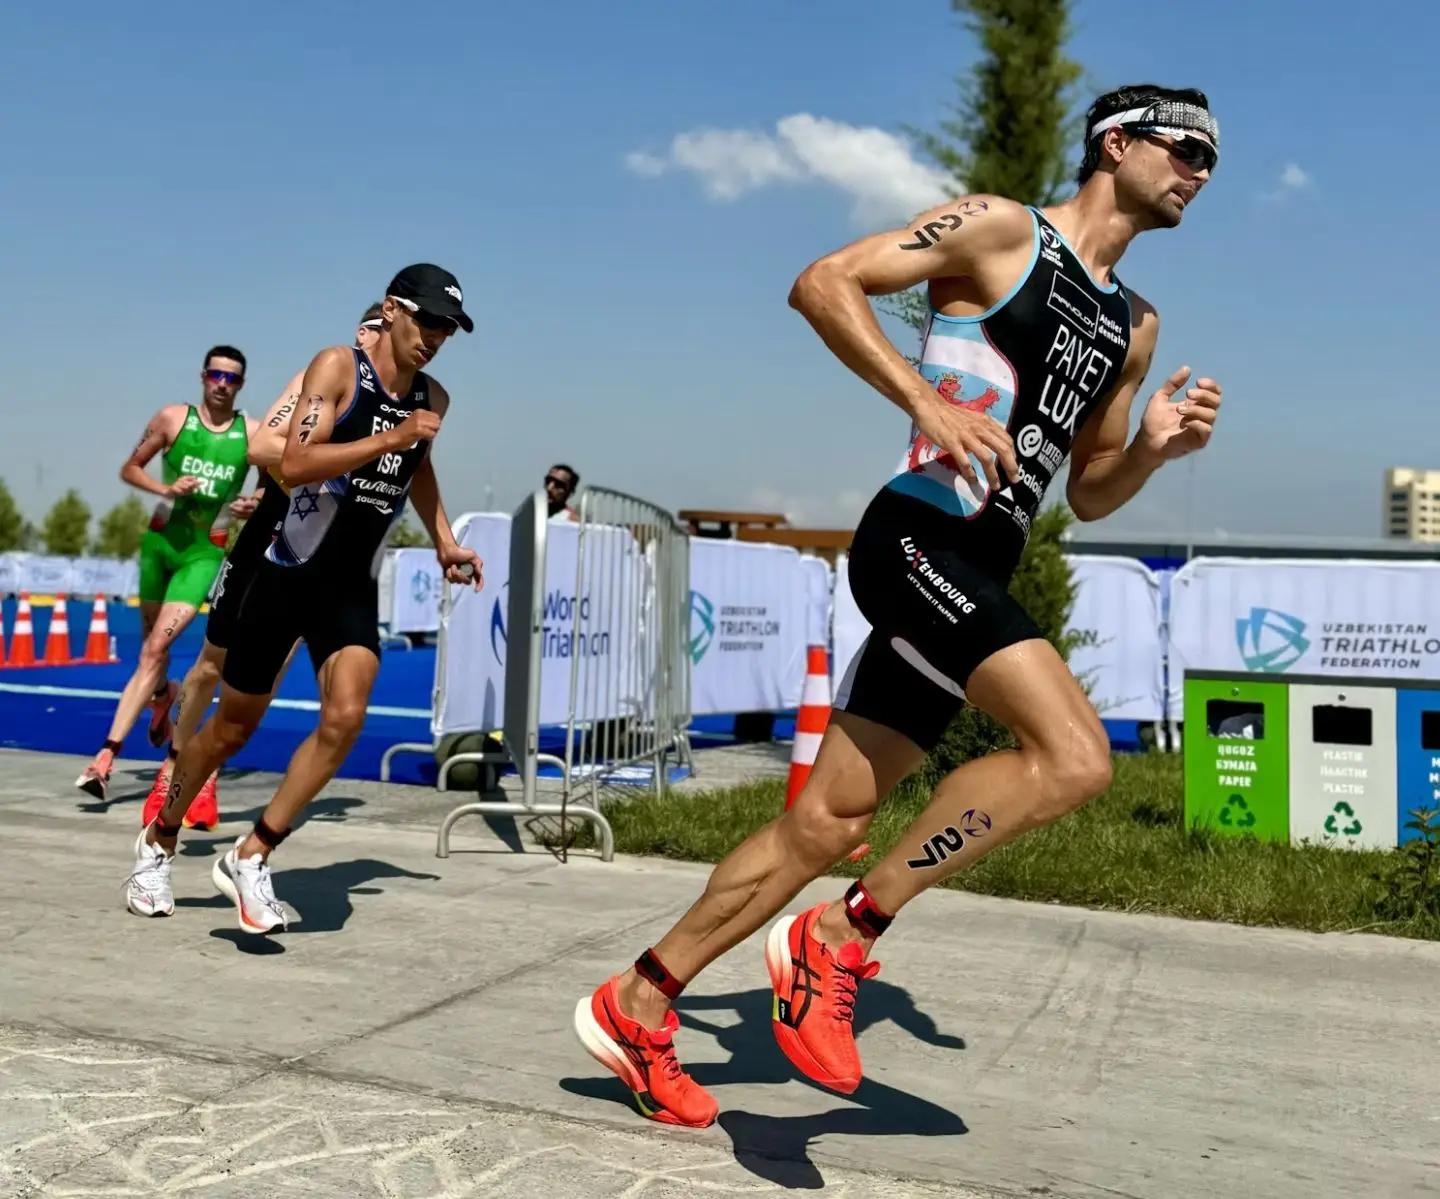
For Triathletes
Triathletes face the most demanding psoas situation of any endurance athlete: the muscle is loaded continuously across all three disciplines, and the cycling-to-running transition specifically requires it to shift rapidly from the shortened cycling position to the extended running position. This rapid biomechanical shift — from hip flexed (bike) to hip extending (running) — is one of the primary reasons the first kilometres of the run in a triathlon feel mechanically awkward. A psoas that has stiffened and shortened during a long bike leg produces exactly the shortened stride and lower back tension that characterises a poor run split off the bike. Our strength training programme guide covers how to structure gym sessions alongside multisport training weeks.


The Exercise Programme: Three Phases
| Phase | Goal | Exercises | Frequency |
|---|---|---|---|
| Phase 1 — Activation | Reconnect the nervous system to the psoas before loading it | 90/90 breathing, dead bug heel taps, standing march, step-over | Daily for 2 weeks before adding Phase 2 |
| Phase 2 — Strengthening | Build psoas force production through full range | Seated leg raise, lying leg raise, resistance march, step-up with knee drive | 2× per week, after easy sessions |
| Phase 3 — Integration | Transfer psoas strength into sport-specific movement | Running drills, single-leg cycling, transition run activation | 2× per week as part of main training warm-up |


Phase 1: Psoas Activation (Weeks 1–2)
Before strengthening, the nervous system needs to reliably recruit the psoas in isolation — without the lower back compensating or the hip flexors substituting. Most endurance athletes with a tight, underactive psoas will initially find that other muscles take over when they try to use it. Activation exercises address this before load is added.
Perform this sequence before easy runs, rides, or strength sessions. Keep effort light — the goal is precision, not fatigue.
90/90 Breathing with Feet on Wall
How: Lie on your back with hips and knees at 90 degrees, feet flat against a wall. Place one hand on the lower ribs and one on the lower abdomen. Take slow, deep breaths into the belly — not the chest. With each exhale, allow the lower back to gently flatten toward the floor. Hold for 5–8 slow breaths. This resets the relationship between the psoas and the diaphragm, which share fascial connections and are commonly co-inhibited under training stress.
Reps: 5–8 breaths. Do this first — it sets the foundation for the activation exercises that follow.
Dead Bug with Slow Heel Taps
How: Lie on your back with arms extended toward the ceiling and knees bent at 90 degrees (tabletop position). Press the lower back firmly into the floor and maintain throughout. Slowly lower the right heel toward the floor — keeping the knee bent — until it lightly taps, then return. Repeat on the left. The psoas of the lowering leg must control the descent against gravity while the deep core maintains lumbar neutral.
Key cue: If the lower back lifts at any point, reduce the range — lower the heel only as far as the lower back stays flat. Quality of lumbar control, not range, is the measure of success here.
Sets/Reps: 3 × 8 each side.
Standing March Holds
How: Stand tall with feet hip-width apart. Lift the right knee to 90 degrees — thigh parallel to the floor — without the pelvis tilting backward or the lower back rounding. Hold for 10–15 seconds, feeling the deep hip flexor engagement. Lower and repeat on the left. The key indicator of psoas activation vs hip flexor substitution: when the psoas activates correctly, the knee lift feels like it originates deep in the hip socket. When the rectus femoris substitutes, you feel the pull in the front of the thigh.
Sets/Reps: 3 × 10–15 seconds each side.
Low Step Knee Drive
How: Stand with a low step (15–20cm) in front of you. Place the right foot on the step and drive through to stand, then immediately drive the left knee forward and upward to 90 degrees at the top. Hold the knee drive for 2–3 seconds, maintaining upright posture. Lower the left foot to the floor. This is the most sport-specific activation exercise for runners — it replicates the push-off and knee drive sequence that occurs at every stride.
Sets/Reps: 3 × 6 each side.


Phase 2: Psoas Strengthening (Weeks 3–8)
Once activation is reliable — meaning the standing march hold feels smooth and controlled, and the lower back stays neutral throughout the dead bug — progress to loading. These exercises build psoas strength through its full range of motion.
Seated Leg Raise
How: Sit upright on the edge of a firm chair or bench, feet flat on the floor. Keeping the right leg straight (or nearly so), lift the right foot off the floor and raise the thigh as high as possible without the pelvis tilting or the lower back rounding. Hold at the top for 2–3 seconds, then lower slowly over 3 seconds. This is the most direct loading of the psoas available without specialist equipment — it specifically loads the muscle in its concentric range from the hip-flexed seated position into maximum hip flexion.
Sets/Reps: 3 × 12–15 each side. Add ankle weights to progress.
Lying Leg Raise
How: Lie flat on your back with both legs straight. Press the lower back into the floor by contracting the abdominals. Lift the right leg to 45 degrees, keeping the knee straight, then lower slowly over 3–4 seconds. The slow eccentric (lowering) phase is the most important for strength development. Avoid the lower back arching away from the floor as the leg approaches the ground.
Sets/Reps: 3 × 10–12 each side.
Resistance Band Standing March
How: Attach a resistance band to a low anchor point behind you and loop it around the right ankle. Stand upright and march the right knee forward against the band’s resistance, driving to 90 degrees and holding for 2–3 seconds before lowering. The band provides eccentric resistance on the way down, increasing the training stimulus beyond bodyweight alone.
Sets/Reps: 3 × 10–12 each side. Use a light to moderate band — the movement should remain smooth and controlled.
Step-Up with Knee Drive
How: Stand facing a box (40–50cm). Step the right foot onto the box and drive through to stand. At the top, immediately drive the left knee forward and upward to 90 degrees and hold for 2–3 seconds. Lower under control. This combines single-leg strength with functional psoas loading in the exact sequence that running requires: push-off (right leg) followed by knee drive (left psoas).
Sets/Reps: 3 × 10–12 each side. Hold dumbbells for progressive overload.


Phase 3: Sport-Specific Integration
For Runners: Running Drills as Psoas Training
High knees and A-skips are not just warm-up drills — performed with deliberate focus on the psoas, they become the bridge between gym strength and running application. High knees: drive each knee to 90 degrees with maximum speed and height, maintaining upright posture and a neutral pelvis. Focus on the feeling of the lift coming from deep in the hip socket rather than the front of the thigh. 3 × 20 metres. A-skips: the same knee drive pattern with a skipping rhythm — arm drive coordinates with knee drive. 3 × 20 metres. These drills should be performed as the last part of the pre-run warm-up, when the psoas activation from Phase 1 exercises is still fresh. Our runner’s lunge guide covers the complementary hip flexor stretch that bookends this warm-up protocol.
For Cyclists: Single-Leg Pedalling
Single-leg pedalling intervals directly target psoas engagement through the top of the pedal stroke. Clip one foot into the pedal; rest the other on a stool beside the bike (or leave it unclipped). Pedal with one leg only for 30–60 seconds at a moderate cadence (70–80 RPM). Focus on pulling the knee up and over the top of the stroke rather than just pushing down. The “dead spot” at 12 o’clock — where power drops — is the psoas phase. With practice and targeted strengthening, this dead spot reduces and the stroke feels more continuous. 3–4 × 30–60 seconds per leg during easy recovery rides. This cannot be replicated on a gym machine — it is the most specific psoas training available for cyclists.
For Triathletes: Transition Run Activation
The cycling-to-running transition is where psoas dysfunction is most acutely felt. A 2-minute activation sequence performed before transition run sessions helps the nervous system shift from cycling hip flexion to running hip extension mechanics. After the bike portion of a brick session, perform immediately before the run: 10 × standing march holds (5 seconds each side), 10 × low step knee drives each side, then begin the run at easy pace. This primes the psoas for the extension demands of running after the shortened cycling position, reducing the mechanical stiffness that characterises early brick run kilometres. For a complete approach to training across all three disciplines, our psoas exercises guide covers the full stretch and strength programme that supports this integration work.


How to Schedule Psoas Work in a Training Week
The most important scheduling rule: never perform heavy psoas strengthening before a key run, ride, or race. A fatigued psoas changes stride and pedal mechanics in subtle but meaningful ways — the compensation patterns that emerge are the opposite of what you are training to prevent.
A practical weekly structure for a runner doing 5 sessions per week:
Monday (easy run day): Phase 1 activation before the run (10 min). Phase 2 strengthening after the run (15 min).
Thursday (easy or recovery run): Phase 1 activation before the run (10 min). Phase 2 strengthening after the run (15 min).
All other days: No dedicated psoas work. Phase 3 integration drills (high knees, A-skips) as part of the standard pre-run warm-up before any run session.
For cyclists and triathletes: single-leg pedalling intervals during recovery or easy ride sessions (not before threshold or long rides). Transition activation sequence before all brick run sessions regardless of training week phase.
The total psoas-specific training time in this structure is approximately 50 minutes per week — less than most endurance athletes spend on any single training session. The returns from this relatively small investment are disproportionate for athletes who have been training hard without addressing the psoas at all. Our hip strengthening exercises guide covers the broader hip complex work that supports the psoas programme, and our warm-up and cool-down guide covers how activation work integrates into session structure across the week.
Build Strength That Transfers to Your Sport
SportCoaching's running, cycling, and triathlon training plans and coaching integrate structured strength and mobility sessions alongside sport-specific training — so psoas work like this translates directly into better performance and fewer injuries.

FAQ: Psoas Workout for Runners, Cyclists and Triathletes
Why is the psoas important for runners and cyclists?
Runners: it drives the leg swing phase at every stride — weakness or tightness produces shortened stride and lower back compensation. Cyclists: it drives the 12–3 o’clock pedal phase and is chronically shortened by the bike position. Triathletes: it must adapt rapidly from cycling hip flexion to running hip extension in the T2 transition — poor psoas function is the primary cause of mechanical stiffness in early brick run kilometres.
How often should endurance athletes train the psoas?
Two 15–20 minute sessions per week is sufficient. Consistency over 6–8 weeks produces meaningful results. Never before key interval or long sessions — always after easy training days. More is not better; the psoas is reactive and over-programming it causes compensatory tightening.
What is the difference between psoas tightness and psoas weakness in endurance athletes?
Tightness: pulling sensation in the front hip during extension; anterior pelvic tilt; lower back stiffness after riding or sitting. Weakness: pelvis tilts when lifting the knee; instability in single-leg stance; compensation by rectus femoris or TFL. Most endurance athletes have both — cycling and sitting produce adaptive shortening (tightness) and full-range underloading (weakness) simultaneously.
Should I stretch the psoas before or after training?
Dynamic activation (standing march, dead bug) before. Static stretches (kneeling lunge held 45–60 sec, low lunge) after. Prolonged static stretching before running or riding temporarily reduces force production, which can impair mechanics. Save long holds for post-session or recovery days.
Can psoas exercises improve cycling power?
Yes — a weak psoas creates a dead spot at the top of the pedal stroke. Strengthening it through seated leg raises, resistance band marches, and step-up with knee drives improves coordination and strength through this phase. Single-leg pedalling intervals are the most specific cycling application. Athletes typically notice the stroke feeling rounder and more connected within 4–6 weeks of consistent work.