Quick Answer
Bicycle crunches work the rectus abdominis, internal and external obliques, and hip flexors. Lie on your back, hands lightly behind your head, and alternate bringing one knee toward your chest while rotating the opposite elbow toward it — legs moving in a slow pedalling motion. Controlled tempo, not speed, is what makes them effective.
What Muscles Do Bicycle Crunches Work?
Bicycle crunches are unusual among core exercises because they hit multiple regions of the abdominal wall simultaneously. Most traditional crunches only target the rectus abdominis — the front-facing muscles that form the visible “six-pack.” The bicycle crunch adds trunk rotation to that movement, which recruits both the internal and external obliques running along the sides of your torso.
👉 Swipe to view full table
| Muscle | Role in the Exercise | Primary or Secondary |
|---|---|---|
| Rectus abdominis | Spinal flexion — lifting the shoulders off the floor | Primary |
| External obliques | Trunk rotation toward the extended leg | Primary |
| Internal obliques | Trunk rotation on the opposite side | Primary |
| Hip flexors (iliopsoas) | Driving the knee toward the chest | Secondary |
| Transverse abdominis | Deep core stabilisation throughout | Secondary |
| Quads | Extending the lower leg during the pedalling motion | Secondary |
Research from the American Council on Exercise (ACE) ranked the bicycle crunch as the most effective exercise for activating the rectus abdominis — ahead of the captain’s chair, crunches, and the ab roller. For runners and cyclists, the oblique activation is particularly valuable: your obliques are the muscles responsible for controlling trunk rotation and keeping your upper body stable as your legs alternate beneath you.


How to Do Bicycle Crunches: Step-by-Step
The movement has several components happening simultaneously, which is why form tends to break down when people try to do it quickly. Set up carefully, go slow initially, and build control before adding speed or volume.
Starting position: Lie flat on your back on a mat with your knees bent and feet flat on the floor. Place your hands lightly behind your head — fingertips touching, elbows wide, not interlaced or gripping. Lift your shoulder blades just off the mat by engaging your abs, and raise both legs so your hips and knees are at approximately 90 degrees (shins parallel to the floor). This is your starting position.
The movement: Extend your right leg out straight, keeping it hovering above the floor at about 45 degrees. At the same time, draw your right knee toward your chest and rotate your left elbow toward it — the rotation comes from your ribs and torso, not your neck or elbows. Pause briefly at the point of maximum contraction, then reverse and repeat on the other side. Each complete left-right cycle counts as one rep.
What to focus on: Exhale as you rotate. Keep your lower back pressed into the mat throughout — if it arches off the floor, your extended leg is too low. Your elbows should stay wide and stationary; the rotation should be driven by your core, not by pulling your head forward. Maintain a slow, deliberate tempo rather than cycling through reps as fast as possible.
👉 Swipe to view full table
| Cue | What It Achieves |
|---|---|
| Elbows wide and still | Prevents pulling on the neck; keeps rotation in the core |
| Lower back flat on the mat | Protects the spine; ensures abs — not hip flexors — do the work |
| Rotate from the ribs, not the neck | Maximises oblique activation; prevents neck strain |
| Slow, controlled tempo | Removes momentum; forces the core to generate the movement |
| Exhale on rotation | Enhances core contraction at the point of maximum effort |
| Extended leg at ~45 degrees | Adds challenge without causing lumbar arch; adjust higher if needed |

Common Mistakes and How to Fix Them
Going too fast. The most common error. When you speed through reps, momentum does the work instead of your muscles — particularly the obliques, which need a sustained rotation to be properly activated. Slow the movement down to a 2-second crunch and 2-second return. If the exercise suddenly feels much harder, that’s confirmation of how much momentum you were relying on.
Pulling on the neck. If your neck aches after bicycle crunches, your hands are actively pulling your head forward rather than just resting behind it. The solution is to widen your elbows and consciously relax your grip. Think of your hands as a headrest rather than a handle. The rotation comes from twisting your torso — your head follows naturally.
Lower back arching off the mat. This usually means your extended leg is too low, or your hip flexors are too tight and are compensating for weak abs. Start with your extended leg higher (60 degrees rather than 45) and only lower it as your strength develops. If your lower back lifts off the floor at any point, raise the leg — the lumbar spine should stay in contact with the mat throughout.
Elbows caving inward. When elbows pull forward to meet the knee, the movement becomes a neck-forward lunge rather than a true trunk rotation. The elbow should stay wide; it’s the torso rotating that brings the shoulder toward the knee, not the elbow reaching for it.
Rushing to high rep counts. Ten quality reps per side with full rotation and controlled tempo are worth more than 30 sloppy ones. Start with 3 sets of 10–12 reps per side and build from there once the movement feels solid.


Bicycle Crunches for Runners: Why They Matter
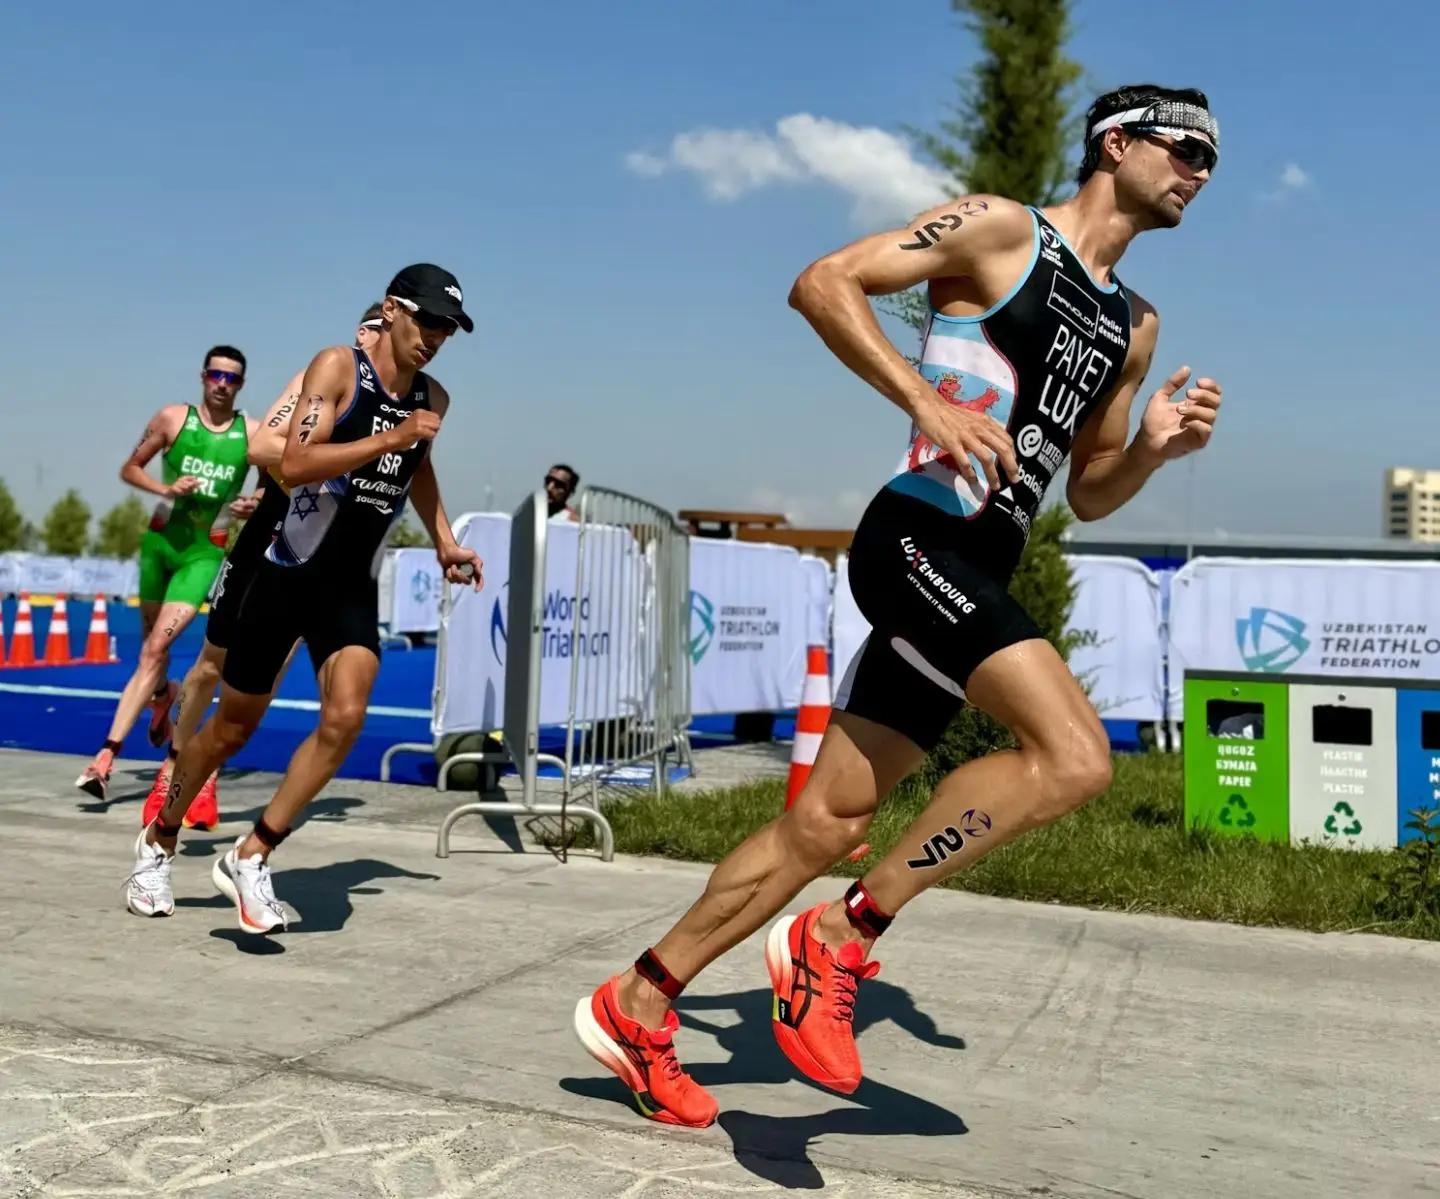
Running is fundamentally a rotational activity. As your left leg drives forward, your right arm swings forward to counterbalance — and your obliques are what control that cross-body movement to stop you from wasting energy twisting side to side. Weak obliques mean wasted energy with every stride, especially as fatigue builds in the back half of a long run or race.
Bicycle crunches train exactly that rotational stability in a low-impact, bodyweight format that fits easily into a post-run routine. Two to three short core sessions per week — including bicycle crunches alongside planks and dead bugs — can produce meaningful improvements in running economy and reduce the risk of lower back fatigue during long efforts. Our guide to core exercises for runners explains how to structure these sessions within your training week.
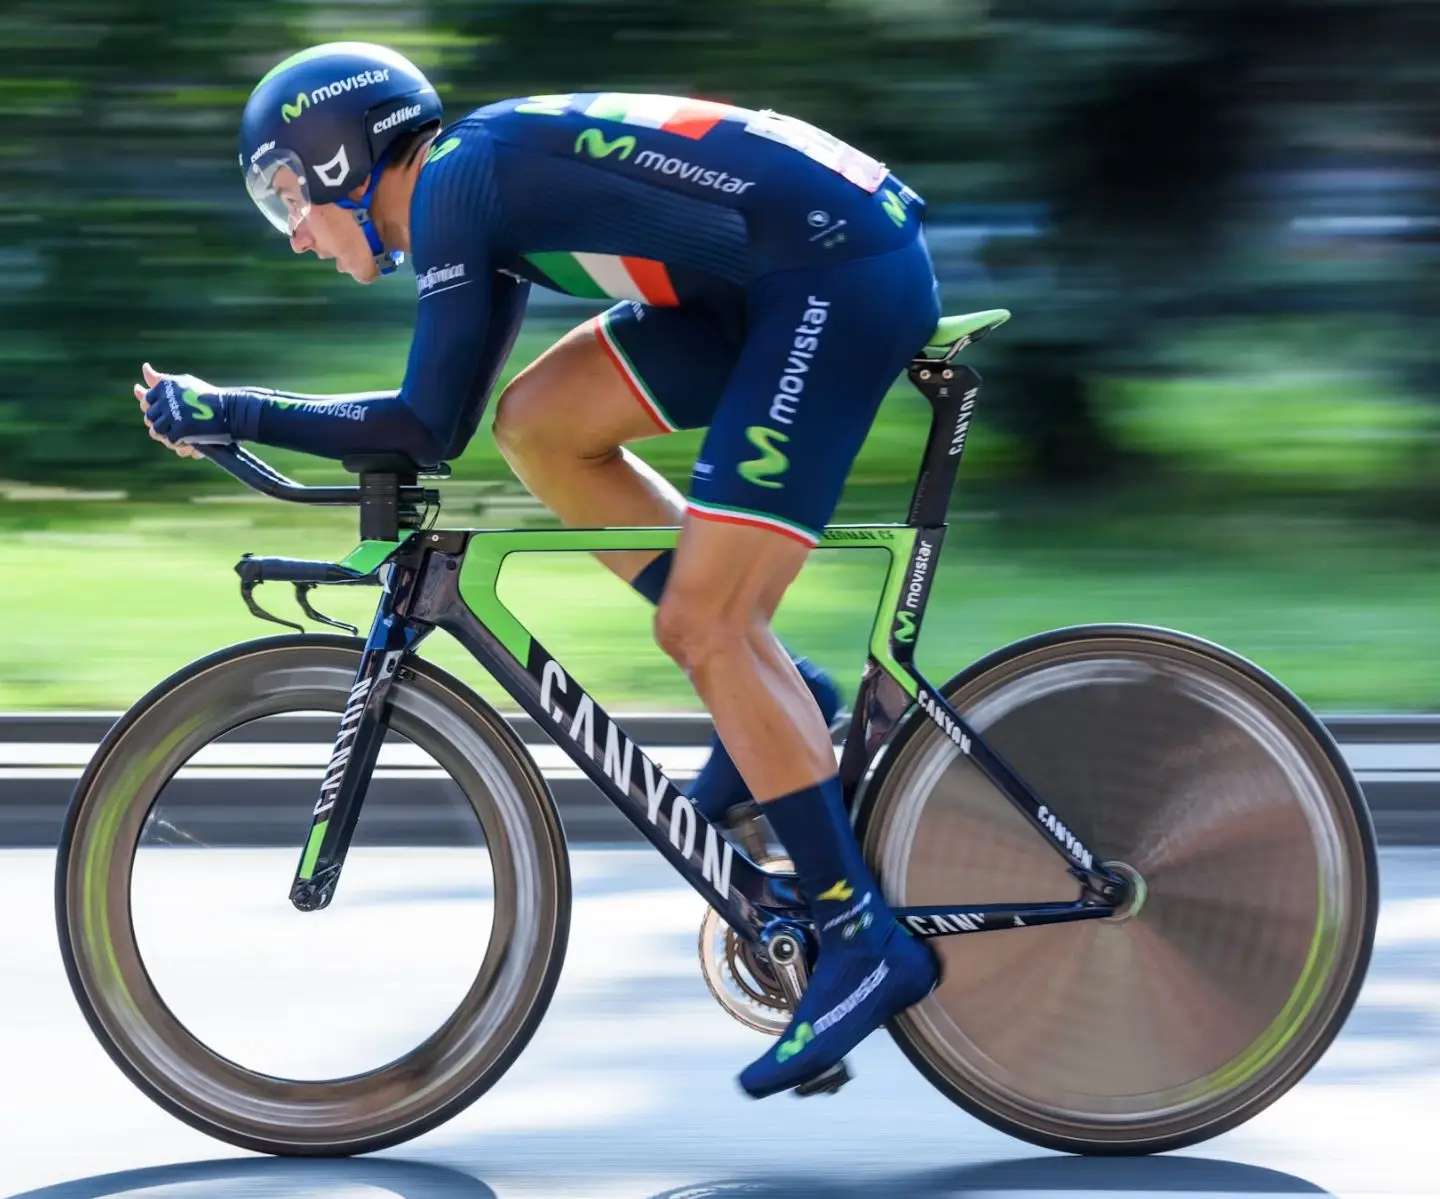
For cyclists, the same principle applies. A strong, stable core keeps you in an efficient position on the bike for longer, reducing the neck and lower back fatigue that builds on long rides. The oblique strength from bicycle crunches directly supports your ability to maintain a flat back and neutral pelvis in the aero position.

Variations: Easier and Harder Options
The standard bicycle crunch sits at a moderate difficulty level. These variations let you adjust intensity based on where you are in your training.
Easier — Feet-down bicycle crunch. Instead of lifting both legs off the floor, keep your feet flat on the mat with knees bent. Bring one knee up toward the opposite elbow one side at a time, returning the foot to the floor between each rep. This removes the lower ab challenge of the standard version and reduces pressure on the lower back — useful if you’re new to core training or have mild lower back sensitivity.
Easier — Reduce range of motion. You don’t need to fully extend the leg or rotate maximally to get value from the exercise. A smaller rotation with good form beats a full rotation with bad form every time. Start with 50–60% of the range and build gradually over several weeks.
Harder — Hollow hold bicycle crunch. Instead of returning your shoulders and feet toward the floor between reps, maintain a constant hollow body position — lower back flat, shoulder blades just off the mat, feet elevated about 15 cm. From this sustained position, alternate the crunch and rotation. This dramatically increases time under tension for the core.
Harder — Slow eccentric. Take 3–4 seconds to return from the rotated position back to centre before switching sides. This eccentric control phase is where a significant portion of strength adaptations occur and makes each rep substantially harder.
Harder — Weighted. Hold a light medicine ball or weight plate across your chest (not behind your head) to add resistance to the spinal flexion component. Keep the weight light — the goal is to increase core demand, not to shift the load to your arms or neck.
👉 Swipe to view full table
| Variation | Difficulty | Best For |
|---|---|---|
| Feet-down bicycle crunch | Easier | Beginners, lower back sensitivity |
| Standard bicycle crunch | Moderate | General core strength, all levels |
| Slow eccentric (3–4 sec return) | Harder | Strength development, time under tension |
| Hollow hold bicycle crunch | Harder | Advanced core endurance |
| Weighted bicycle crunch | Harder | Progressive overload, hypertrophy |


Who Should Avoid Bicycle Crunches
Bicycle crunches involve spinal flexion (bending forward) combined with rotation, which places load on the intervertebral discs. People with herniated or bulging discs, current lower back injuries, or acute neck pain should avoid the exercise or seek clearance from a physio before performing it. Similarly, those in the second or third trimester of pregnancy should avoid supine (lying on the back) exercises entirely and use side-lying or quadruped core alternatives instead.
If you experience sharp pain in the lower back or neck during the movement — not just muscle fatigue — stop and assess your form. A common culprit is lower back arching off the mat, which can be fixed by raising the extended leg higher. If pain persists despite correct form, it’s worth getting it checked.
How to Add Bicycle Crunches to Your Routine
Bicycle crunches work best as part of a broader core circuit rather than as a standalone exercise. Two to three core sessions per week is sufficient for most people. Each session can be 10–15 minutes and does not need to be done on a separate day — many runners and athletes perform core work directly after easy runs or at the end of a strength session.
A simple starting routine: 3 sets of 12–15 reps per side of bicycle crunches, paired with a 30-second front plank and 10 dead bug reps per side. Rest 45–60 seconds between sets. Progress by adding reps, slowing tempo, or moving to the hollow hold variation over 4–6 weeks. For a more structured approach to building core strength as a runner, the core workouts for runners guide provides a full programme with weekly progression. The strength training programme for runners shows how to integrate core work into a broader 10-week plan.
If you prefer to train at home without equipment, back exercises for runners at home covers a complementary set of posterior chain movements that pair well with the front-facing core work of bicycle crunches. And for hip strength — which works alongside core stability to support running mechanics — the hip strengthening exercises for runners guide is the next natural step.
Want a core programme built around your running?
Our running coaches build personalised training plans that include targeted strength and core work — so your gym sessions directly support your performance on race day.
Get Running Coaching → View Training Plans →

FAQ: Bicycle Crunches
What muscles do bicycle crunches work?
Bicycle crunches primarily work the rectus abdominis and both the internal and external obliques. The hip flexors and quads are also engaged as secondary muscles through the pedalling motion, making it one of the most complete abdominal exercises available.
How many bicycle crunches should I do?
Start with 3 sets of 12–15 reps per side with a controlled tempo. Quality matters far more than rep count — if form breaks down, stop and reset. Progress by adding reps to 20 per side or reducing rest time rather than rushing through reps.
Are bicycle crunches good for runners?
Yes — they train rotational core stability, which is the same type of strength needed to keep your torso efficient as your legs alternate beneath you. Strong obliques reduce energy leakage with every stride and help maintain posture late in long runs.
What is the difference between a bicycle crunch and a regular crunch?
A regular crunch only works the rectus abdominis through simple spinal flexion. A bicycle crunch adds trunk rotation and a cycling leg motion, recruiting the obliques and hip flexors as well. ACE research found it to be the top-rated exercise for rectus abdominis activation.
Why does my neck hurt doing bicycle crunches?
Neck pain usually means you’re pulling your head forward with your hands rather than just cradling it for support. Widen your elbows, relax your grip, and focus on initiating the twist from your torso and ribs rather than reaching your elbow toward the knee.