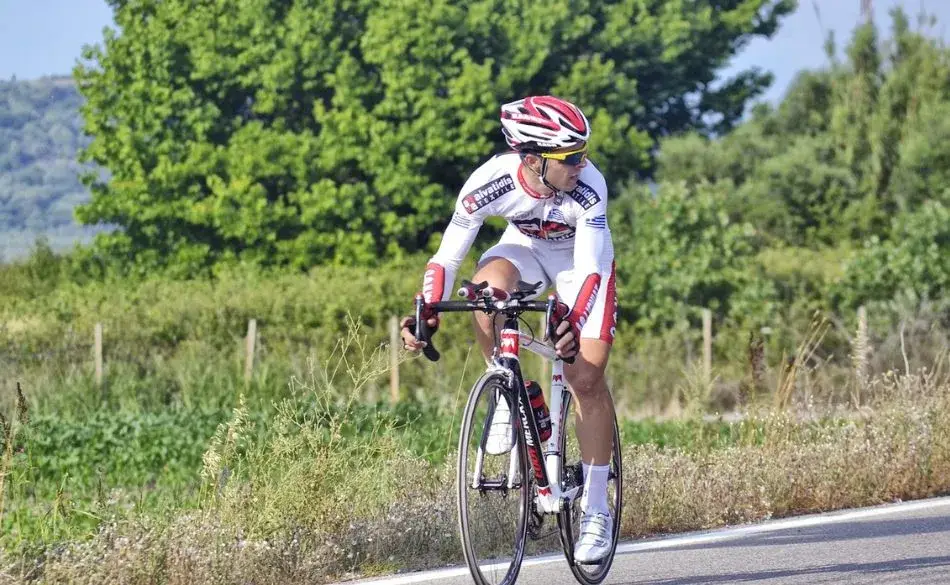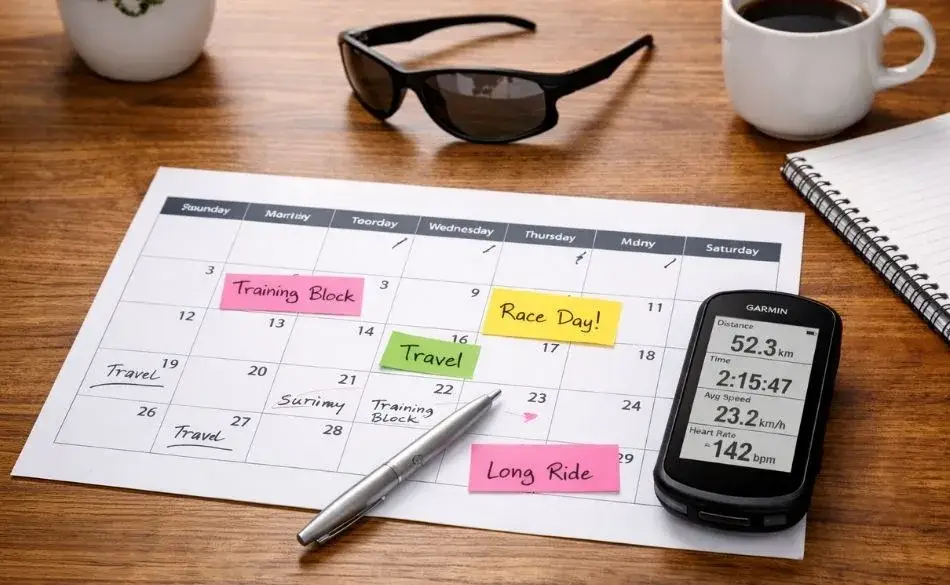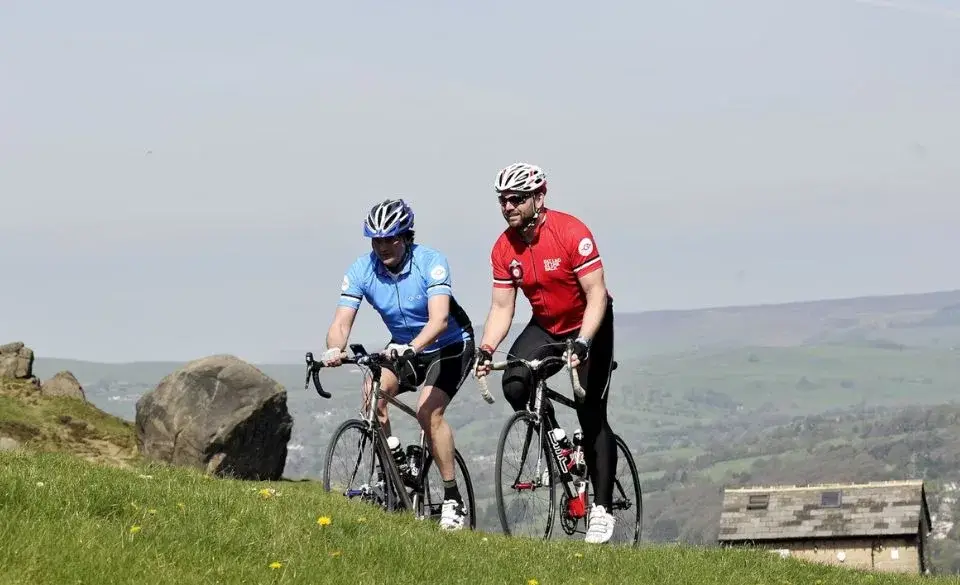
What Is Elevation Gain in Cycling? (And Why It Matters for Your Rides)
Let’s start with the basics. Elevation gain is the total number of vertical meters (or feet) you climb on a ride. It’s not your starting point or your max height, it’s the sum of all the uphill sections.
If you ride three separate hills, each 100 meters high, your total elevation gain is 300 meters, even if you end up right where you started. Sounds simple, right?
But here’s the thing: those meters stack up fast. And how they’re distributed really affects the ride.
- A ride with 1,000 meters over 100 km might feel manageable.
- That same 1,000 meters packed into 30 km? A leg-shredding grinder.
When people ask how much elevation gain is hard cycling, it really depends. Terrain, fitness level, bike setup, and pacing all play a role. But as a rule of thumb:
- 300–500 m per hour: Moderate
- 600–800 m per hour: Tough
- 1000+ m per hour: Brutal (think mountain stages)
You might’ve heard riders mention their weekly elevation targets. Some pros aim for 15,000+ meters per week during peak training blocks!
From a training perspective, elevation is gold. You build raw strength, cardio capacity, and mental grit all at once. Plus, climbing is a great equalizer, it doesn’t matter if you’re the fastest on the flats, hills don’t lie.


How to Train for Elevation Gain on the Bike
Climbing isn’t just about power, it’s about preparation. If you want to improve your elevation gain on a bike , you’ve got to train smart, not just ride harder.
So, where do you start? First, mix in more climbs. That sounds obvious, but many riders avoid hills early on. Instead, treat each one as a chance to grow.
If you live somewhere flat, try using a smart trainer. Tools like Zwift or Rouvy let you simulate climbs, and an elevation gain cycling calculator can help you track your weekly totals.
When building your cycling training plan for climbing, keep these elements in mind:
- Low cadence strength work: Ride in a harder gear at 60–70 RPM on long, steady climbs.
- Hill repeats: Short, steep climbs done multiple times build raw climbing power fast.
- Tempo climbs: Ride 10–20 minutes at a moderate, steady pace (85–90% of max effort).
- Long, easy endurance climbs: These help build fatigue resistance for big rides.
When I started doing 4-minute hill repeats once a week, I hated them. My legs would scream on the last interval. But within a few weeks, I noticed I wasn’t dreading hills anymore, I was enjoying them.
If you’re wondering how to increase climbing strength cycling, consistency is your best friend. Two to three climbing-focused workouts per week are enough to see big gains over time.
Recovery matters, too. Climbing taxes your muscles differently than flat riding. Don’t forget easy spin days and solid nutrition after hard climbs.
And remember: your mindset matters. Climbs don’t need to be scary. They’re milestones. Every time you reach the top, you prove something new to yourself.


What’s a Good Amount of Elevation Gain Per Ride?
This is one of the most common questions I hear: “How much climbing should I aim for on my rides?” The answer depends on your goals, experience, and terrain.
If you’re new to riding, even 300–500 meters of elevation gain over 30 to 50 km can feel like a major workout. That’s okay. Everyone starts somewhere.
For intermediate cyclists, a solid target might be 800–1200 meters of climbing on longer weekend rides. These efforts help build endurance and power while still being manageable with rest and fuel.
Advanced riders or those training for events in the mountains often aim for 1500+ meters per ride, especially if prepping for fondos or stage races.
Another way to think about it is the average elevation gain per mile cycling. Here’s a simple guide:
- 20–30 ft/mile (6–9 m/km): Gently rolling terrain
- 40–60 ft/mile (12–18 m/km): Moderate climbing
- 70+ ft/mile (21+ m/km): Hilly to mountainous
I remember doing a charity ride with over 2,000 meters of climbing in 100 km. The course looked innocent enough on paper but those relentless little hills added up. By the end, it felt like I’d done three mountain passes back-to-back.
The point is, don’t obsess over chasing a magic number. Instead, think in terms of your own progression. Maybe this month, 400 meters feels hard. Next month? You’re floating over 800.
Tracking your progress with a bike computer or app is motivating. Tools like Strava or Garmin will show you weekly elevation totals, and some even offer monthly climbing challenges to chase.
In the end, the “right” amount of gain is what helps you grow without burning out.
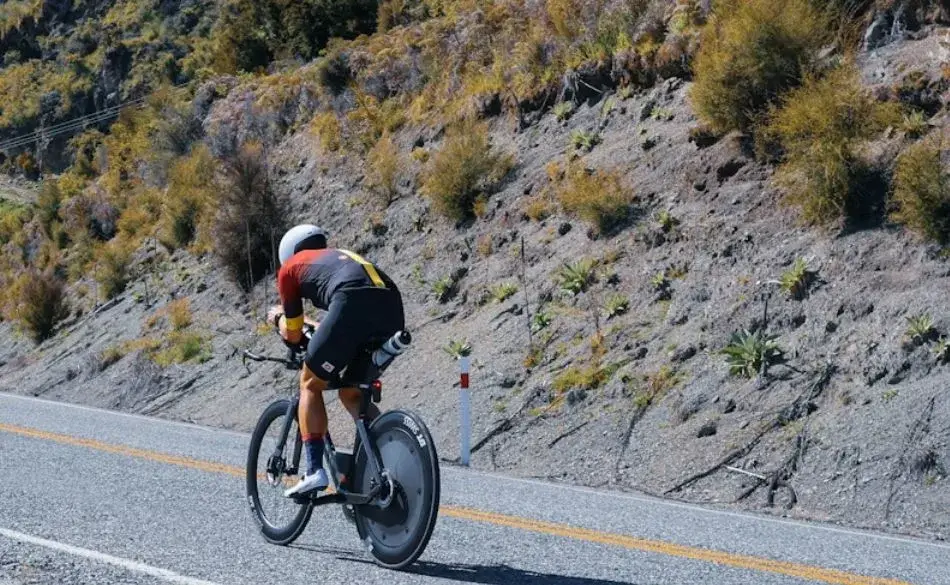
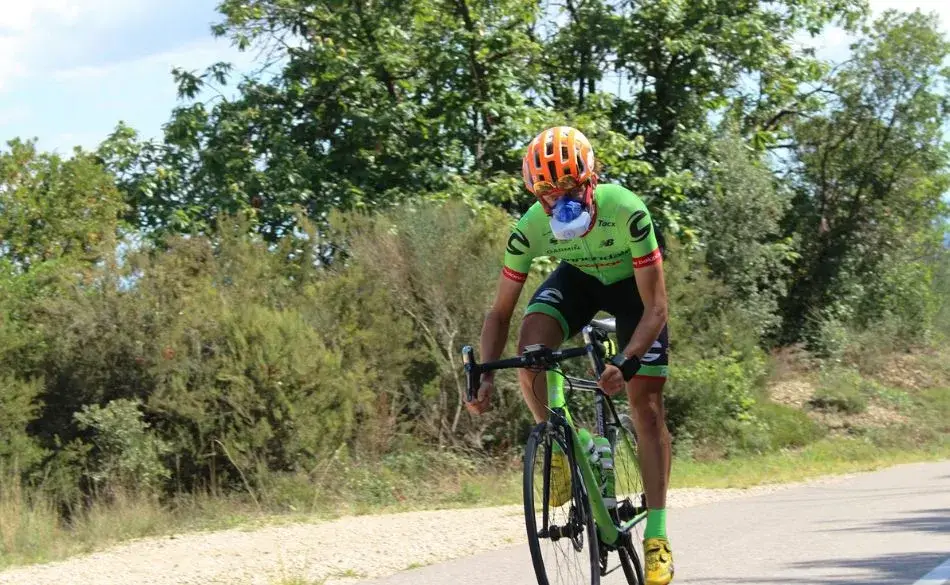
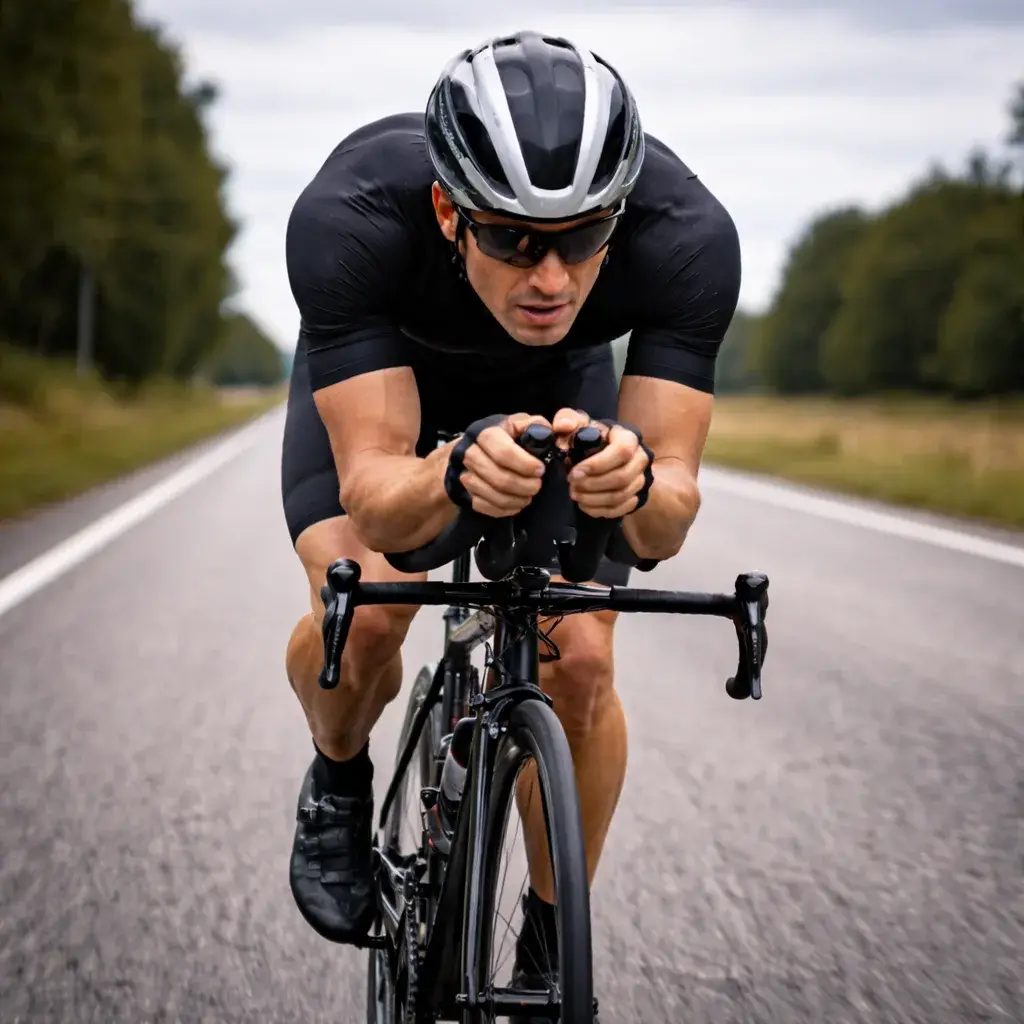
Tips for Cycling Uphill Efficiently (Even If You’re Not a Climber)
Let’s be honest, climbing can feel brutal. But it doesn’t have to be. With the right strategy and mindset, you can get better at hills (even if you’re not built like a mountain goat).
Start with pacing. One of the biggest mistakes beginners make is surging at the bottom of a climb. Don’t burn your legs in the first minute. Find a rhythm you can hold, and build from there.
Use your gears wisely. Modern bikes have wide-range cassettes, which give you more climbing options. Don’t wait until you’re grinding, shift early and keep your cadence between 70–90 RPM if possible.
If you’re not sure what gearing is best, look into setups designed for climbing. The best bikes for climbing hills typically feature compact cranksets (like 50/34) and large rear cogs (like 11–34 or even 11–40).
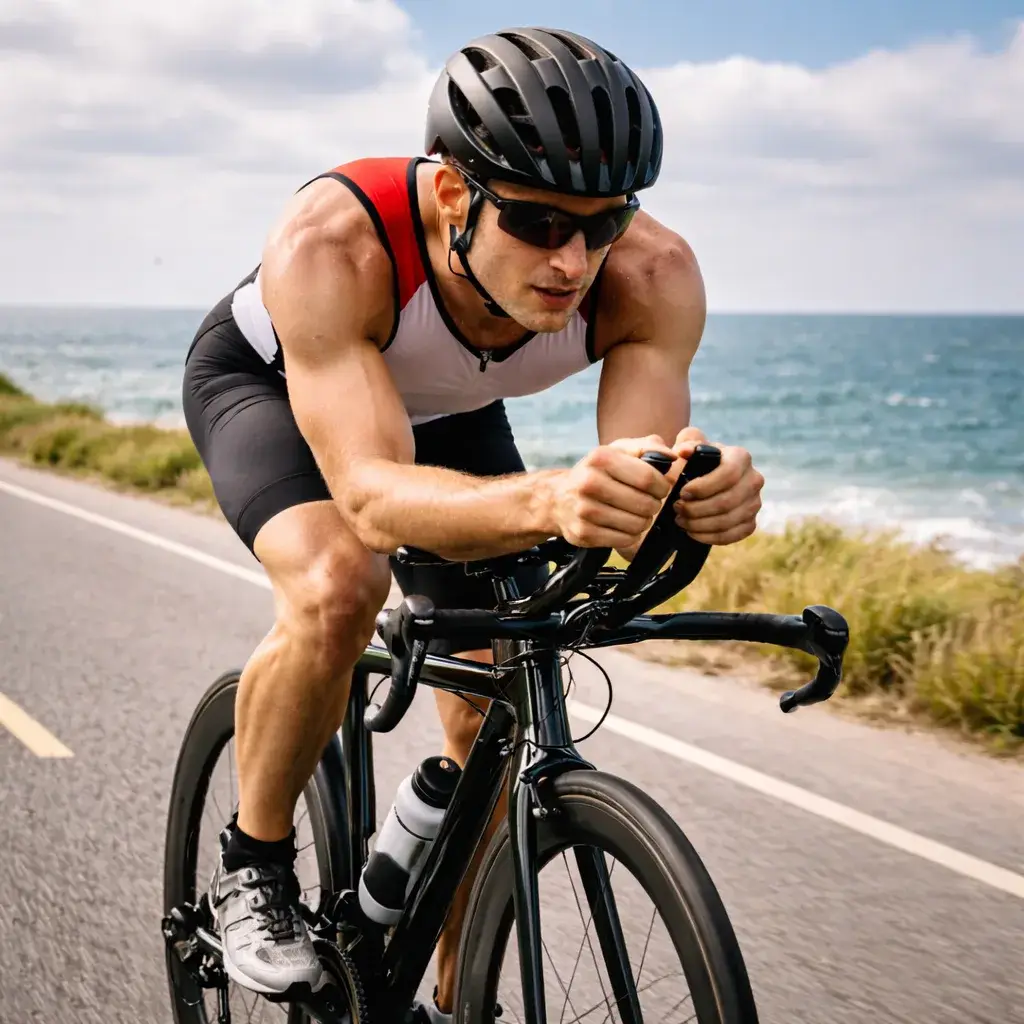
Now let’s talk body position:
- Stay seated on long climbs to conserve energy.
- Sit back slightly on the saddle to engage glutes and hamstrings.
- Get out of the saddle briefly on steep pitches or to stretch your legs.
Breathing is key, too. Inhale deep and slow, and exhale with control. A steady breath helps calm your mind and prevent panic when your legs start to burn.
I used to dread every climb over 6%. But once I started pacing better and staying relaxed, something clicked. I wasn’t fighting the hill anymore, I was working with it.
One last thing: be patient. Climbing rewards consistency. You won’t fly up a hill overnight, but you’ll feel progress week by week. And when you finally drop someone who used to pass you on climbs? That’s a feeling you’ll never forget.
Understanding your effort levels helps a ton. You can use the cycling power zone calculator to dial in your FTP-based efforts on climbs.
How to Choose the Right Routes for Elevation Gain
Not all hills are created equal. If you want to improve at climbing, picking the right route can make all the difference.
Think of your rides like training sessions. A well-planned loop with smart elevation can help you improve faster than just riding randomly. But how do you find the right mix?
Start by looking for cycling routes with high elevation gain. Apps like Komoot, Strava, RideWithGPS, and even Google Maps let you filter by terrain. Try searching for loops with steady gradients rather than short, spiky ones (especially if you’re new to climbing).
If you’re planning a structured workout, look for roads with:
- Consistent grades: Great for tempo and threshold efforts
- Low traffic: Safer and easier to focus on your pacing
- Shoulders or bike lanes: Extra room makes it easier to shift positions
Another tip? Use an elevation gain cycling calculator to see the total climb for a planned route. This helps you balance effort and recovery over a week or training block.
I like scouting routes ahead of time using Street View or heatmaps. Some of my best rides have come from simply following the most “ridden” lines on a map. If it’s popular, chances are it’s worth riding.
If you’re training for a hilly race or gran fondo, try to simulate the course profile in your long rides. Match the distance and elevation as closely as possible. This gives you confidence on race day and helps your body adapt to the unique effort.
Finally, explore! Some of the best climbing routes are hiding just off your usual roads. One day, I turned down a gravel side road and ended up on a 4 km steady climb through pine trees, with not a car in sight. That ride still sticks with me years later.
Beginner Tips for Hill Climbing on a Bike
Every cyclist remembers their first real climb. It’s humbling, sweaty, and maybe a little frustrating. But with a few smart changes, you can make hill climbing feel less scary and even start to enjoy it.
Let’s start with mindset. A climb isn’t a wall. It’s just a stretch of road, and you can take it one pedal stroke at a time. Don’t try to “attack” every hill. Pace yourself and settle into a steady rhythm.
One of the best beginner tips for hill climbing on a bike is to focus on your breathing. Keep it deep and even. Short, shallow breaths make you panic and waste energy. Think “inhale through the nose, exhale slowly through the mouth.”
Next, keep your hands relaxed on the bars and stay light on the pedals. Tension in your upper body drains energy fast. Your power comes from your legs and core. Not from gripping the handlebars in fear.
Gear choice is key. Shift into an easier gear before the hill steepens. Don’t wait until you’re grinding, you’ll burn out quickly. If your bike doesn’t have climbing-friendly gears (like a 34-tooth cassette in the back), it may be worth upgrading.
Here’s a simple drill that helped me early on: pick a small hill you can ride in under 5 minutes. Climb it once at a comfortable pace. Recover on the way down, then repeat 2–3 times. You’ll feel a difference within two weeks.
Also, don’t be afraid to stop. If you need to catch your breath, pull over and admire the view. Nobody’s judging you. We’ve all walked a hill or two before learning how to ride them.
For those wanting more structure, check out the cycling training program for climbing. It gives you workouts for strength, endurance, and pacing.

How Does Elevation Gain Impact Your Ride? (Climb Intensity Table)
Not all climbs feel the same, even if the elevation gain looks similar on paper. Factors like gradient, duration, and road surface all influence how hard a climb feels and how your body responds to it.
Use the table below as a guide to understand how different types of climbing might fit into your cycling training plan for climbing. These aren’t exact rules, but they’ll help you plan smarter and avoid burning out on the bike.
Want to know how climbing makes you stronger? Read How Much Can I Increase My FTP? to see what kind of watt gains are realistic when you train for hills.
👉 Swipe to view full table
| Climb Type | Grade | Elevation Gain | Typical Distance | Effort Level |
|---|---|---|---|---|
| Short Punchy Hill | 6–12% | 50–150 meters | 0.5–1.5 km | High-intensity / Anaerobic Boosts explosive power and short bursts. |
| Rolling Terrain | 2–5% | 300–800 meters (total) | 25–50 km ride | Moderate Endurance Ideal for steady pacing and zone 2 training. |
| Mid-Length Climb | 5–8% | 200–600 meters | 3–8 km | Threshold Effort Builds aerobic capacity and pacing control. |
| Long Sustained Climb | 4–7% | 800–1500+ meters | 10–25 km | Aerobic / Steady State Tests endurance and mental focus. |
| Gravel or Off-Road Climb | 6–15% | Varies | 3–10 km | High Muscular Demand Improves bike handling and total body strength. |
This breakdown can help you decide how much elevation gain is hard cycling based on your goals. Want to build explosive power? Focus on short, steep efforts. Training for a mountain fondo? Go long and steady.
Match your route to your goal and over time, you’ll find that climbs that once crushed you start to feel… well, kind of fun.
Final Thoughts
Elevation gain in cycling is more than just numbers on your bike computer. It’s about growth, grit, and discovering what you’re capable of.
Climbing challenges your body, but it also sharpens your mind. It teaches patience, pacing, and that quiet determination that carries you through more than just a ride.
Maybe you’re just starting out and hills feel impossible. That’s okay. We’ve all been there. I still remember the first time I climbed 1,000 meters in one ride. I was cooked, but proud. You will be too.
Keep showing up. Ride the climbs. Learn the rhythm. Trust that each uphill battle is shaping a stronger, smarter cyclist underneath.
Whether you’re chasing your next big challenge, prepping for a hilly fondo, or just looking to enjoy the view from the top, remember this:
- You don’t have to be fast to be a climber.
- You just have to keep going.
- Every summit starts with a single pedal stroke.