Why Shin Splints Happen When You Cycle
You might think cycling spares your shins from stress, but that’s not always true. Even though it’s a low-impact sport, repetitive motion and improper bike fit can overload the small muscles and tendons in the lower leg. Over time, this causes inflammation along the tibia, often called medial tibial stress syndrome or simply shin splints.
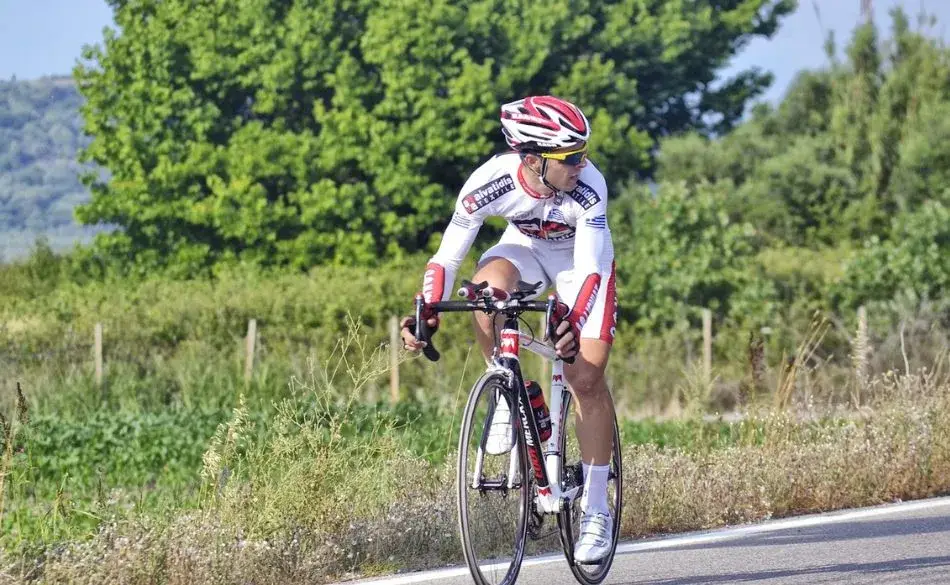
When you push too hard on the pedals or ride with poor alignment, the tibialis anterior muscle works overtime to lift your foot during each stroke. Combine that with tight calves, a high saddle, or weak core control, and you’re adding unnecessary strain to your shins.
Other factors that increase your risk of shin pain while cycling include:
- Sudden jumps in training volume or intensity
- Pedaling with toes pointed downward
- Shoes with poor arch support
- Riding in a low cadence for long periods
- Skipping post-ride stretching or recovery work
Here’s something most cyclists don’t realize: shin splints aren’t always a sign of injury. They’re often a red flag that your muscles are overloaded or compensating for another imbalance. Fixing your form, loosening your calves, and strengthening your lower leg muscles often relieves pain without needing complete rest.
If you’ve noticed that burning or throbbing sensation during or after rides, take it as feedback, not failure. Understanding why it happens is the first step to keeping your legs healthy and your rides enjoyable.
For a more detailed overview of the condition and its causes, Physiopedia’s resource on Medial Tibial Stress Syndrome explains how biomechanics, training errors, and muscle fatigue all play a role in developing shin pain.
Returning from an injury takes patience and the right structure. Our Cycling Training Plans are designed to help you rebuild fitness safely while improving strength and endurance. Each plan includes recovery blocks, progressive sessions, and guided workouts tailored to your current ability.
Whether you’re easing back into consistent riding or preparing for your next challenge, these structured programs give you the confidence to train smarter, stay consistent, and enjoy the process of getting stronger again.
Explore Training Plans

Should You Keep Cycling With Shin Splints
Whether you should keep cycling with shin splints depends on how bad the pain is. Mild soreness that fades as you warm up is very different from sharp pain that gets worse as you ride. If your discomfort eases during gentle pedaling and doesn’t flare up the next day, you can usually keep riding while working on the cause. But if the pain spikes mid-ride or lingers for hours afterward, it’s time to rest and reset your approach.
Focus on easy spins at a smooth rhythm. A slightly faster cycling cadence (around 85 to 95 rpm) helps reduce stress on the shins by spreading the load over more pedal strokes. Keep resistance light and movements controlled so your lower legs stay relaxed instead of tense. For more detail on how to refine your pedal rhythm and improve your cadence, see our guide How to Improve Cycling Cadence.
Terrain also matters. Avoid steep hills and heavy gear grinds that force you to push through the pedals. Indoors, using a stationary bike with shin splints is a smart option because you can fine-tune your effort and duration. Begin with short sessions and add a few minutes at a time as your legs adapt.
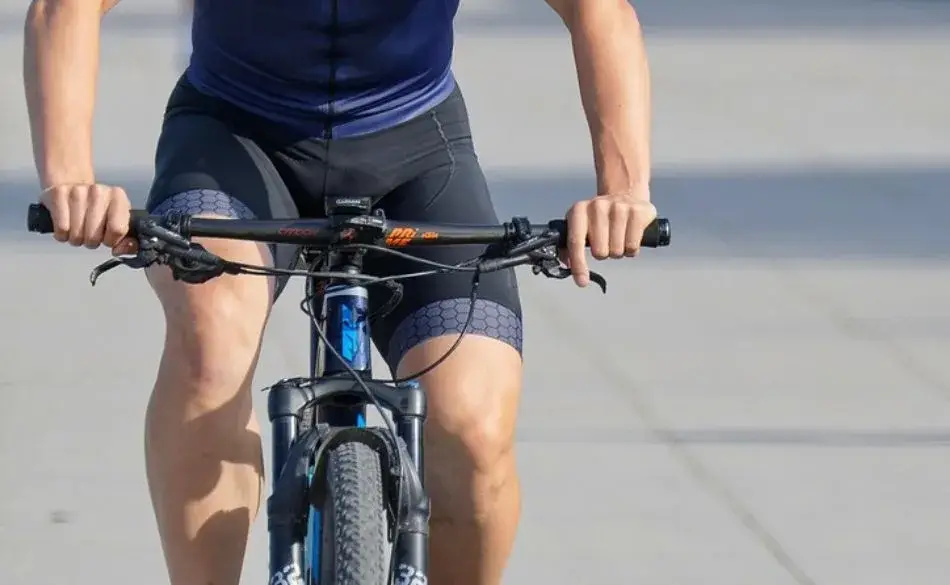
Small bike fit changes can make a big difference. If your toes point downward when you pedal, lower the saddle slightly to reduce strain on the shins. Check cleat alignment so your knees track straight over the pedals. These adjustments can ease stress on the lower legs and help you maintain better form.
Compression and support can also help. Many riders find compression sleeves reduce swelling and provide light stability. While they aren’t a cure, they can make recovery rides more comfortable. Combine this with gentle tibialis anterior strengthening and calf stretches to restore balance between the front and back of the lower leg.
Pay attention to your body’s signals. If pain increases during a ride, ease off immediately. If walking hurts later, take a rest day. The goal isn’t to push through pain, it’s to maintain fitness while healing.
Curious whether wearing support garments actually makes a difference? Have a look at our detailed review Do Shin Splints Support Socks Really Work? to explore what the research says about support socks and sleeves for shin-related cycling issues.


How to Fix Shin Splints from Cycling for Good
When it comes to preventing shin pain while cycling, your bike fit is often the missing piece. Even small alignment issues can overload your lower legs with every pedal stroke. Getting the setup right helps distribute force evenly and keeps your joints moving naturally. A few millimeters can mean the difference between smooth, pain-free rides and persistent discomfort.
Think of your bike as an extension of your body. If the angles or positions are off, your muscles start compensating, especially the tibialis anterior and calf muscles. Correcting these small details supports long-term comfort and helps you ride more efficiently.
👉 Swipe to view full table
| Bike Fit Area | Common Problem | Impact on Shins | Recommended Fix |
|---|---|---|---|
| Saddle Height | Seat too high, causing toes to point down at the bottom of the stroke | Overloads the front of the shin and increases shin pain while cycling | Lower saddle by 3–5 mm so knees maintain a slight bend at full extension |
| Cleat Position | Cleats too far forward or angled incorrectly | Shifts pressure to the lower leg and strains the tibialis anterior | Move cleats slightly backward and ensure they’re straight under the ball of the foot |
| Crank Length | Cranks too long for your leg length | Forces excess ankle motion, leading to irritation and fatigue | Use shorter cranks to reduce leverage and improve control |
| Shoe Support | Worn soles or poor arch support | Alters leg alignment and increases pressure on the shin muscles | Upgrade to insoles with moderate arch support designed for cyclists |
| Handlebar Reach | Bars positioned too far forward | Shifts body weight and leg angle, causing inefficient pedaling | Shorten stem or bring bars closer for a neutral posture |
Checking your bike fit and shin splints relationship regularly can save you from weeks of frustration. If you’re unsure, book a professional fit session or use a bike-fitting app to measure angles precisely. Small changes often make the biggest difference, especially if you ride long distances or train frequently. A balanced position helps prevent fatigue, improve efficiency, and keep those shins pain-free for the miles ahead.
To learn more effective movements that target recovery and prevent future lower-leg pain, check out our Best Shin Splint Exercises guide for step-by-step examples and progressions.
Recovery and Prevention Strategies That Actually Work
Preventing shin splints from cycling starts with small habits done consistently. Once the pain begins to fade, the focus should shift from short-term relief to long-term durability. Building stronger and more flexible lower legs helps you handle higher training loads without flare-ups.
Here are practical ways to recover and prevent shin pain from returning:
- Alternate training stress: Mix cycling intensity throughout the week. Combine low-resistance recovery rides with shorter, focused intervals to avoid constant repetitive strain.
- Footwear rotation: Replace worn cycling shoes every 10,000–12,000 km. Fresh soles and better arch support maintain leg alignment and reduce lower-leg fatigue.
- Mobility work: Spend 5–10 minutes after each ride stretching calves, hamstrings, and ankles. Improving mobility lowers the pull on the shin bone during pedaling.
- Strength balance: Add single-leg exercises, heel raises, and tibialis anterior strengthening drills twice a week. These stabilize the lower legs and distribute pedaling load evenly.
- Recovery tools: Use compression sleeves for shin pain or massage guns to improve circulation and reduce muscle stiffness post-ride.
Think of recovery as part of training, not an afterthought. Keeping a consistent sleep routine, hydrating well, and refueling after rides all speed up tissue repair. Monitor how your shins feel each week, especially during longer sessions. If soreness creeps back, reduce mileage slightly before it becomes painful again. By listening to your body and maintaining a balanced plan, you’ll stay strong, flexible, and pain-free through every ride.

When to Stop Cycling and Seek Professional Help
Sometimes, no matter how careful you are, cycling with shin splints reaches a point where continuing isn’t safe. Recognizing when to back off protects you from turning a mild overuse issue into a full stress injury. The sooner you act, the faster you’ll return to riding pain-free.
Here’s how to know when it’s time to take a break:
- Persistent pain: If the ache stays sharp or worsens after each ride, your body needs rest. Ignoring it could lead to a stress reaction in the tibia.
- Visible swelling or tenderness: Swelling or pinpoint pain along the shin bone often signals inflammation or early tissue damage.
- Pain while walking or climbing stairs: When simple movements hurt, the injury has moved beyond early shin splints.
- Nighttime throbbing: Ongoing discomfort even at rest suggests deeper irritation, often requiring medical assessment.
Sports physiotherapists can help identify the root cause. Whether it’s biomechanical imbalance, poor bike fit, or muscle weakness. They can also check for early signs of stress fractures or compartment syndrome, which mimic shin splints but are more serious.
If you’ve been adjusting saddle height, doing tibialis anterior strengthening, and improving pedaling technique for several weeks without progress, it’s time for a professional review. Getting gait analysis, muscle testing, or even a full bike fit evaluation may uncover what you’ve missed. Addressing these details early can save months of frustration and ensure your return to training is safe and sustainable.
If you’re serious about progressing your cycling performance, our Cycling Coaching Plan offers tailored workouts, expert guidance, and unlimited support. Whether you’re aiming for power gains, endurance breakthroughs, or race-day readiness, we’ve got you covered—from your first session to peak performance.
With structured plans based on your power, heart rate, and current ability, you’ll train efficiently, recover well, and build lasting confidence on the bike.
Start Your Coaching Plan

4-Week Training Plan for Returning to Cycling After Shin Splints
This structured plan helps you return to form without aggravating symptoms. The goal is to rebuild endurance and strength slowly while protecting your shins from overload. Each week includes recovery rides, rest days, and complementary strength work for the tibialis anterior and calves.
👉 Swipe to view full table
| Week | Focus | Cycling Sessions | Strength & Mobility Work | Rest Days |
|---|---|---|---|---|
| Week 1 | Active recovery and mobility |
3 rides (30–45 min each) at low resistance Cadence: 85–95 rpm Flat terrain only |
2 sessions: calf stretches, ankle circles, tibialis anterior strengthening (band pulls) | 2 full rest days |
| Week 2 | Building endurance and control |
4 rides (40–60 min each) Add gentle rolling terrain Maintain smooth pedaling |
2–3 sessions: single-leg balance, foam rolling calves and shins | 1–2 rest days |
| Week 3 | Strength and cadence improvement |
4 rides (50–70 min each) Add short hill efforts or light resistance on stationary bike with shin splints |
3 sessions: heel raises, band pulls, tibialis anterior activation | 1 rest day |
| Week 4 | Performance readiness |
4–5 rides (60–90 min each) Include one moderate interval session Focus on posture and bike fit |
2 sessions: dynamic stretches, calf foam rolling, compression recovery | 1 rest day |
After completing four weeks without discomfort, you can begin reintroducing normal training intensity. Continue using compression sleeves if swelling appears and keep up with your lower-leg exercises twice weekly. If pain returns at any stage, reduce intensity for a few days and reassess your bike fit and riding posture.
Adding simple movements like toe raises can further improve strength and stability in the lower legs. You can learn how to perform them correctly in our guide Toe Raises: How to Do Them, Benefits & Variations.

Warm-Up and Cool-Down Routine for Cyclists Recovering
A proper warm-up and cool-down routine helps protect your shins from flare-ups and prepares your muscles for safe, efficient movement. This routine combines light activation and mobility drills before you ride, followed by gentle stretching and recovery work afterward.
Pre-Ride Warm-Up (8–10 minutes)
- Easy spin: Pedal lightly for 3–5 minutes at a high cadence to increase blood flow and loosen your ankles.
- Ankle circles: Lift one foot off the pedal and rotate it slowly clockwise and counterclockwise, 10 times each direction.
- Heel walks: Walk 20–30 steps on your heels to activate the tibialis anterior and front of the shin.
- Calf raises: Stand tall and lift your heels 15–20 times to wake up the calves and prepare them for pedaling.
- Leg swings: Hold onto your bike or wall and swing each leg gently forward and backward 10–15 times to open up the hips.
Post-Ride Cool-Down (10 minutes)
- Gentle spin: Ride at very low resistance for 5 minutes to flush out lactic acid and ease muscle tension.
- Calf stretch: Lean against a wall with one leg back, heel down, and hold for 30 seconds on each side.
- Shin stretch: Kneel on a mat, point your toes backward, and sit gently on your heels for 20–30 seconds to lengthen the front of the lower leg.
- Foam roll: Roll the calves and outer shins slowly for 1–2 minutes per leg. Avoid direct pressure on the bone itself.
- Compression or ice: Use compression sleeves or a cold pack for 10 minutes if swelling or tenderness appears.
Consistency is key. Doing this before and after every ride improves flexibility, supports cycling injury prevention, and keeps your shins strong and responsive. Within a few weeks, these simple steps can make your legs feel smoother and more resilient on every ride.
Conclusion
Cycling through shin splints doesn’t have to end your progress. The key is learning when to push and when to pause. With proper bike fit, smart pacing, and attention to muscle balance, you can manage discomfort and continue building fitness safely. Over time, the combination of recovery rides, mobility work, and tibialis anterior strengthening creates stronger, more resilient legs that handle longer rides without pain.
Listen to your body above all else. Pain is feedback, not failure. If you approach cycling with shin splints patiently and consistently, each pedal stroke becomes a step toward recovery instead of setback. Keep your cadence steady, your form relaxed, and your recovery habits strong. With time and care, your shins will adapt and the freedom of smooth, pain-free cycling will return stronger than ever.