


Find Your Next Cycling Race
Ready to put your training to the test? Here are some upcoming cycling events matched to this article.
 Coach Graeme

Last updated:
The KOPS method is one of the most widely used and most debated techniques in bike fitting. It has been guiding saddle position since the 1970s, appears in Greg LeMond's training book, and is still taught to new bike fitters today. It has also been called "biomechanically arbitrary," "debunked," and "a coincidence." Both assessments are partially right — and understanding why clarifies exactly how to use it.
Not sure where to start with training?
Tell us your goal and schedule, and we’ll give you clear direction.
No obligation. Quick, practical advice.
Explore our cycling training articles for more helpful articles and resources.
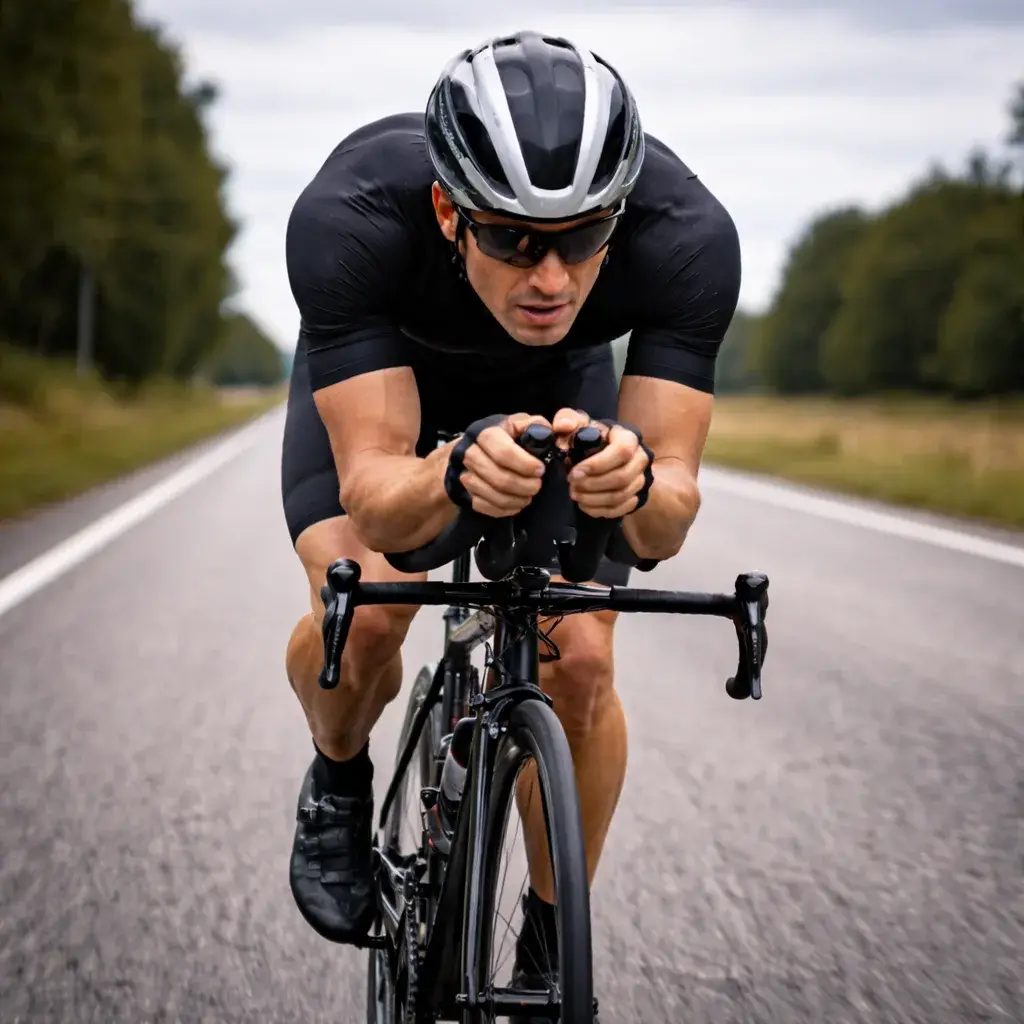
KOPS — Knee Over Pedal Spindle — is a saddle fore-aft positioning method. “Fore-aft” refers to how far forward or back the saddle sits along its rails, which in turn determines how far in front of or behind the bottom bracket the rider sits.
The method works as follows: the rider clips in and holds the crank in the forward horizontal position — 3 o’clock. A plumb line is dropped from the tibial tuberosity, the bony protrusion just below the patella (kneecap), to which the patellar tendon attaches. If the plumb line falls directly through the centre of the pedal axle (spindle), the rider is said to be “at KOPS.” The saddle is moved forward or back on its rails until this alignment is achieved.
There is an important anatomical note that trips up many DIY fitters: the landmark is the tibial tuberosity, not the front of the kneecap. Some older references use the front of the kneecap; others specify the hollow behind the kneecap; LeMond’s original description uses the “front of the kneecap.” In practice, these are all close together and produce similar results — but the tibial tuberosity, being a fixed bony landmark rather than a soft tissue point, is easier to locate consistently.
The origins of KOPS are older than most cyclists realise. The earliest traceable reference appears in a CONI (Italian National Olympic Committee) cycling manual from the early 1970s. It was adopted into the American Fit Kit system in the 1980s — a commercial bike fitting product used widely by shops — and entered mainstream English-language cycling through Greg LeMond’s 1987 book, where he describes using a plumb line from the front of the kneecap to the pedal as the standard fore-aft check. French cycling coach Cyrille Guimard, who coached LeMond, used an equivalent method as early as 1977.
The method spread partly because it required nothing more than a plumb bob and a stationary trainer — accessible to any fitter or home mechanic. At a time when bike fitting consisted largely of static measurements and conversion formulas, KOPS provided a simple, repeatable reference point.
The most influential critique came from framebuilder Keith Bontrager in the 1990s, published in Bicycle Guide magazine and later transcribed on Sheldon Brown’s website. Bontrager’s central argument: the plumb bob uses gravity as its reference, and the direction of gravity has no bearing on pedaling efficiency. Pedaling force is not simply downward — it is a dynamic, rotational system of levers and pivots where the relevant forces act along the crank, not vertically. His strongest evidence: recumbent cyclists produce perfectly efficient pedal strokes with their knees in a completely different spatial relationship to the spindle, demonstrating that the knee-over-spindle alignment has no intrinsic pedaling significance.
Bontrager’s conclusion, however, is frequently omitted when his article is cited online: KOPS “usually puts the rider in the range of correct fit.” His critique was of KOPS as a biomechanical principle, not as a practical approximation.
If KOPS has no biomechanical justification, why does it produce reasonable results for most road cyclists? The answer lies in what it correlates with rather than what it directly measures.
For a rider on a road bike with a standard seat tube angle (72–74°), achieving KOPS tends to place the rider’s hip joint close to the seat tube axis — roughly above the bottom bracket. When the hip is in this position, the rider’s weight is naturally balanced over the bike, reducing the load transferred to the hands, and the leg has an efficient mechanical position for producing force through the pedal stroke. The knee-spindle alignment is a proxy for this hip position, not the cause of it.
BikeDynamics, a UK fitting specialist, describes it this way: KOPS “can work very well because it is a good predictor of the hip position relative to the seat tube axis.” The tibial tuberosity happens to be a useful landmark for triangulating hip position on a standard road geometry — not because it has any special pedaling significance, but because the proportional relationships of most human legs on standard-geometry road bikes make the correlation hold.
This also explains why KOPS breaks down for riders with atypical proportions, on bikes with unusual seat tube angles (TT bikes, modern endurance geometry, mountain bikes), or for riders with specific flexibility limitations. The further anatomy or geometry deviates from the proportional average that produced the KOPS correlation, the less reliably it predicts a balanced position.
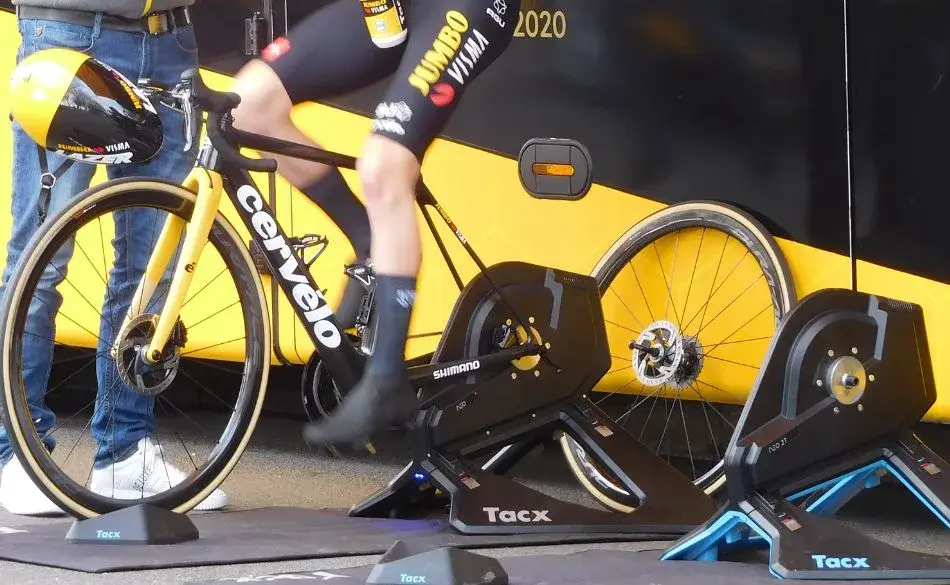
Before performing KOPS, saddle height must be set correctly. A wrongly set saddle height changes where the knee sits at 3 o’clock — making any KOPS measurement meaningless. Set height first using your preferred method (heel-to-pedal scrape, LeMond formula, or joint angle measurement).
A plumb bob or a length of string with a small weight, a helper or a way to mark the position, and the bike mounted on a level trainer or stationary surface.
Clip in and sit in your normal riding position. Position the right crank arm at 3 o’clock — horizontal, pointing forward. Locate the tibial tuberosity: the firm, pointed bony bump directly below the kneecap. Hold the plumb line against this point and let it hang freely. Observe where the string crosses the pedal: is it over the spindle (at KOPS), in front of it (knee forward of spindle), or behind it (knee behind spindle)?
Move the saddle forward or back along its rails to bring the plumb line over the spindle. After each adjustment, re-check saddle height — forward/back movement can slightly affect the effective height. Repeat on the left leg.
| Plumb line position | What it means | Typical adjustment |
|---|---|---|
| Falls on spindle (at KOPS) | Neutral starting position | Use as baseline; refine with balance test |
| Falls in front of spindle (knee forward) | Saddle may be too far forward; increases anterior knee load | Move saddle back incrementally |
| Falls 0–20mm behind spindle | Slightly behind KOPS; preferred by many endurance riders | Often a good position; test with balance test |
| Falls 20mm+ behind spindle | Saddle well back; may shift too much load to hamstrings | Consider moving saddle forward; check saddle height |
Note that saddle rail adjustment is typically limited to 20–25mm in each direction from the midpoint. If KOPS requires movement beyond the rails, a different seatpost (with more or less setback) or a different saddle may be needed. For riders following the LeMond saddle height method, KOPS can be checked after setting height as a confirmation step.
One of KOPS’s most significant limitations is that it was developed on standard road geometry. The appropriate fore-aft position varies considerably by bike type and riding discipline:
| Bike Type | Typical Knee Position | Reason |
|---|---|---|
| Road bike | At KOPS or 0–15mm behind spindle | Standard geometry; KOPS is a reasonable proxy for balanced hip position |
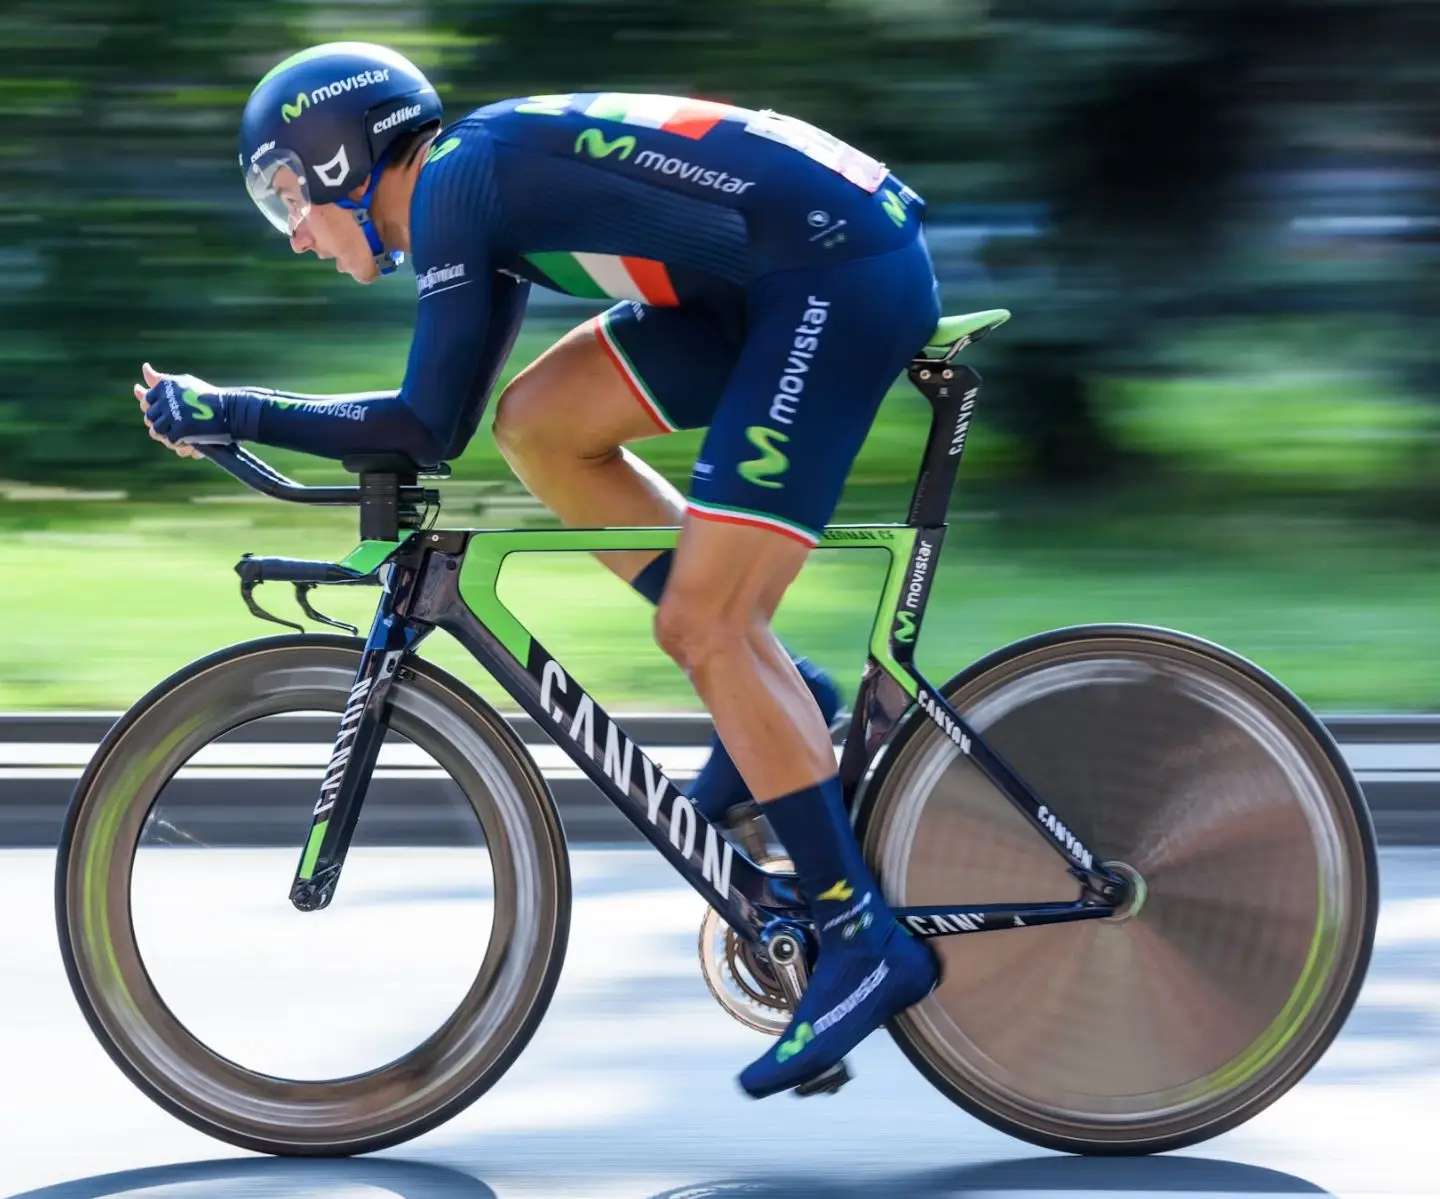
| Triathlon / TT bike | At or well forward of spindle (up to 20–40mm ahead) | Steep seat tube angle (76–80°) opens hip angle; preserves hamstrings for running; KOPS does not apply |
| Gravel / endurance road | 0–20mm behind spindle | More upright geometry; slightly rearward position improves stability and glute engagement over long distances |
| Mountain bike | Behind spindle (15–30mm) | Slack geometry, varied terrain; rearward position improves weight distribution on descents and technical sections |
| Time trial (road) | At or slightly forward of spindle | Aero position requires quad engagement; more forward position opens hip; rider time on bike is limited |
The triathlon case is the most extreme departure from KOPS. Triathlon bikes use seat tube angles of 76–80° (compared to a road bike’s 72–74°), which places the rider’s hips significantly further forward relative to the bottom bracket. Applying KOPS to a tri bike would result in a saddle position far too far back for the geometry — the method simply does not translate. For triathletes, the forward position also serves a key functional purpose: preserving hamstring and glute capacity for the run by shifting pedalling load toward the quads on the bike. See the cycling with a hamstring injury guide for more on how saddle position affects hamstring loading.
A point that cannot be overstated: KOPS is only meaningful after saddle height is correctly set. The two adjustments are interdependent in a way that matters practically.
If the saddle is too high, the knee is forced to extend further at the bottom of the stroke, which changes the leg’s geometry at 3 o’clock — the knee may sit further behind the spindle than it would at the correct height. If the saddle is too low, the opposite occurs. Setting fore-aft position with KOPS on a saddle that is 20mm too high or too low will result in a position that is wrong in both dimensions.
The correct sequence is always: saddle height first, then fore-aft. After adjusting fore-aft, re-check saddle height — moving the saddle forward reduces effective saddle height slightly; moving it back increases it. For riders whose training is building toward specific performance targets, getting both right has a direct effect on power output and injury risk. The FTP benchmarks by age guide provides context on expected power output once position is optimised.
KOPS is a static measurement of one data point — where the knee is at one position in the pedal stroke, with the bike stationary. It says nothing about whether the rider’s overall weight distribution across the bike is correct. The balance test addresses this directly.
To perform the balance test: ride on a trainer in your normal position at a steady tempo. While in the drops (or your regular riding position), briefly lift your hands a few centimetres off the bars and observe what happens. If you tip forward, the saddle is likely too far forward or too high — your weight is biased toward the front of the bike. If you rock backward, the saddle is too far back or too low. If you hold steady for five to ten seconds without significant movement, the weight distribution is balanced.
The balance test captures what KOPS misses: how the whole-body centre of gravity sits on the bike under riding conditions. A rider might pass KOPS perfectly but still be poorly distributed — this is common when saddle height is wrong, when there is unusual leg length asymmetry, or when the rider has a very long or short torso relative to their legs. Using both KOPS and the balance test together gives a more complete picture than either alone.
Using the front of the kneecap instead of the tibial tuberosity (or vice versa) shifts the measurement by 10–20mm. The tibial tuberosity is the firm, pointed protrusion below the patella — locate it by running a finger from the patella directly downward until you feel a prominent bony bump. That is the correct point.
As covered above — fore-aft adjustment with KOPS on an incorrect saddle height produces a double error. Always set height first.
A plumb bob is only useful if the bike is level. On a trainer, the front and rear axles should be at the same height. Many trainers raise the rear slightly — use a riser block under the front wheel to level the frame before measuring.
KOPS is a starting point. After achieving KOPS, ride for a few sessions and assess: any anterior knee pain, saddle instability, or difficulty reaching the pedal at the bottom of the stroke are signs the position needs further adjustment. For riders experiencing knee issues, the position should be reviewed alongside cleat alignment and saddle height — not just fore-aft.
As detailed above — the steep seat tube angle of a triathlon bike makes road KOPS inapplicable. If you ride both a road bike and a tri bike, do not use the same fore-aft reference for both.
KOPS was developed in an era of static measurements and fixed conversion formulas. Modern professional bike fitting uses motion capture systems — such as Retül or Guru — that track joint angles, knee travel path, and pedaling dynamics through the full pedal stroke under load. These systems can identify issues that no static measurement reveals: a knee that tracks outward at the top of the stroke, hip rocking caused by saddle height, or asymmetric load due to leg length difference.
For recreational cyclists doing their first bike fit, or refining a position at home, KOPS remains a useful and practical tool. It requires no technology, can be done alone with a plumb bob and a trainer, and will get most riders to within a reasonable range of a good position. For riders who train seriously, are managing a knee injury, or are targeting specific performance outcomes, a professional fit using dynamic measurement is worth the investment. The FTP improvement guide covers how training structure and bike position both contribute to power gains over time.
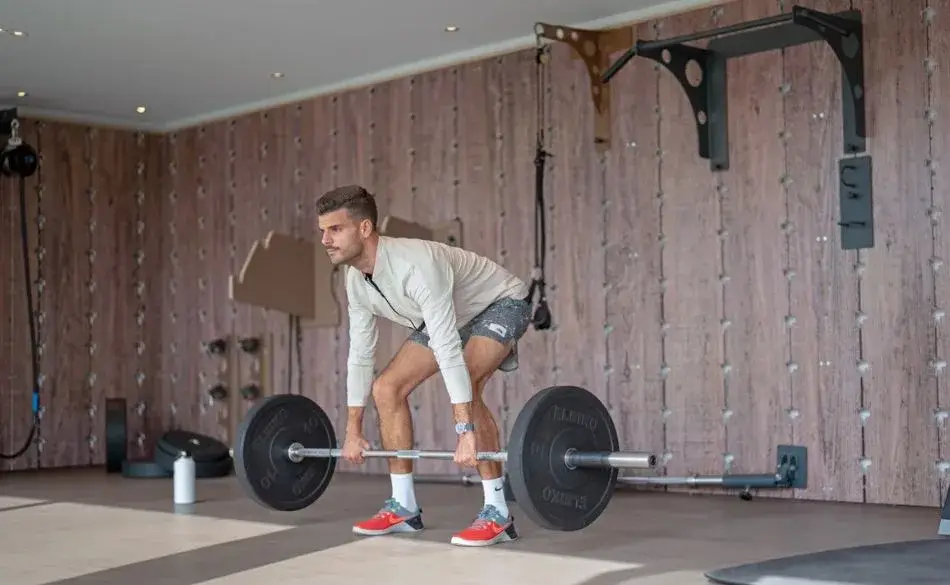
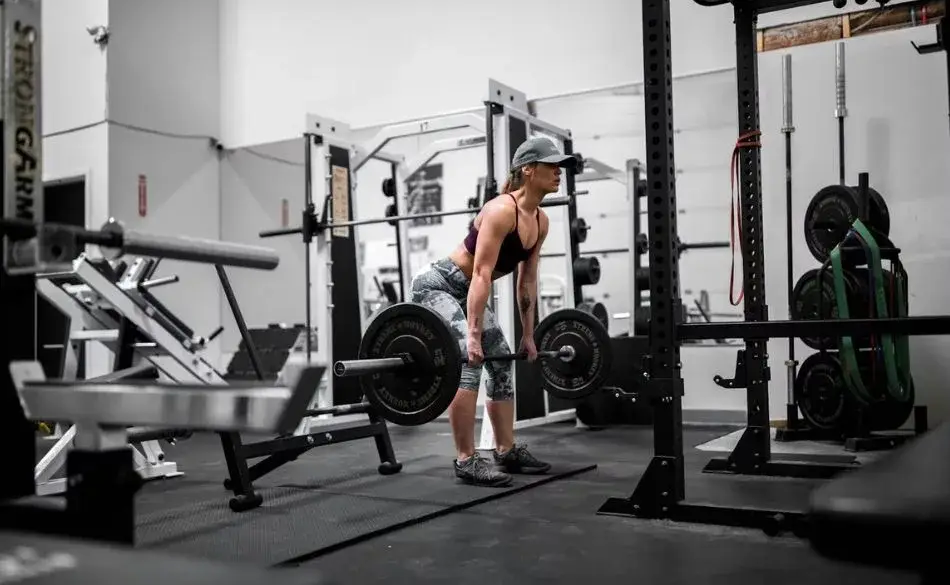
KOPS fits neatly into a hierarchy of bike fit checks: saddle height (most important), saddle fore-aft via KOPS (second), then reach and handlebar height (third), then cleat position. Getting the first two right resolves the majority of comfort and efficiency issues for most cyclists. Off-bike strength work — including resistance band training for cyclists — can also improve hip stability and pedalling alignment, reducing the degree to which position issues manifest as pain. The cycling training plans and cycling coaching at SportCoaching are built around athletes who have a solid base position — if position is causing recurring issues, addressing fit before increasing training load is always the right priority.
Want structured cycling training built around your goals?
Whether you're building base fitness, targeting an FTP improvement, or preparing for a sportive or race, our cycling coaching builds a weekly plan around your available time and current fitness level.
What is the KOPS method in bike fitting?
KOPS stands for Knee Over Pedal Spindle. It is a saddle fore-aft positioning method where the rider places the crank at 3 o’clock, then drops a plumb line from the tibial tuberosity — the bony bump below the kneecap — to the pedal axle. If the line bisects the pedal spindle, the rider is at KOPS. It became popular in the 1980s via the Fit Kit system and Greg LeMond’s 1987 book, and is used as an initial reference point for saddle setback on road bikes.
Does the KOPS method actually work?
KOPS has no proven biomechanical basis — the knee’s gravitational position over the spindle has no direct connection to pedaling efficiency. Framebuilder Keith Bontrager’s 1990s critique established this clearly. However, on standard road geometry KOPS works as a practical approximation because it tends to place the hip joint close to the seat tube axis — which is the real underlying reason good positions cluster near KOPS. Most fitters treat it as a starting point, with further adjustment based on individual anatomy and riding goals.
Where should my knee be when cycling — over, behind, or in front of the pedal spindle?
For most road cyclists, the tibial tuberosity sitting directly over or 0–20mm behind the pedal spindle is a good starting position. Slightly behind the spindle reduces anterior knee stress and shifts load toward the glutes and hamstrings. Triathletes on tri bikes typically sit well forward of the spindle. Mountain bikers and gravel riders often sit further behind for stability. The ideal position depends on bike type, anatomy, and goals.
What is the difference between KOPS and the balance test?
KOPS is a static measurement of knee-to-spindle alignment at one point in the stroke. The balance test is dynamic: ride at steady tempo, lift your hands briefly from the bars, and observe whether you tip forward (saddle too far forward or high) or rock back (too far back or low) or hold steady (balanced). The balance test checks overall weight distribution across the bike — something KOPS does not address at all. Both together give a more complete picture than either alone.
Does KOPS apply to triathlon bikes?
No. Triathlon and TT bikes use seat tube angles of 76–80° (road bikes use 72–74°), which places the rider’s hips significantly further forward over the bottom bracket. Applying road KOPS to a tri bike produces a saddle position far too far back. Triathletes should be fitted specifically for tri geometry, typically placing the knee at or ahead of the spindle to open the hip angle and preserve the hamstrings for running.
Ready to put your training to the test? Here are some upcoming cycling events matched to this article.
Head Coach & Founder, SportCoaching
Graeme is the founder of SportCoaching and has coached more than 750 athletes from 20 countries, from beginners to Olympians, in cycling, running, triathlon, mountain biking, boxing, and skiing. His coaching philosophy and methods form the foundation of SportCoaching's training programs and resources.
No matter your goals, SportCoaching offers tailored training plans to suit your needs. Whether you’re preparing for a race, tackling long distances, or simply improving your fitness, our expert coaches provide structured guidance to help you reach your full potential.
Structured cycling coaching to build power, endurance, and speed.
What’s included
Browse upcoming Australian running, cycling, and triathlon events in one place. Filter by sport, check dates quickly, and plan your training around something real on the calendar.
Choose your plan to get started with personalized training plans designed to help you reach your goals.


Minna Backman
When you’re new, feedback is especially important, and Graeme is highly skilled at both analyzing numbers and understanding the importance of mental strength.