Find Your Next Triathlon Race
Ready to put your training to the test? Here are some upcoming triathlon events matched to this article.
 Coach Graeme

Last updated:
Not sure where to start with training?
Tell us your goal and schedule, and we’ll give you clear direction.
No obligation. Quick, practical advice.
Explore our triathlon workouts and tips for more helpful articles and resources.
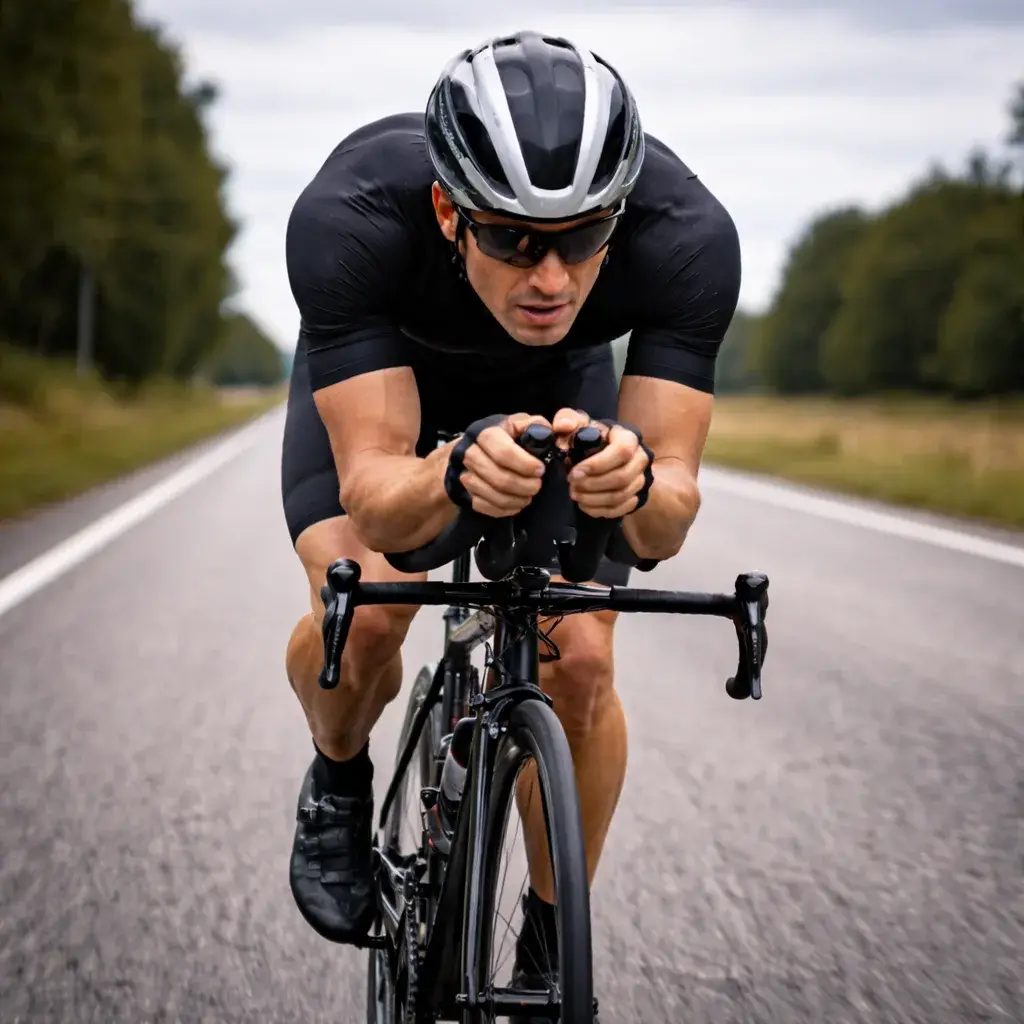
Getting into the right triathlon bike fit position is essential for any triathlete looking to compete in a triathlon. The combination of comfort and the ability to produce power can mean the difference between finishing an event or not finishing at all.
The perfect bike position doesn’t just rely on comfort and power but also on aerodynamics. Focusing purely on aerodynamics for most triathletes will negatively affect your results. This means the more aggressive you fit yourself, the less power you will be able to produce. Although you might get faster because of the more aggressive position, there is a tipping point where the power lost often outweighs the benefits of the aerodynamic gains.
So, finding the correct balance of comfort, power, and aerodynamics is the key to a perfectly balanced setup. This can be achieved by focusing on some key areas such as:
These key areas are important in your bike position to prevent injury and ensure that you can produce power to the pedals.
Often overlooked is geometry and frame size. This plays a vital role in setting the best position relative to your height, flexibility, and handling of the bike. Also, paying attention to all contact points such as hands, saddle, and feet is critical to producing a comfortable position.
When starting out adjusting your triathlon bike, you should follow a step-by-step process—whether you are being fitted by a bike fitter or trying yourself.
Here is an example:
While somewhat a simple example, the most important factor in a proper triathlon bike fit is to constantly test under load. This allows you to fine-tune any adjustments based on body movement. You can even compare past power data in a controlled environment, but this should be reserved for the experienced bike fitter.
A poor setup can be detrimental to your training, speed, and biomechanics.
Some of the common issues in a bad fit are:
All of these factors can have serious consequences for your performance. So let us look at some of these consequences:
If these issues are happening, start by eliminating one problem at a time. Trying to adjust multiple things at once can make it hard to track what was changed and its effects. Stick with one adjustment or follow this guide:
If after several adjustments the issue remains, it’s best to consult a dedicated triathlon bike fit specialist.
| Fit Component | Impact on Performance | Common Issues |
|---|---|---|
| Saddle Height | Affects power transfer, knee tracking | Too low = quad overload; Too high = hip rocking |
| Saddle Fore/Aft | Influences muscle load and pelvic balance | Too far forward = quad overload; Too far back = sliding forward |
| Hip Angle | Controls aerodynamics and comfort | Too closed = limited power; Too open = poor aero |
| Cleat Alignment | Affects knee tracking and pedal stroke | Misalignment = knee pain, IT band tightness |
| Reach/Stem Length | Impacts handling and upper body comfort | Too long = neck/shoulder pain; Too short = cramped feel |
| Handlebar/Aerobar | Controls aero position and breathing efficiency | Too low = discomfort; Poor angle = wrist/hand pain |
| Frame Geometry | Determines fit range and bike handling | Wrong size = can't achieve ideal fit |
| Weight Distribution | Balances handling and comfort | Front-heavy = arm/neck strain; Rear-heavy = instability |
| Head Position | Affects vision and aero drag | Too low = neck strain; Too high = poor aero |
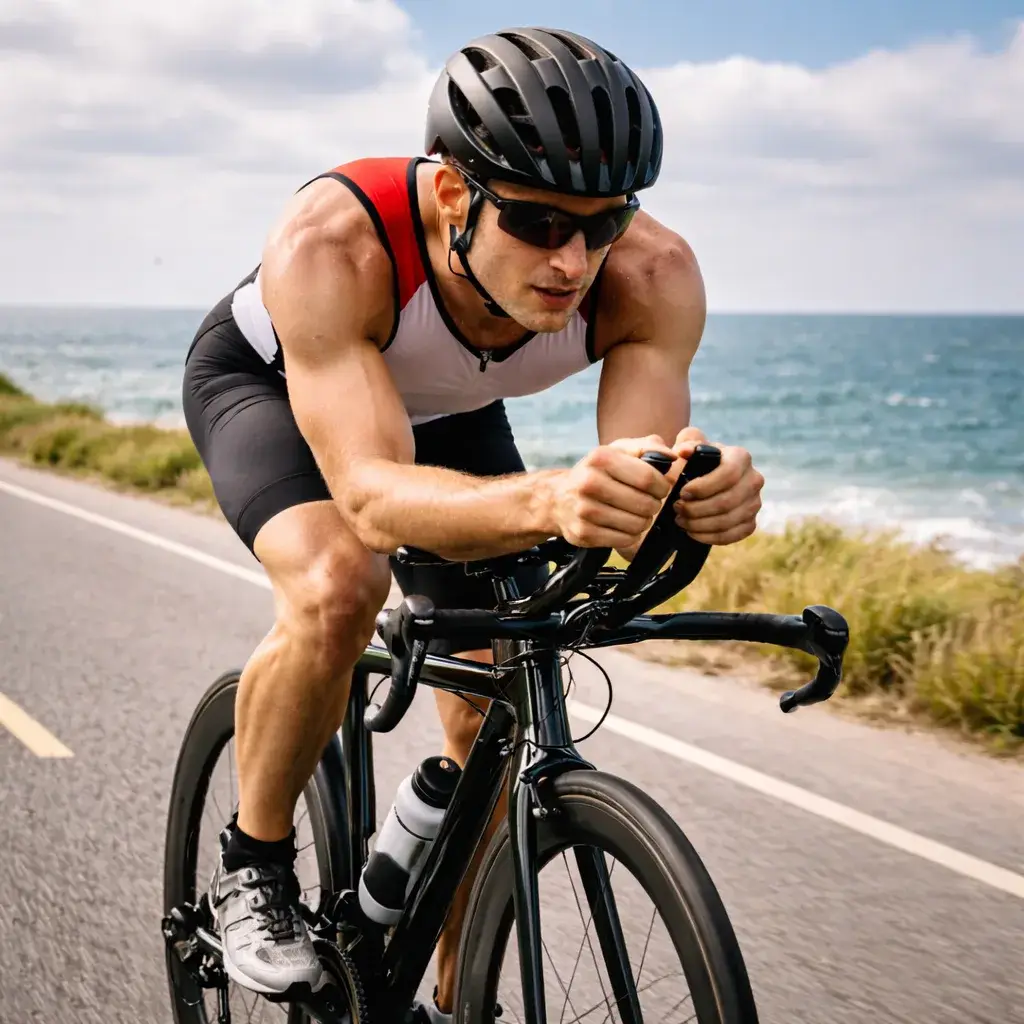
Setting your seat position is a key factor in allowing you to open your hip angle. While most triathlon frames have a steeper seat angle, the seat’s actual placement still plays a big role.
Opening up your hip angle helps position the knee over the foot. This directs your power straight down into the pedals, not forward into the crank. A forward and open hip angle also ensures that your muscles and joints aren’t overworked, allowing them to function together efficiently.
Many triathletes only use the tip of the saddle, leaving the pelvis with no real contact point. But is this okay?
Ideally, your seat position should not place the full load on your pubic symphysis. An aggressive setup will shift some weight there—more than a typical road bike—but pressure should still be limited. Your position should not depend entirely on knee and ankle angles.
When making changes to your seat, keep in mind that even small adjustments can affect your entire cockpit setup. You may also need to alter saddle height, reach, or other elements to maintain a solid triathlon bike fit.
Your saddle’s fore-aft placement is one of the most important aspects of a strong fit. It affects power, muscle load, stability, and pressure on the pelvis. Getting this position right contributes greatly to both comfort and performance.
To measure fore-aft, drop a plumb line from the saddle tip to the crankset and measure the distance from the line to the crank’s center. This gives you your saddle offset.
For years, bike fitting theory used KOPS (knee over pedal spindle) as a benchmark. However, most professional fitters now consider this outdated. Instead, saddle fore-aft should focus on pelvic stability, hip angle, and the power you can transfer to the pedals.
Many triathletes set the saddle too far forward. This overloads the quads and shifts weight forward, forcing the upper body to absorb more of the load.
The correct position supports the sit bones, balances weight, and prevents any one muscle group from being overworked. Hamstrings and quads should work together while the upper body remains relaxed and the pelvis stable—key markers of a well-executed triathlon bike fit.
A triathlon bike fit is the process of adjusting your bike to match your body’s biomechanics. It ensures you can ride efficiently, comfortably, and with minimal risk of injury. A proper fit can significantly improve power output, aerodynamics, and endurance.
Triathlon fits typically involve a steeper seat tube angle and a more forward, aerodynamic position to reduce drag and save energy for the run. Road fits prioritize comfort over long rides, while triathlon fits aim to balance speed with energy conservation.
You can start with a basic fit yourself by adjusting key areas like saddle height, cleat position, and reach. However, for the most accurate and optimized setup, especially for long-course racing, a professional bike fit is highly recommended.
At least once a year or anytime your body, flexibility, strength, or training goals change. Injury, new gear, or a shift in riding discipline are also good reasons to revisit your fit.
Common signs include numb hands or feet, knee pain, lower back discomfort, saddle soreness, and feeling unstable or inefficient on the bike. Poor fits often lead to muscle imbalances and reduce performance over time.
A well-executed triathlon bike fit is one of the most effective ways to improve your performance in a triathlon. It is also one of the best ways to become more efficient and comfortable on your bike. However, it’s not just about being more aerodynamic or powerful—it’s about allowing your body to work in balance over long distances.
By understanding how each part of your setup affects your riding, you can make informed adjustments that improve your power, enhance aerodynamics, and help prevent injury in the long term. A good bike fit isn’t a one-time fix—it’s an ongoing process.
Whether you’re fine-tuning the fit yourself or working with a professional, remember that your position should evolve as your body changes. This is typically done once a year. Just keep in mind—a good bike fit isn’t a one-time fix; it’s something you should revisit regularly.
Ready to put your training to the test? Here are some upcoming triathlon events matched to this article.


Head Coach & Founder, SportCoaching
Graeme is the founder of SportCoaching and has coached more than 750 athletes from 20 countries, from beginners to Olympians, in cycling, running, triathlon, mountain biking, boxing, and skiing. His coaching philosophy and methods form the foundation of SportCoaching's training programs and resources.
No matter your goals, SportCoaching offers tailored training plans to suit your needs. Whether you’re preparing for a race, tackling long distances, or simply improving your fitness, our expert coaches provide structured guidance to help you reach your full potential.
Personalised coaching to improve your swim, bike, and run performance.
What’s included
Browse upcoming Australian running, cycling, and triathlon events in one place. Filter by sport, check dates quickly, and plan your training around something real on the calendar.
Choose your plan to get started with personalized training plans designed to help you reach your goals.


Minna Backman
When you’re new, feedback is especially important, and Graeme is highly skilled at both analyzing numbers and understanding the importance of mental strength.