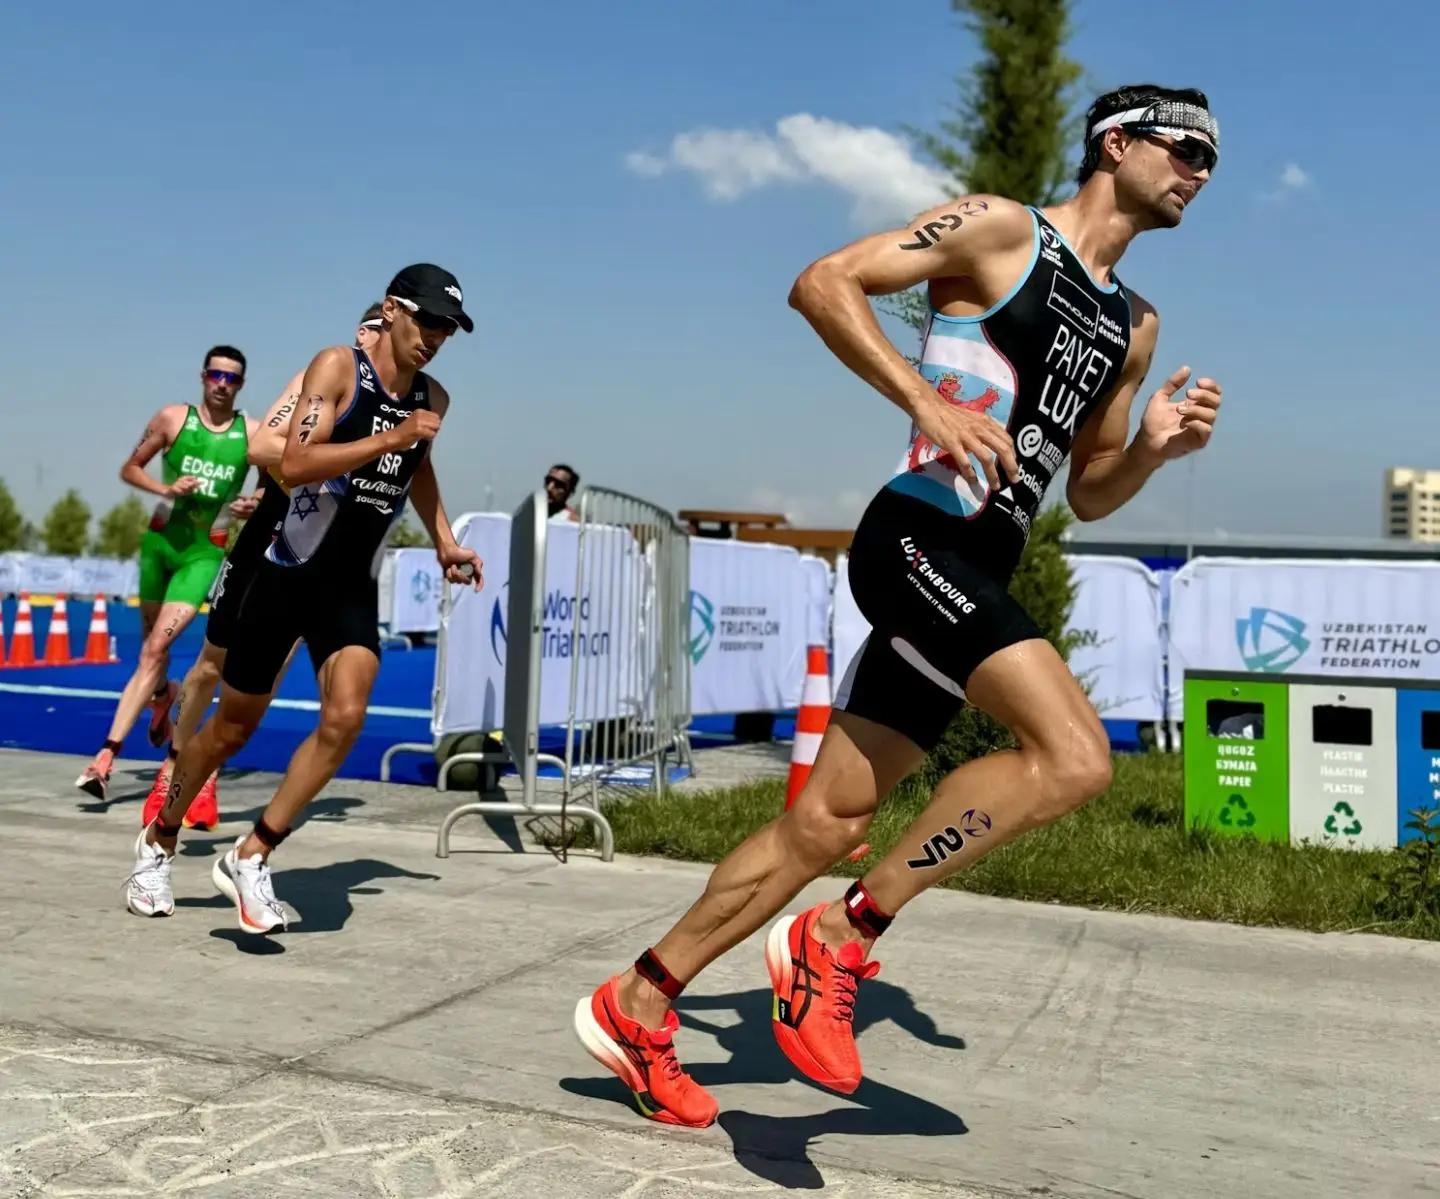


Find Your Next Cycling Race
Ready to put your training to the test? Here are some upcoming cycling events matched to this article.
 Coach Graeme

Last updated:
There's a lot of advice aimed at new cyclists, and most of it focuses on gear. Buy this helmet, wear these shorts, get this computer. Some of that is genuinely useful. But the things that actually determine whether a beginner cyclist improves, stays injury-free, and enjoys riding enough to keep going are mostly about how you ride rather than what you buy.
This guide covers the practical essentials: how to set up your bike so it doesn't hurt you, what cadence actually means and why it matters, how to eat and drink on the bike, how to structure training so you improve rather than just get tired, and the common mistakes that hold most beginners back. The gear will come — but get these foundations right first.
Not sure where to start with training?
Tell us your goal and schedule, and we’ll give you clear direction.
No obligation. Quick, practical advice.
Explore our cycling training advice for more helpful articles and resources.
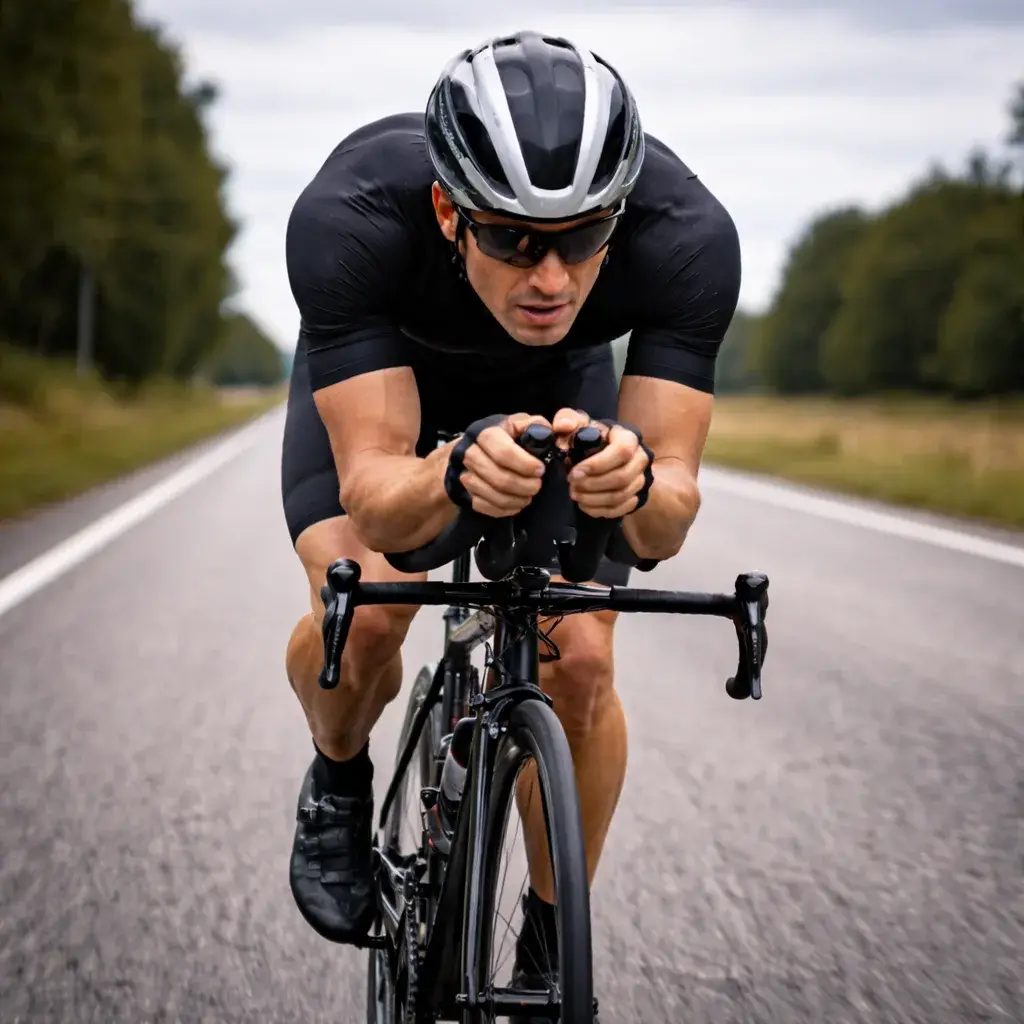
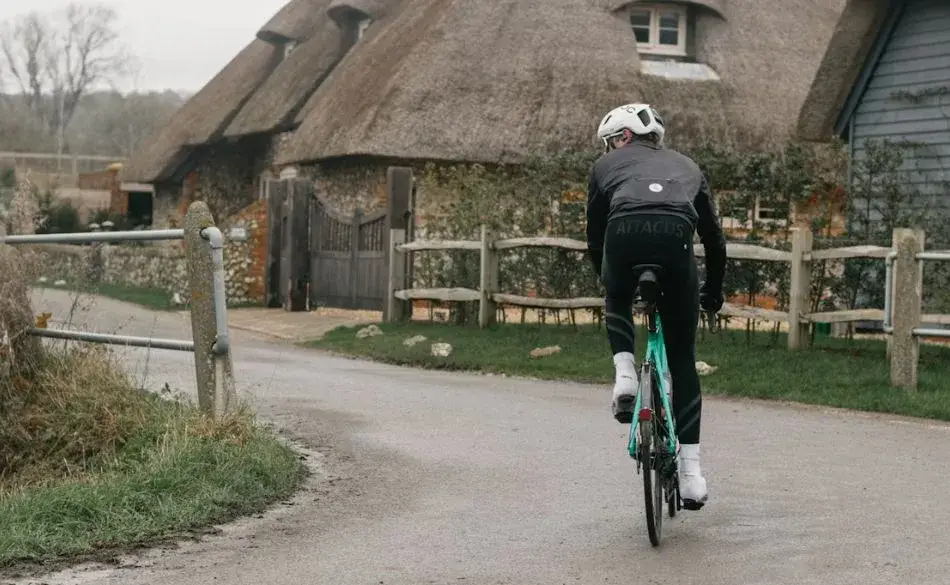
You don’t need a professional bike fit on day one (though it’s worth doing eventually). But getting three adjustments roughly right from the start prevents the most common injury and comfort issues that stop beginners from enjoying riding.
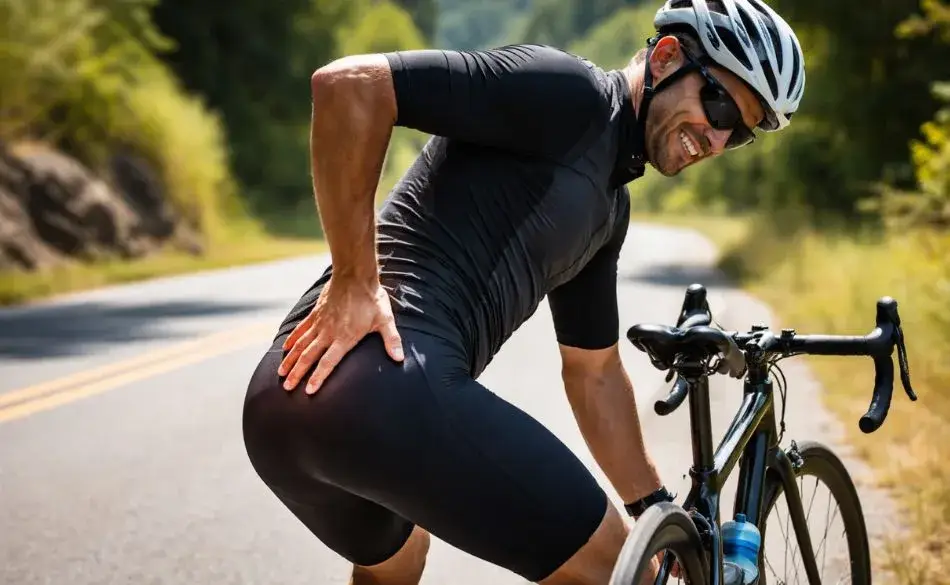
Saddle height. The most impactful single adjustment on any bike. Too low and the knee is excessively bent at the bottom of the stroke — overloading the front of the knee (patella tendon) and reducing pedalling efficiency. Too high and the hips rock side to side to reach the pedal, stressing the lower back and risking hamstring strain.
The heel method: sit on your bike near a wall for balance. Put your heel on the pedal and bring the pedal to the bottom of the stroke (6 o’clock position). Your leg should be fully extended with no hip rocking. When you then place the ball of your foot in the normal riding position, you’ll have approximately 25–35 degrees of bend at the knee — which is correct. Make small adjustments in 3–5mm increments and ride between each adjustment before changing again.
Saddle fore-aft position. With the cranks horizontal (3 o’clock and 9 o’clock), the knotty bump just below your front kneecap (tibial tuberosity) should be directly above or very slightly behind the pedal axle. This is the “KOPS” (knee over pedal spindle) position. Too far forward increases pressure on the front of the knee. Too far back reduces power transfer. Again, start with the general rule and adjust only if you’re experiencing knee discomfort after several rides.
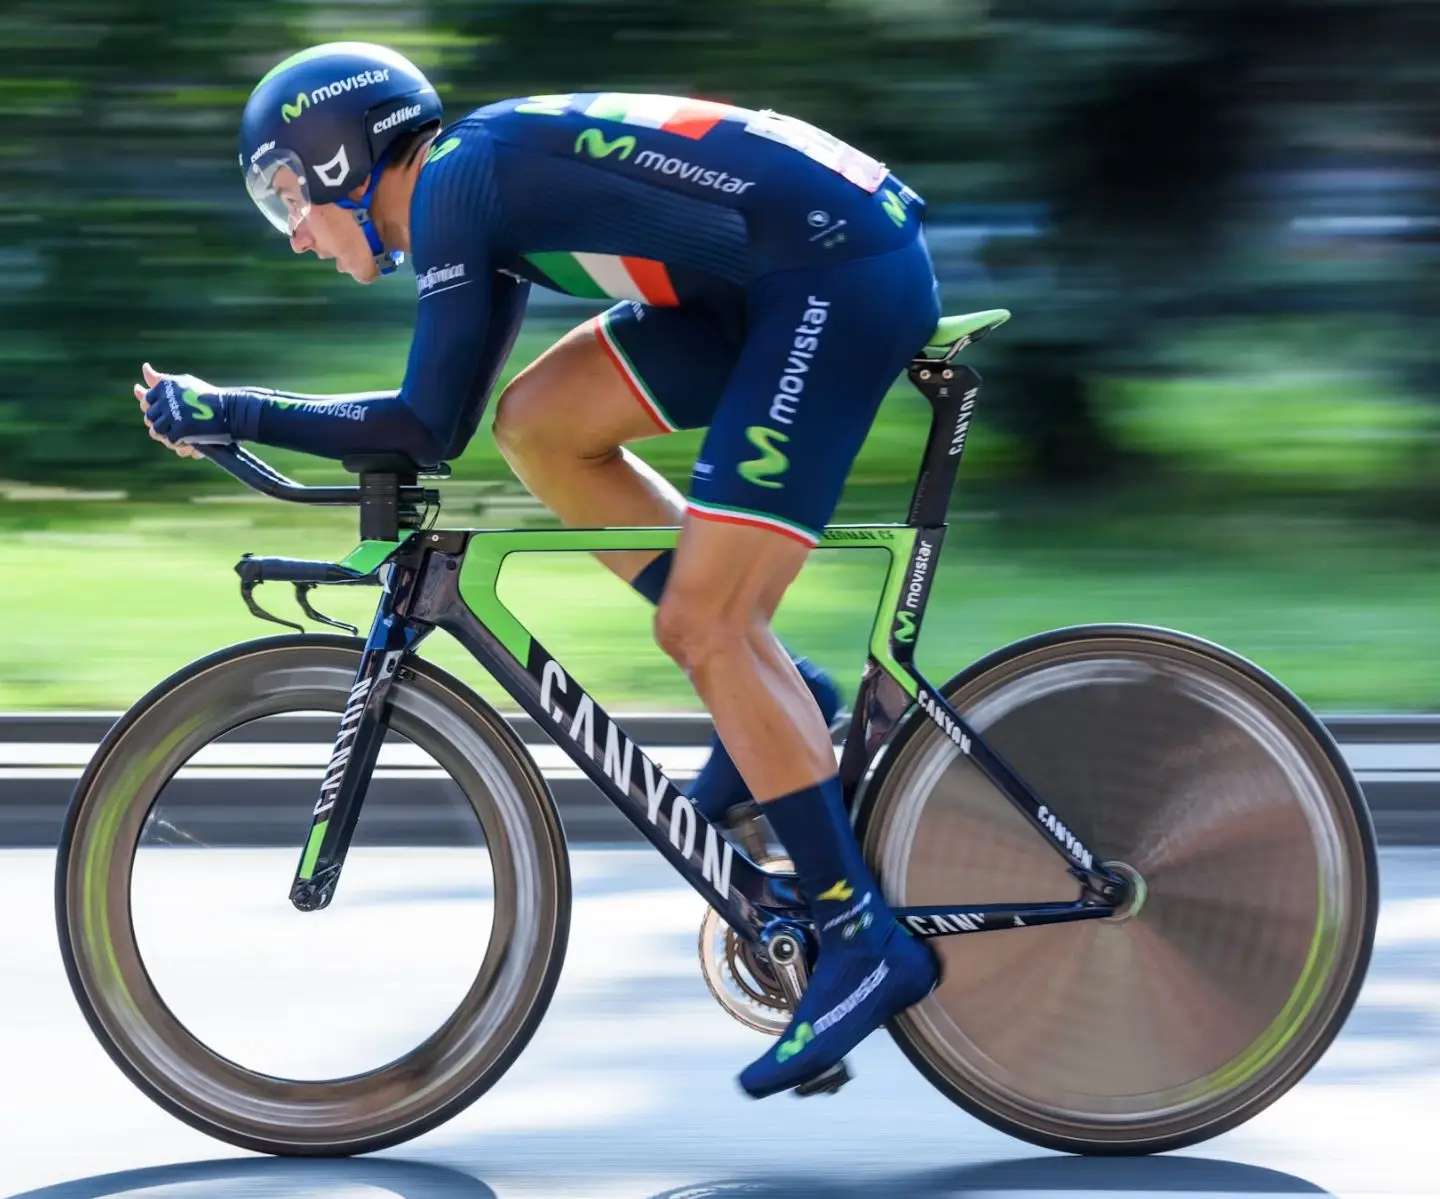
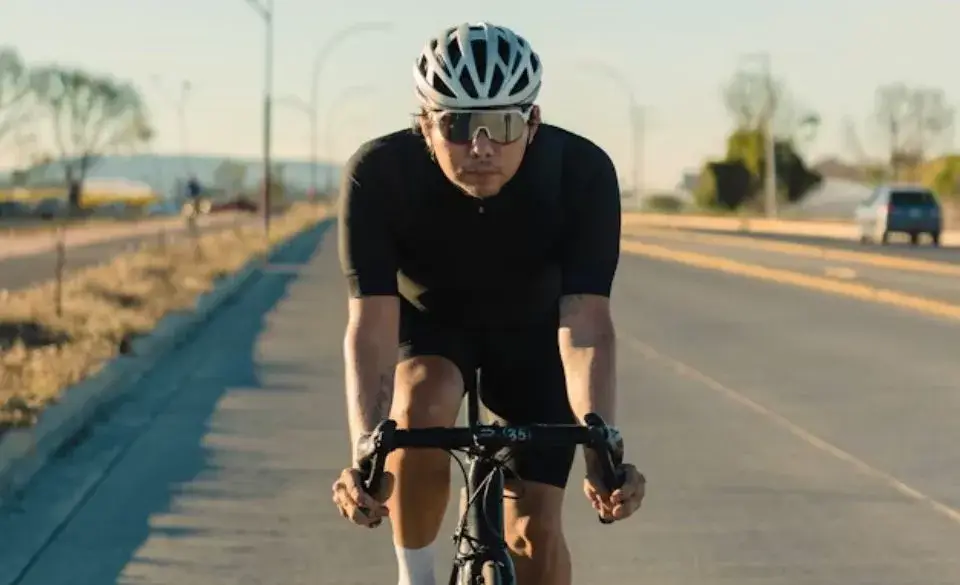
Handlebar reach. On a road bike, you should be able to reach the hoods (brake lever tops) comfortably with a slight bend in the elbows — not fully locked out. Locked elbows transmit every road vibration directly to your shoulders and neck. A comfortable bend absorbs shock and allows more control. If you’re permanently straining forward or feeling cramped, the stem length may need adjustment — your local bike shop can advise after watching you ride.
Cadence — the number of times you complete a full pedal revolution per minute — is one of the most underrated concepts for beginner cyclists. Most new riders default to 60–70 RPM, grinding a relatively big gear with high muscular effort per stroke. It feels productive. It isn’t.
Pushing a big gear at low cadence is like starting a car in third gear. The power is there, but the stress on the engine (in this case, your knees and leg muscles) is disproportionate to the speed achieved. High muscular load at low cadence fatigues the legs faster than a higher cadence would, and places more stress on the knee joint — the most common injury site for new cyclists.
Riding at 80–90 RPM in an appropriately lower gear shifts the demand from the muscles to the cardiovascular system. The cardiovascular system recovers more quickly within a ride than fatigued muscles. It’s also more sustainable over longer distances — your legs arrive at the end of a 2-hour ride with far more left in them than if you’d mashed a big gear throughout.
How to practise: use a cycling computer, Garmin, or phone app that shows cadence. On flat sections of road, deliberately shift to a smaller gear (easier) until you can spin at 80–90 RPM while maintaining comfortable breathing. It will feel strange if you’ve been a low-cadence rider. Stay with it for several rides and it becomes natural. Our guide on cadence for cyclists covers the science and the practical exercises in more detail.
The cycling industry will always be trying to sell you more gear than you need. Here’s what genuinely matters for a beginner and what can wait.
| Item | Why it matters | What to look for | Priority |
|---|---|---|---|
| Helmet | Legal requirement in Australia; essential protection. Replace after any impact or every 5 years. | Must meet AS/NZS 2063 standard. Fit snugly — should not rock. Ventilation matters on hot Australian days. | Non-negotiable |
| Padded cycling shorts | The chamois (padding) makes rides over 30 minutes tolerable. Worn without underwear — double-layering causes chafing. | Bib shorts (shoulder straps) stay in place better than waist-band shorts. Spend reasonable money here — cheap padding fails quickly. | High — first clothing purchase |
| Cycling gloves | Protect palms in a fall; reduce handlebar vibration; prevent hand numbness on longer rides. | Fingerless mitts for summer; full gloves for winter. Modest padding rather than maximal. | Recommended from the start |
| Front and rear lights | Legal requirement if riding near dusk or dawn in Australia. Visibility matters even in daylight on busy roads. | Rechargeable USB units. Rear should be at minimum 5 lumens flashing; front depends on road conditions. | Essential if riding anywhere near low light |
| Basic puncture kit | You will get a flat tyre eventually. Being stuck kilometres from home is avoidable. | Spare inner tube, tyre levers, mini pump or CO2 inflator. Learn to use them before you need them. | Essential from ride one |
| Water bottle and cage | Hydration is performance and safety. Most bikes have cage mounts. | Standard 750ml bottle fits most cages. Two bottles for rides over 90 minutes in warm weather. | Essential |
| Cycling-specific shoes | Stiffer sole transfers power more efficiently. Optional initially but worthwhile within first few months. | Flat-pedal shoes first if not using clip-ins. SPD or SPD-SL cleats for road clip-ins once confident. | Useful within 1–3 months |
Our complete beginner cycling gear guide covers each item in more detail, including specific product categories and what to avoid at different price points.
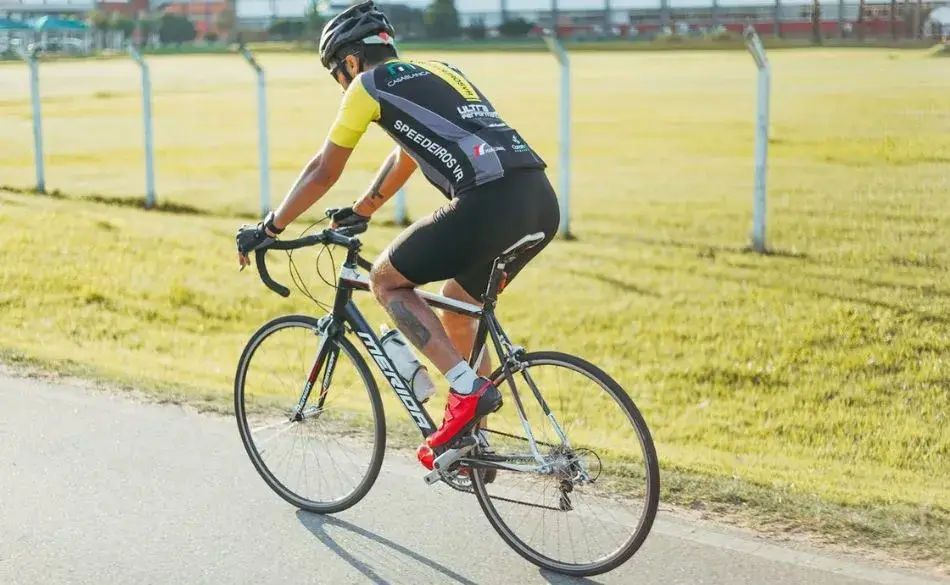
Clipless pedals (the name is a legacy from when toe clips were standard — clipless means “no toe clips”) attach your cycling shoes directly to the pedal, improving power transfer and pedalling efficiency. They’re standard on road bikes. They’re also the source of the most universal beginner cycling story: forgetting to unclip at a traffic light and slowly toppling sideways.
Don’t rush this transition. Flat pedals are completely fine for learning and for general recreational riding. Make the switch to clipless only when you’re comfortable with all other aspects of handling the bike — braking, cornering, riding in traffic, starting and stopping confidently.
When you do switch: set the cleat retention tension to its loosest setting. Practice clipping in and out while stationary next to a wall or fence until it’s automatic. Then practise on a quiet road or path with space to unclip before any stop. The muscle memory develops quickly — most riders find the first few awkward sessions give way to effortless clipping within a week or two. The power and efficiency benefits are real and worth developing eventually; just not before you’re ready.
For rides under 60 minutes, water is sufficient for most riders at moderate intensity. The body’s glycogen stores are adequate for this duration, and eating during the ride provides no meaningful benefit for short efforts.
For rides over 60 minutes, the rule changes: start eating and drinking before you feel hungry or thirsty. Your body’s glycogen stores last approximately 90 minutes of moderate cycling effort. The physiological problem is that once you’ve depleted glycogen, you can’t replenish it quickly enough mid-ride to avoid the dramatic performance drop that cyclists call “bonking” or “hitting the wall.” Prevention is the only practical strategy.
Target 30–60 grams of carbohydrate per hour from around the 45–60 minute mark. This doesn’t require expensive gels — a banana, a rice cake, a piece of fruit loaf, or a regular sports drink all achieve the same goal. Real food works well for recreational riders at lower intensities. The key is regularity: eat a small amount every 20–30 minutes rather than waiting until you’re hungry and then consuming a lot at once.
Drink to thirst, but in hot Australian conditions this means drinking more frequently than you might expect — 500–750ml per hour in warm weather is a sensible target. Add electrolytes (available as dissolvable tablets or in sports drinks) for rides over 90 minutes or any ride in significant heat. Electrolyte depletion through sweat is a significant cause of cramping and fatigue on longer rides.
The most reliable predictor of cycling improvement for beginners isn’t how hard the sessions are — it’s how consistent the weekly training is. Three moderate rides per week, every week for six months, produces far better results than occasional very hard rides with gaps between them. The adaptation that produces fitness — cardiovascular, muscular, and neurological — is cumulative and requires the training signal to be applied repeatedly over time.
A practical beginner week: one slightly longer ride (60–90 minutes, easy conversational effort), one shorter ride with a brief harder effort (try 10–15 minutes at “comfortably hard” pace within a 45-minute ride), and one easy recovery ride of 30–40 minutes. Three rides, three to four hours total. This is enough to produce consistent improvement without the fatigue accumulation that makes more ambitious plans unsustainable for riders new to structured training.
The 80/20 principle applies from day one: 80% of riding time at genuinely easy effort — where you can hold a full conversation throughout — and 20% at harder effort. Most beginners ride too hard on their easy days and don’t have enough left for the hard sessions. Genuinely easy riding feels almost too slow. That’s the right effort level.
Our road cycling training plan guide covers structured progression from beginner through to intermediate level, and our training week structure guide gives specific day-by-day frameworks for different training hours. For guidance on how many hours per week makes sense at your current level, our cycling hours per week guide provides benchmarks by goal and fitness stage.
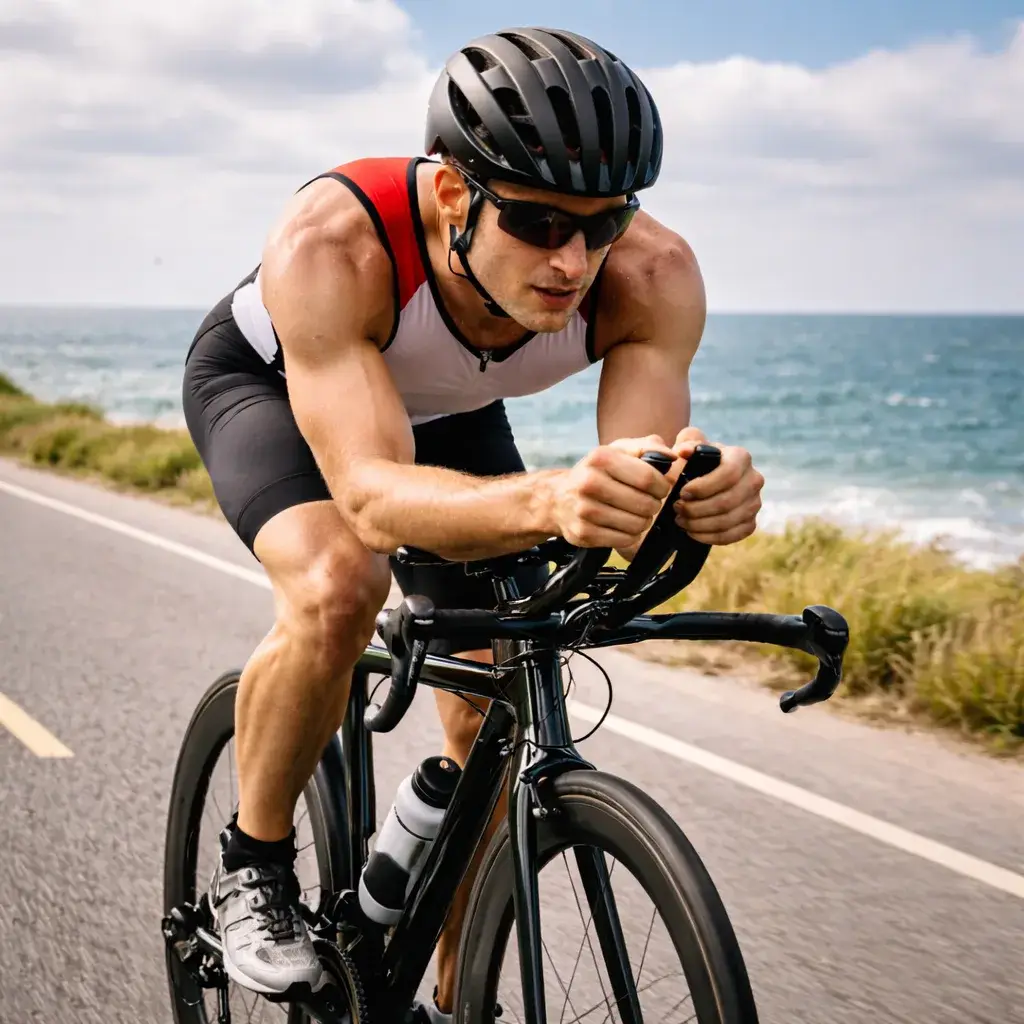
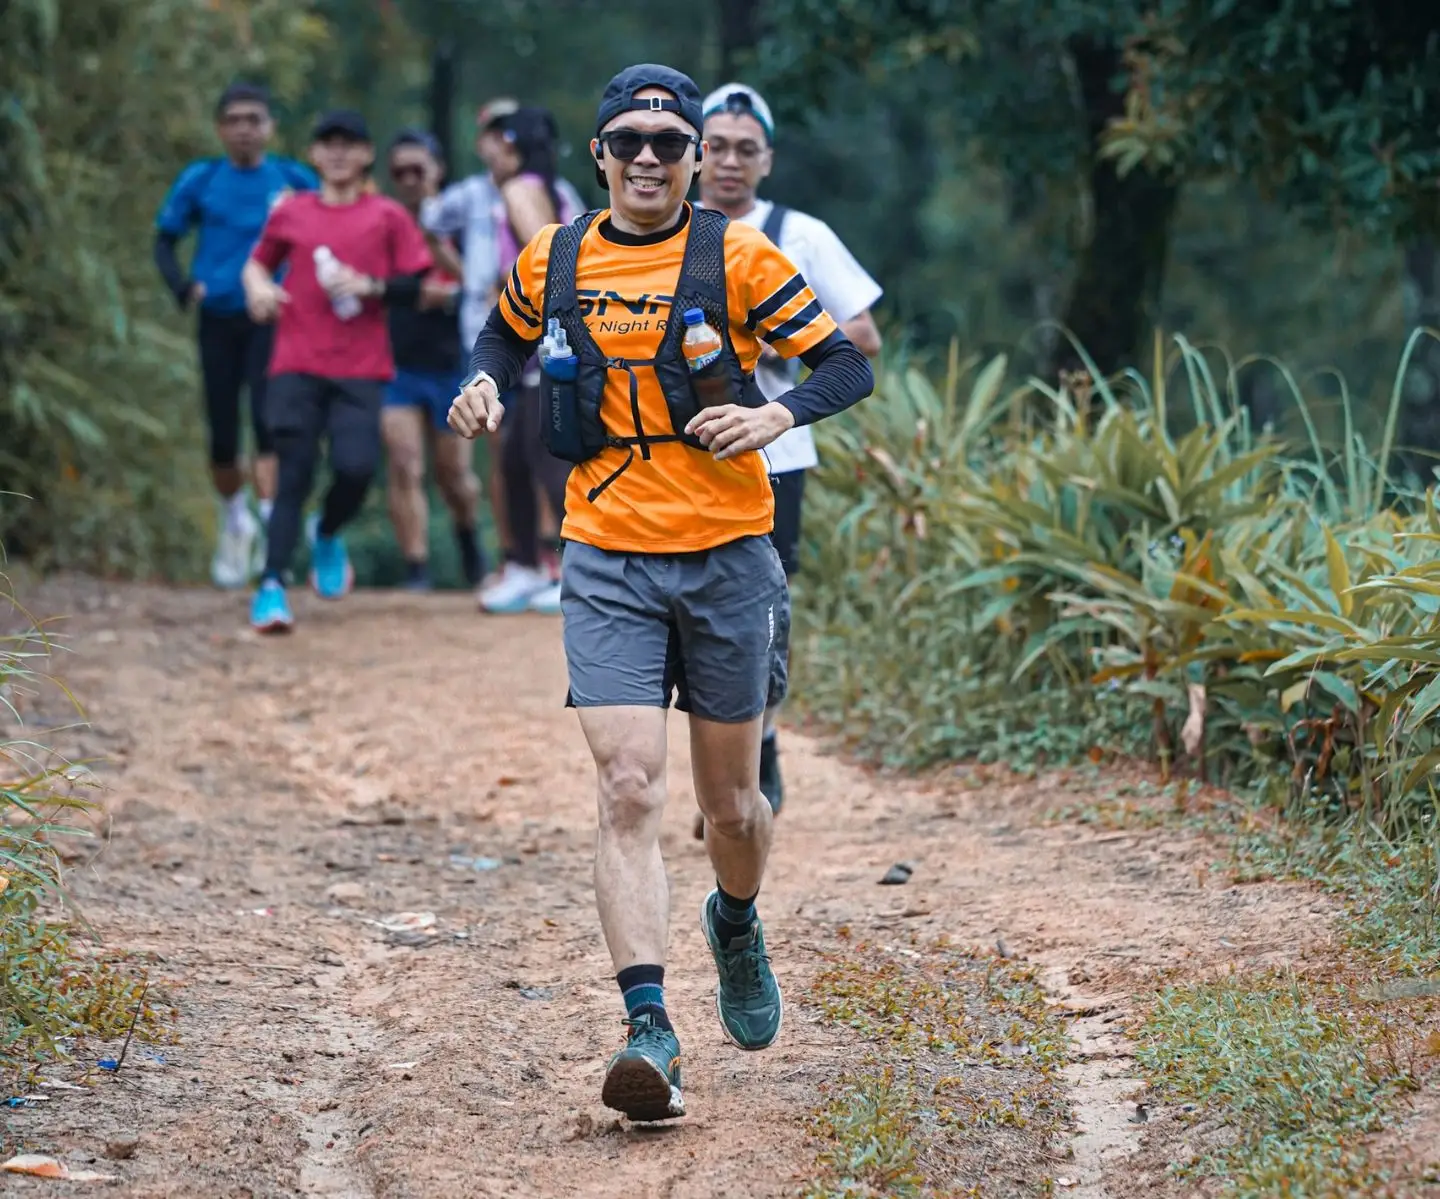
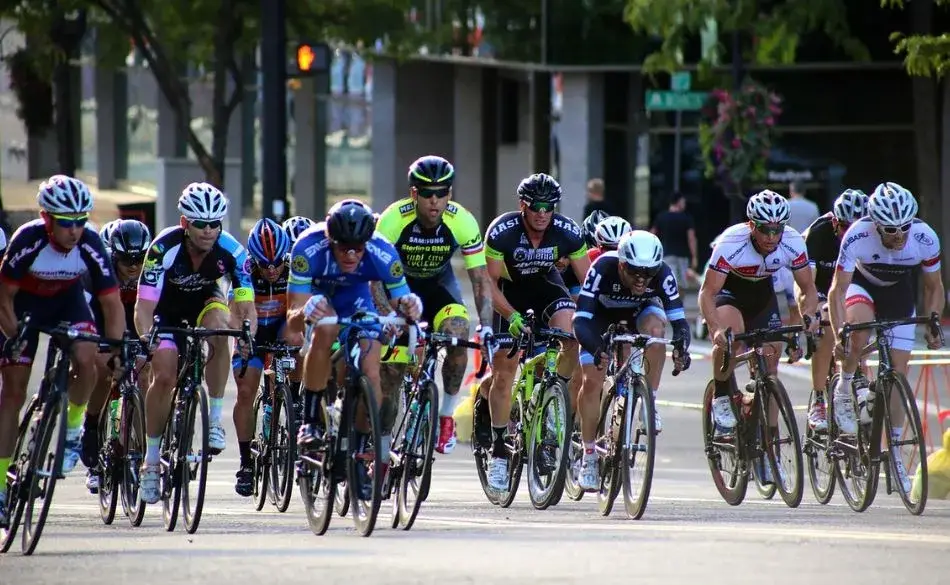
Group riding is one of the most enjoyable aspects of cycling and also one of the most skill-intensive. Riding in close proximity to others at speed requires specific habits that aren’t intuitive for riders who’ve only ridden solo.
The most important: no sudden movements. Brake gradually and progressively, never suddenly. If you need to ease off speed, stop pedalling and let the bike slow naturally before touching brakes. Signal obstacles on the road — point down toward glass, potholes, or gravel and call “glass” or “hole” — so the riders behind you aren’t caught out. Hold your line; don’t drift left or right unpredictably.
Don’t overlap wheels with the rider ahead. If they brake and you’re overlapping, you’ll both come down. Maintain a gap equivalent to half a wheel to a full wheel from the rider in front, widening in corners and descents. Look ahead through the group, not just at the wheel in front of you — this gives you more time to react to changes in pace or obstacles.
For beginners, finding a group at the right pace is important. Many cycling clubs run “no-drop” rides specifically designed so that no rider is left behind. Look for rides rated as social or beginner-friendly rather than joining a fast group that will leave you at the back struggling within the first 10 minutes.
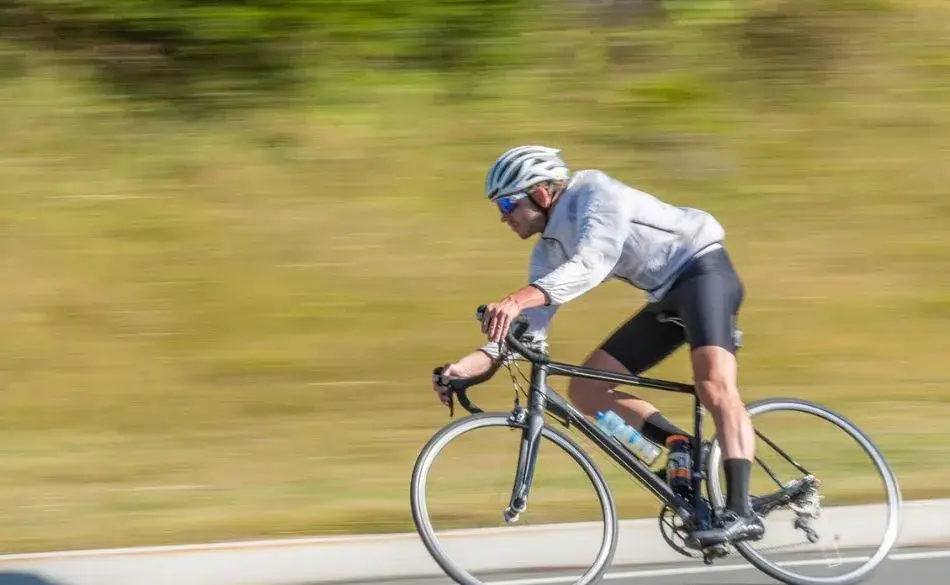
Visibility and predictability are the two core principles of safe road cycling. Motorists can share the road safely with cyclists when the cyclist’s behaviour is readable — predictable lines, clear signals, visible positioning.
Ride with confidence in your road position. Hugging the gutter is counterproductive: it makes you invisible to approaching junctions, it puts you in the door zone of parked cars, and it gives overtaking drivers the impression that they don’t need to move out to pass. Riding about 1–1.5 metres from the edge of the carriageway is both legal and safer — it forces passing drivers to actually change their position to pass, which produces cleaner overtakes.
Signal clearly and early. Extend the arm, make eye contact with drivers at junctions, and establish right of way before committing to a turn. In Australia, cyclists must follow the same road rules as motorists — including stopping at red lights, giving way appropriately, and not riding on footpaths as an adult (this varies by state).
Be particularly cautious of car doors. A door opening into your path from a stationary vehicle gives you almost no time to react. The “Dutch Reach” — using the far hand to open a car door, which forces turning the body and checking mirrors — has reduced door-zone accidents significantly in countries where it’s taught. As a cyclist, assume every parked car may open a door and leave enough clearance.
| Mistake | Why it happens | What to do instead |
|---|---|---|
| Riding every session too hard | Hard riding feels productive; easy riding feels like not trying | 80% of rides at genuinely conversational pace — you should be able to talk throughout |
| Saddle too low | Feels safer and more in control closer to the ground | Use the heel method; accept that correct height feels higher than comfortable initially |
| Mashing big gears at low cadence | High gear feels more like "real cycling" and effort is more obvious | Shift to easier gears and spin at 80–90 RPM; use cadence display on phone or computer |
| Waiting too long to eat and drink | Not hungry yet; don't want to slow down or unwrap food while riding | Eat from 45–60 minutes on any ride over 60 minutes; practise eating one-handed while riding in a safe location first |
| Skipping rest days | Motivation is high; rest days feel like lost progress | Fitness is built during recovery, not during rides. Rest days are part of the plan, not gaps in it |
| Riding too close to the gutter | Feels less intrusive on traffic; taught by instinct to stay out of the way | Ride 1–1.5m from the edge; take a confident, visible road position |
For beginners, the most motivating progress metrics aren’t speed or power — they’re consistency and perceived effort. Tracking whether you rode three times this week matters more than how fast you went. Noticing that the same ride that felt hard three months ago now feels easy is more useful feedback than a specific wattage number.
A cycling computer or phone with Strava or similar apps gives you distance, time, elevation, and average speed. That’s all you need initially. Speed varies so much with wind, terrain, and fatigue that it’s a poor indicator of fitness improvement for beginners — but the fact that a regular route takes you 5 minutes less after two months is a meaningful signal.
When you’re ready to move to data-driven training, the natural progression is heart rate zones first, then power zones if you acquire a power meter or smart trainer. Our heart rate zone training guide covers how to set up zones for cycling from a max heart rate test. Our FTP test guide and power zone calculator take you into structured power-based training when you’re ready for it. Understanding what typical cycling speed looks like at your level — and what’s realistic to target — is covered in our guide to typical cycling speeds.
Ready to Go From Beginner to Structured Cyclist?
SportCoaching's beginner cycling plans give you clear weekly structure, the right mix of easy and hard sessions, and progression that keeps you improving without burning out. Start riding with a plan that actually matches where you are right now.
What is the most important tip for beginner cyclists?
Ride consistently before riding hard. Three moderate rides per week, finishing with energy to spare, builds fitness more reliably than aggressive efforts requiring days of recovery. Consistency over weeks and months is what produces lasting fitness.
What cadence should beginner cyclists aim for?
80–90 RPM. Most beginners ride 60–70 RPM in too high a gear, which stresses the knees and fatigues the legs faster. Use easier gears to maintain a higher cadence — it shifts demand from muscles to the cardiovascular system and is more sustainable over longer rides.
How do I set my saddle height correctly?
Heel method: place your heel on the pedal at the bottom of the stroke — your leg should be fully extended with no hip rocking. When riding normally (ball of foot on pedal), you’ll have 25–35 degrees of knee bend. Adjust in 3–5mm increments and ride between adjustments.
When should I eat and drink during cycling?
For rides under 60 minutes, water is sufficient. Over 60 minutes, eat before you’re hungry — target 30–60g of carbohydrate per hour from around 45 minutes in. Drink regularly rather than waiting until thirsty. In Australian heat, 500–750ml per hour is a sensible target.
Do beginner cyclists need clipless pedals?
No. Flat pedals are fine. Make the switch only when you’re fully comfortable with all other aspects of handling — braking, cornering, traffic. When you do switch, set cleat tension to loosest and practise clipping in and out while stationary before riding in traffic.
Ready to put your training to the test? Here are some upcoming cycling events matched to this article.
Head Coach & Founder, SportCoaching
Graeme is the founder of SportCoaching and has coached more than 750 athletes from 20 countries, from beginners to Olympians, in cycling, running, triathlon, mountain biking, boxing, and skiing. His coaching philosophy and methods form the foundation of SportCoaching's training programs and resources.
No matter your goals, SportCoaching offers tailored training plans to suit your needs. Whether you’re preparing for a race, tackling long distances, or simply improving your fitness, our expert coaches provide structured guidance to help you reach your full potential.
Structured cycling coaching to build power, endurance, and speed.
What’s included
Browse upcoming Australian running, cycling, and triathlon events in one place. Filter by sport, check dates quickly, and plan your training around something real on the calendar.
Choose your plan to get started with personalized training plans designed to help you reach your goals.


Minna Backman
When you’re new, feedback is especially important, and Graeme is highly skilled at both analyzing numbers and understanding the importance of mental strength.