


Find Your Next Cycling Race
Ready to put your training to the test? Here are some upcoming cycling events matched to this article.
 Coach Graeme
Last updated:
Most cyclists focus on fitness when they want to go faster — more training, more intervals, more kilometres. But a significant amount of speed is left on the table through poor position, wrong tyre pressure, a dirty drivetrain, and habits that bleed watts on every ride. These are free speed gains: improvements that cost nothing (or very little) and produce immediate, measurable speed increases. This guide ranks them by impact, quantifies the gains where the data exists, and gives you the practical steps to apply each one.
Not sure where to start with training?
Tell us your goal and schedule, and we’ll give you clear direction.
No obligation. Quick, practical advice.
Explore our cycling advice and tips for more helpful articles and resources.
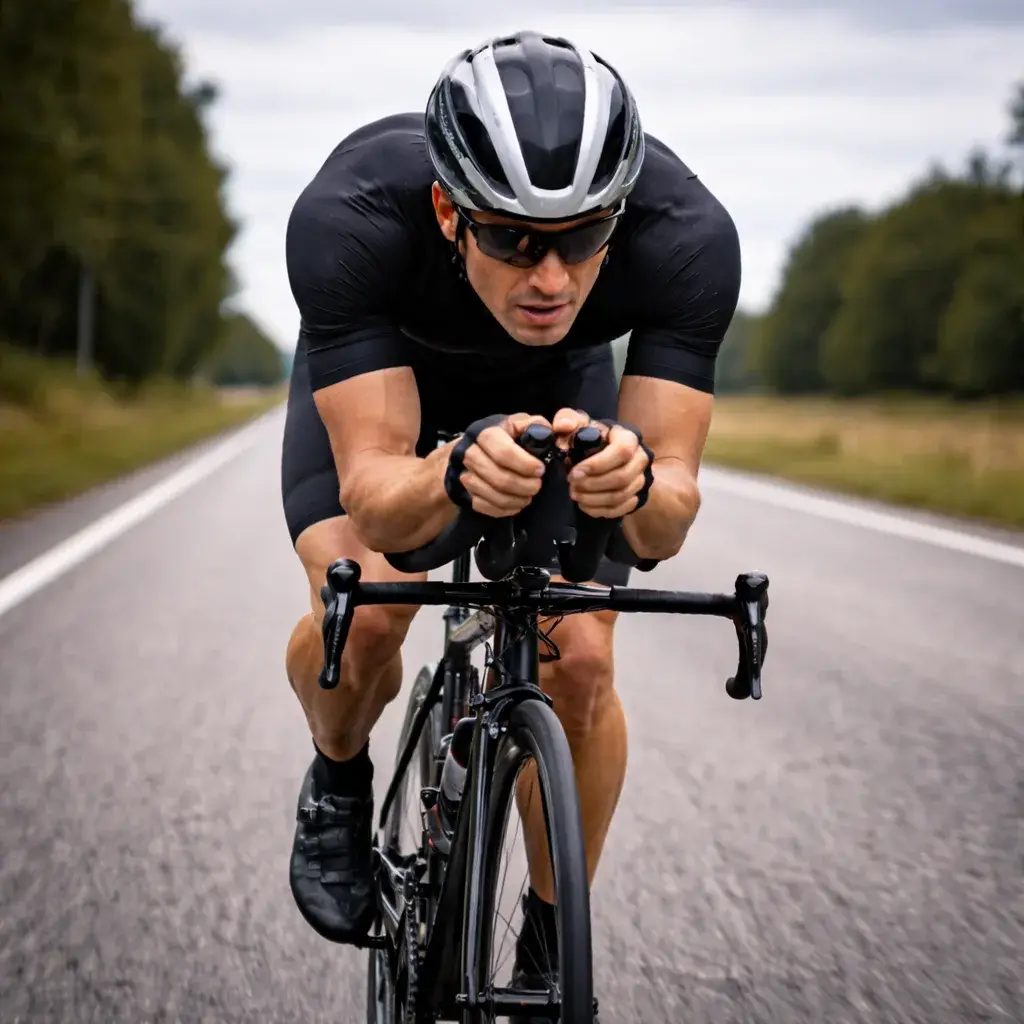
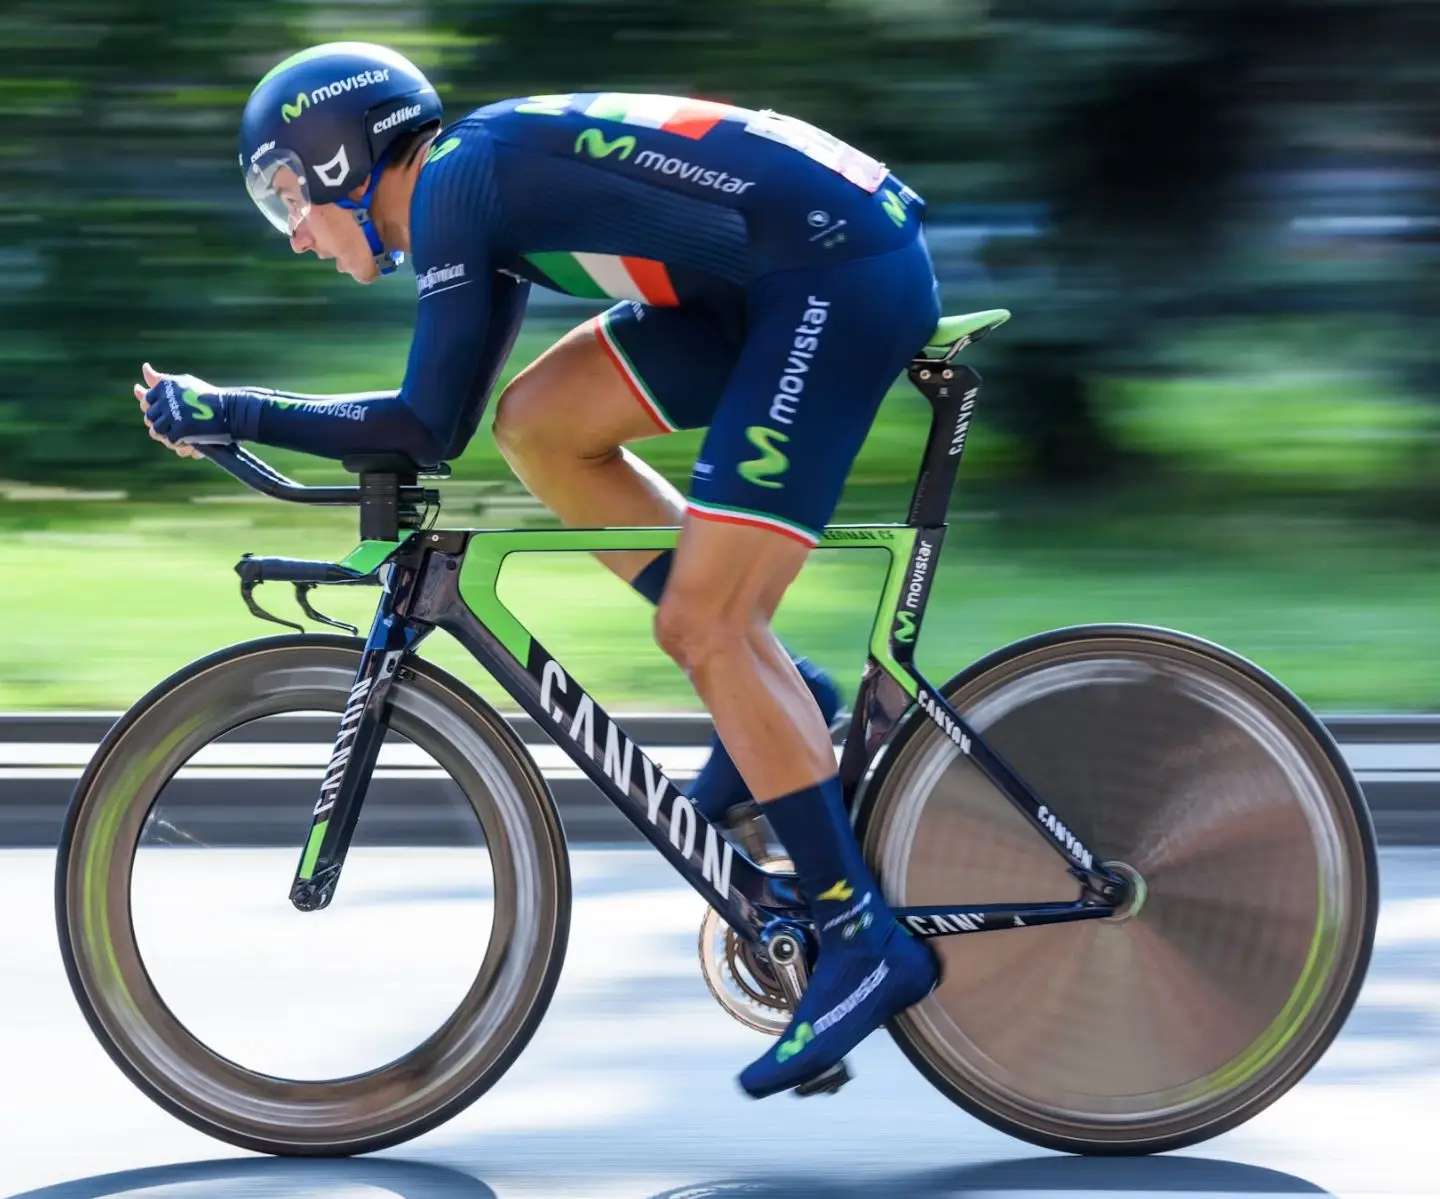
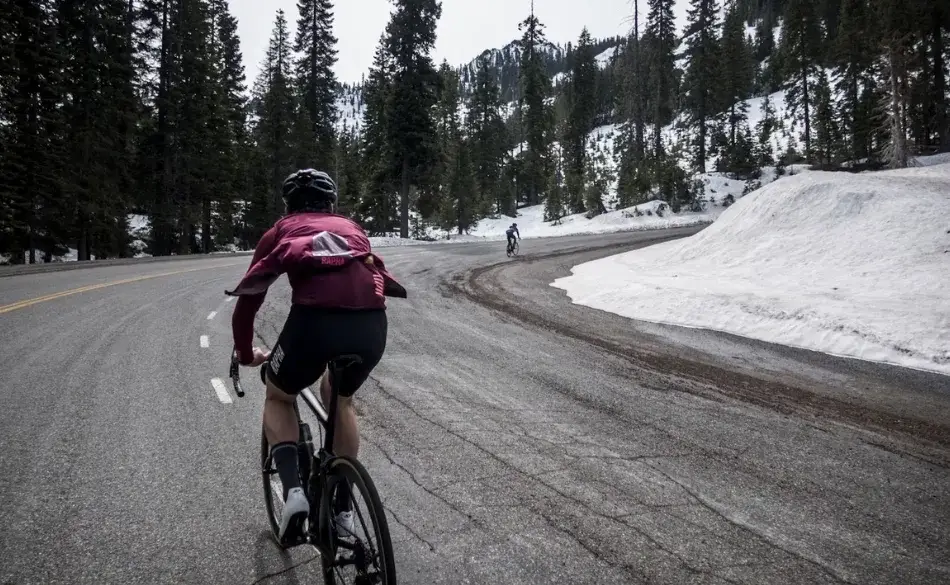
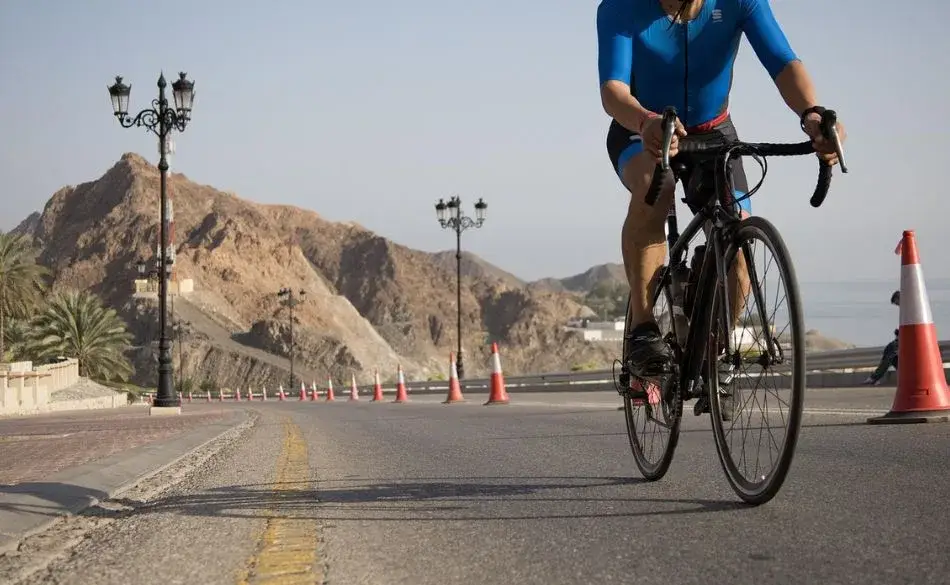
At 40kph on flat ground, roughly 70–80% of the resistance you’re fighting is aerodynamic drag — the force of the air against your body and bike. Your bike’s weight, rolling resistance, and mechanical friction make up the remainder. This matters because it means the fastest improvements are mostly about how your body is shaped against the wind, not how hard you’re pushing the pedals. A wind tunnel study measuring four riding positions on the Los Angeles Velodrome (reported by BikeRadar) found that moving from an upright hoods position to riding in the drops saved meaningful watts at 40kph — not through additional fitness, just position. At road speeds, aerodynamics dominate.
The practical implication: a cyclist with average fitness and an optimised position will be faster than a fitter rider who is upright, on over-inflated tyres, with a dirty chain and a flapping jersey. This is the case for free speed — marginal gains that compound. None of these changes require extra training time.
| Gain | Estimated watt saving | Cost | Effort |
|---|---|---|---|
| Aerodynamic position | 20–40W at 40kph | Free | Practice + flexibility work |
| Clothing fit (tight kit, zipped jersey) | 10–25W depending on looseness | Free (use what you have properly) | Minimal |
| Tyre pressure optimisation | 5–10W | Free (track pump required) | 2 minutes pre-ride |
| Drivetrain cleaning and lubrication | 3–5W | Free–low (lube ~$15) | 5–10 minutes |
| Cadence optimisation | Indirect — reduces fatigue | Free | Attention and practice |
| Descending technique (no comfort braking) | Situational — significant on hilly routes | Free | Confidence building |
| Gear selection and momentum management | Indirect — preserves power | Free | Skill development |
| Aero socks / overshoes | 5–8W | Low (~$20–$40) | None |
| Helmet strap tightness | ~4.5W at 45kph (BikeRadar wind tunnel) | Free | 30 seconds |
Your body is responsible for 70–80% of total aerodynamic drag on a bicycle. This is the most important number in free speed cycling. Every other gain on this list is smaller. Fixing your position — reducing the frontal area your body presents to the wind — returns more speed than any equipment upgrade short of a full aero bike and wheel set.
The key positional changes, in order of impact:
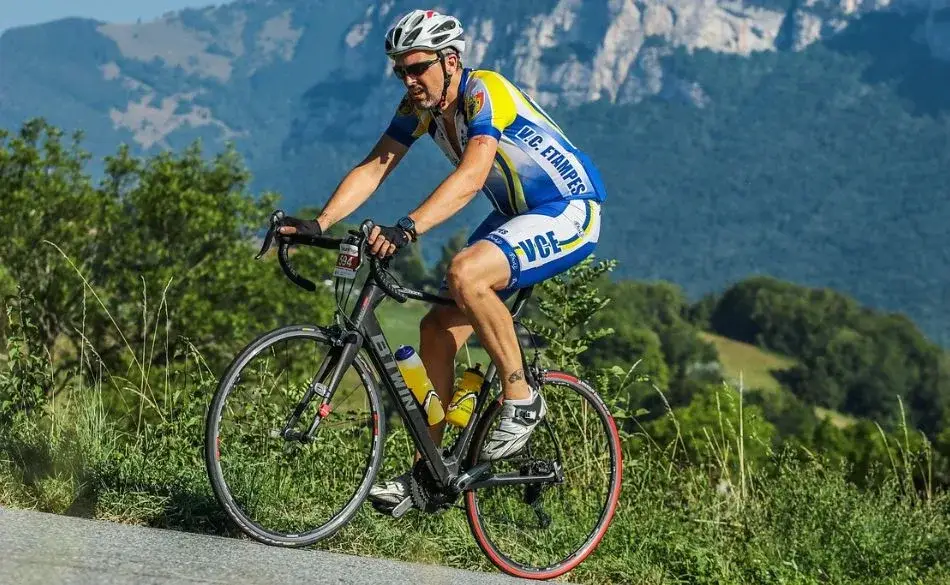
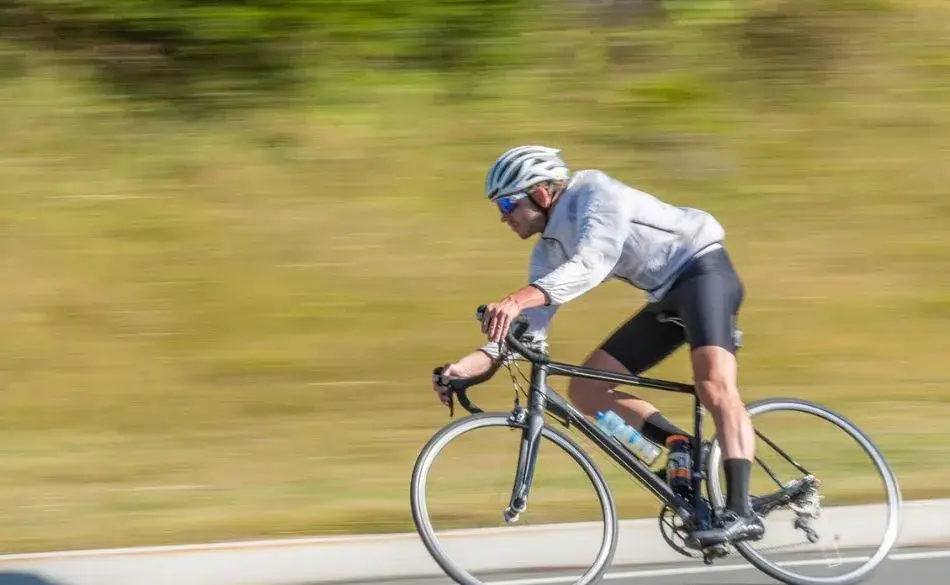
Lower your torso. Moving from an upright position on the hoods to riding in the drops lowers your torso and reduces frontal area. Chris Carmichael (former Olympic coach, CTS) describes the key cue as rotating the pelvis forward rather than simply arching the back — this lowers the shoulders while maintaining a position that supports power production. At 40kph, even a modest torso drop produces a noticeable speed increase for the same power output.
Tuck your elbows. Elbows pointing out to the side create two aerodynamically slow cylinders alongside your torso. Drawing elbows inward — approximately at right angles to your forearms rather than flared — significantly reduces your profile. British Cycling coaching material notes that elbows at right angles to the arms can be the most practical aero position for most road cyclists without a dedicated aero position.
Relax your upper body. Tension in the shoulders causes them to rise, increasing frontal area and wasting energy. Soft, bent elbows act as shock absorbers and keep the upper body lower and quieter. A tense, rigid upper body sways with pedal strokes, shifting your centre of mass side-to-side and increasing oxygen consumption by an estimated 6–8% compared to a quiet upper body.
Saddle height matters too. A saddle set too low increases knee flexion and reduces glute activation. Too high creates pelvic rocking, which wastes power laterally and strains the hamstrings. The optimal knee angle at the bottom of the pedal stroke is approximately 25–35 degrees. Getting saddle height right is not strictly a free speed gain (a proper bike fit costs money) but checking saddle height against this benchmark costs nothing and is frequently the single most impactful positional correction available.
One important caveat from CTS coaches: going too aggressive too fast can actually reduce power output. The fastest position is not the most sustainable one. Work into a lower position gradually and practise sustaining it during hard efforts — the adaptation takes weeks, not one ride.
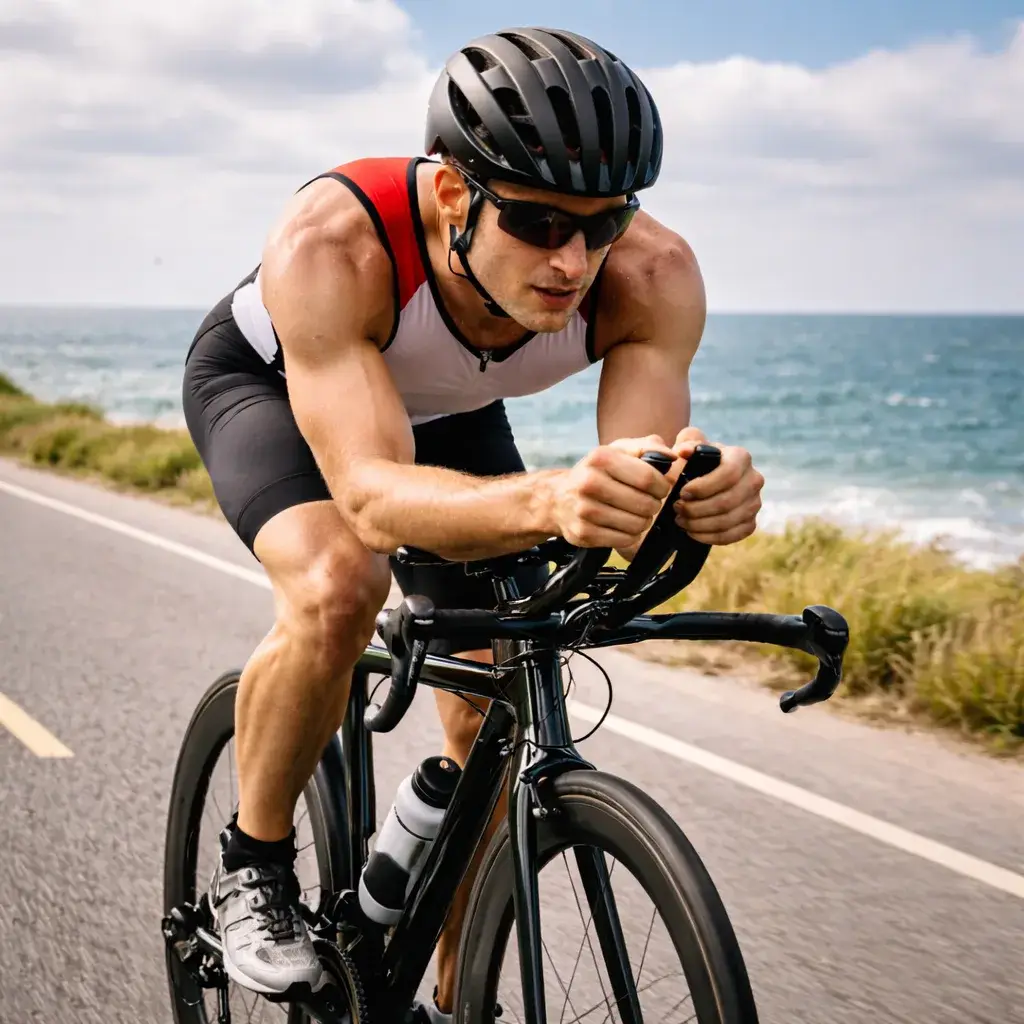
Cycling kit is tight-fitting for the same reason a swimsuit is tight — bagginess creates drag. A loose, flapping jersey or baggy shorts acts as a sail, and the effect is measurable. BikeRadar wind tunnel testing found that loosened helmet straps flapping over sunglasses created a 4.5-watt penalty at 45kph — just strap flapping, nothing else.
The practical free speed gains from clothing:
Zip up your jersey on descents and flats. An open jersey that billows adds significant drag. British Cycling coaching material specifically recommends zipping up on downhills and flats if you opened the jersey for a climb. This is completely free and takes one second.
Use your middle jersey pocket. Carrying items in the side pockets creates asymmetric drag and bulk at the hips. The middle back pocket is aerodynamically cleaner. Small detail, but on a long ride it compounds.
Ensure kit fits properly. Cycling clothing stretches and ages. A jersey that was snug when new but now fits loosely costs watts. This isn’t an argument to buy new kit constantly, but to use properly fitting kit when you have it.
For those willing to spend a small amount: aero socks or overshoes save an estimated 5–8 watts at racing speeds according to wind tunnel tests reported by CycloWorld. At roughly $15–$30, they are among the highest-return low-cost upgrades available.
Tyre pressure is one of the most universally neglected free speed gains. Tyres lose 5–10psi overnight through natural permeation — a tyre that was correctly inflated on Sunday will be noticeably softer by Tuesday without ever suffering a puncture. Under-inflated tyres increase rolling resistance, make the bike harder to handle, and increase pinch flat risk. Over-inflated tyres reduce traction, increase vibration and fatigue, and can be damaged by sharp road hazards.
Cycling Weekly and British Cycling both emphasise that correct tyre pressure can deliver up to 10 watts of rolling resistance savings compared to a poorly inflated tyre. The effect is weight-dependent — heavier riders need higher pressure to prevent the tyre casing from deforming excessively under load.
| Rider weight | 25mm clincher (psi) | 28mm clincher (psi) | Tubeless (psi) |
|---|---|---|---|
| 55–65kg | Front: 80–85 / Rear: 85–90 | Front: 75–80 / Rear: 80–85 | Subtract 10–15psi |
| 65–75kg | Front: 85–90 / Rear: 90–95 | Front: 80–85 / Rear: 85–90 | Subtract 10–15psi |
| 75–85kg | Front: 90–95 / Rear: 95–100 | Front: 85–90 / Rear: 90–95 | Subtract 10–15psi |
| 85–100kg | Front: 95–100 / Rear: 100–110 | Front: 90–95 / Rear: 95–105 | Subtract 10–15psi |
These are starting benchmarks — final pressure depends on tyre brand, road surface, and conditions. Rough roads benefit from slightly lower pressure (better vibration damping reduces energy loss). Wet conditions benefit from slightly lower pressure (more traction). Use a track pump with a gauge, not a frame pump. Check before every ride.
A dirty or poorly lubricated chain loses 3–5 watts to friction compared to a clean, well-lubricated drivetrain — as reported by Cycling Weekly and multiple drivetrain efficiency studies. At 200 watts of total output, this is 1.5–2.5% of your power lost before it reaches the wheel. Every 3–4 rides (or after wet/muddy conditions), a drivetrain clean returns those watts for the cost of 5–10 minutes and a bottle of chain lube.
The drivetrain efficiency checklist:
Chain lubrication. Use dry lube for dry conditions (less grime attraction), wet lube for wet conditions (water resistance). Apply to each link, wipe off excess, allow to penetrate. A freshly lubed chain runs measurably quieter — that quiet is less friction.
Chain wear. A worn chain skips under load, wastes power, and accelerates cassette wear. Check chain stretch every 1,000km with a chain checker tool (~$10). A new chain costs $20–$40; a worn cassette costs $80–$200.
Derailleur cable tension. Slight cable stretch causes hesitation in gear changes and micro-slippage under power. A barrel adjuster turn (no tools required) restores crisp shifts and eliminates power loss from hesitation.
Wheel bearing condition. Worn or contaminated bearings add rolling resistance. If you can hear grinding from your wheel hubs or feel lateral play in the axle, bearing drag is costing you watts. This is a bike shop repair but the diagnostic is free — check before your next ride.
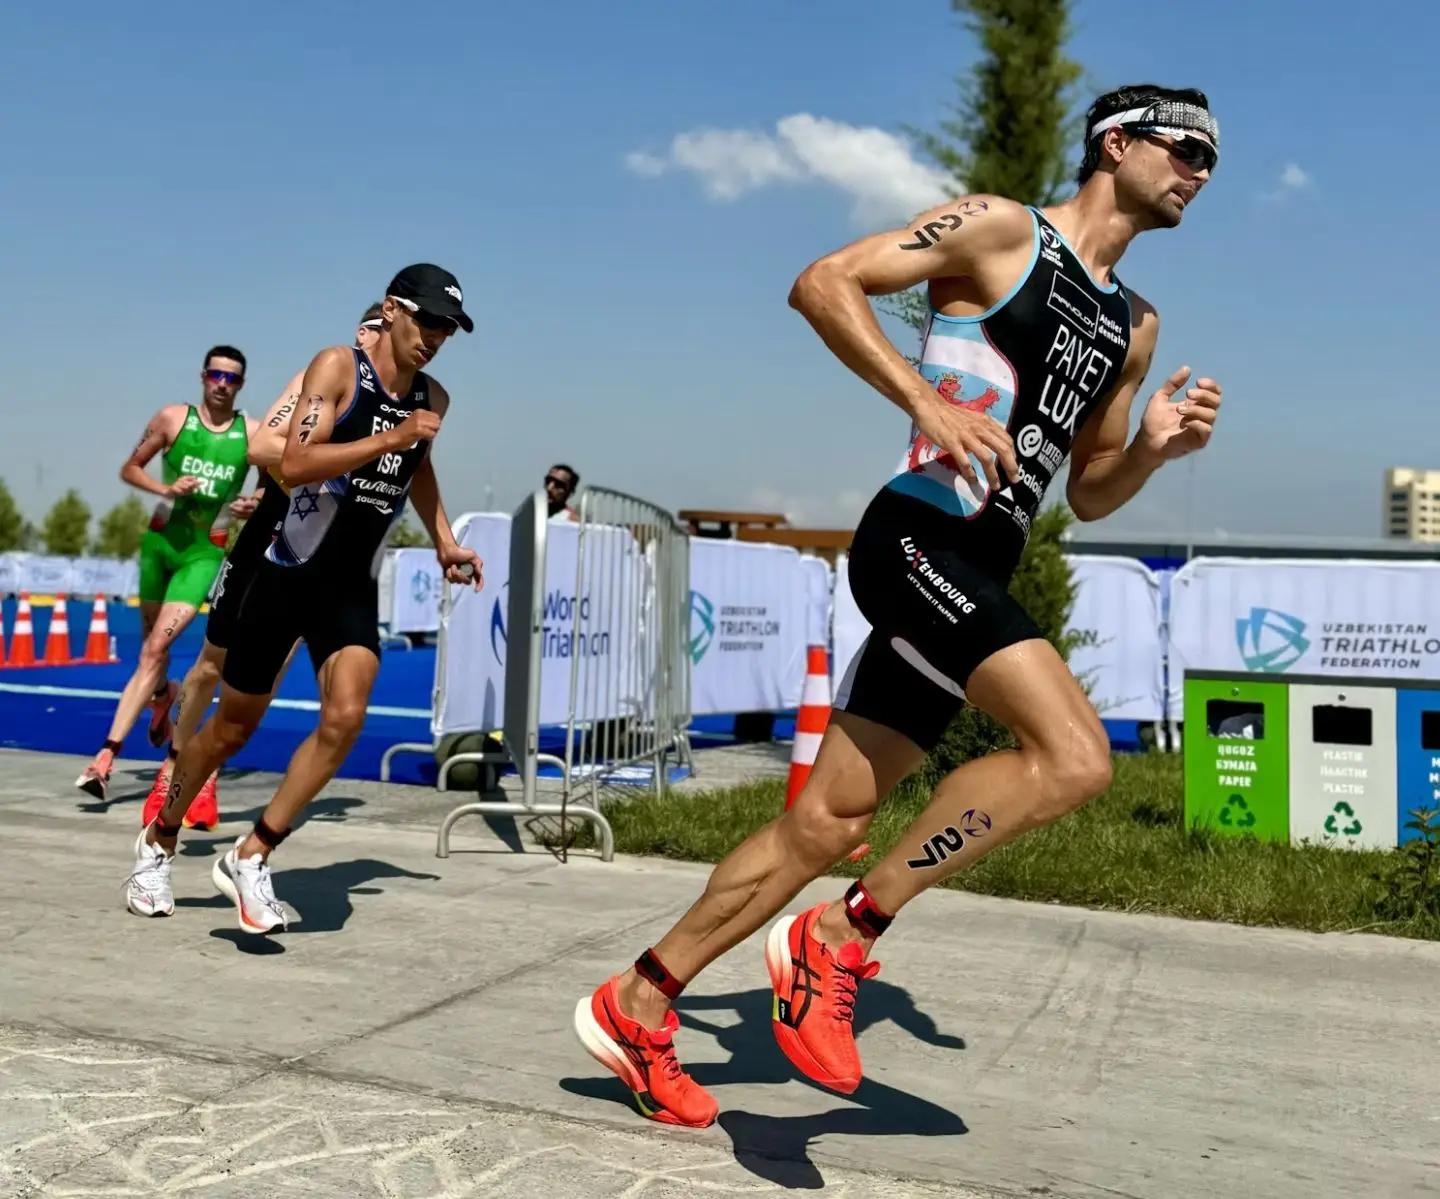
Cadence is a free speed variable that requires only attention, not equipment. Trained amateur cyclists typically sustain 80–90rpm for endurance riding; professional cyclists often ride at 90–100rpm. The reason isn’t that higher cadence is always faster — it’s that the right cadence for the effort type reduces muscular fatigue relative to cardiovascular demand, allowing you to sustain power longer.
Very low cadence (under 70rpm) forces high force per pedal stroke, which fatigues the quads rapidly. Very high cadence (above 100rpm for untrained riders) spins the cardiovascular system faster than the muscles can keep up, producing less power per breath. The sweet spot is effort-dependent:
On climbs: a slightly lower cadence (70–80rpm) allows more torque per stroke when power demand is high relative to speed. Grinding a big gear up a long climb accelerates quad fatigue — our guide on quad burning when cycling covers exactly why this happens and how to address it.
On flats and moderate terrain: 85–95rpm is the most metabolically efficient range for most trained cyclists. This is where cadence drill work pays dividends — spin-up intervals that train the neuromuscular system to sustain higher cadence without loss of control.
On descents: spin out the gear if possible rather than freewheeling. Keeping the legs moving on descents maintains blood flow, keeps the muscles warm, and allows you to accelerate through the bottom of a descent more effectively. Free speed through the descent means less work required to rebuild pace on the flat that follows.
Two of the most impactful free speed gains require no equipment at all — just awareness.
Stop comfort braking. Cycling Weekly identifies this as a major source of lost speed: applying brakes on descents or fast sections not because conditions require it, but because the speed feels unfamiliar. On a straight, clear, good-surface descent, unnecessary braking costs speed and forces higher power to re-accelerate. Let the bike roll. Work on descending confidence by cornering progressively, not by scrubbing speed before every bend.
Tuck on descents. CTS and BikeRadar both emphasise that descents are free speed — getting aerodynamic costs nothing and the rewards are significant. On long descents, tuck the torso low, elbows in, head down, and allow the bike to build speed. Experimenting with different positions while descending on known roads is a safe way to feel the drag difference in real conditions.
Pacing on climbs. Going too hard too early on a climb costs more than the time gained. Steady pacing up a climb, arriving at the top with energy to push on the descent and flat, produces a faster overall section time than an explosive start followed by a crawl over the top. This is a tactical gain that compounds over any ride with elevation. Our guide on elevation gain in cycling covers how to manage climbing effort across varying terrain.
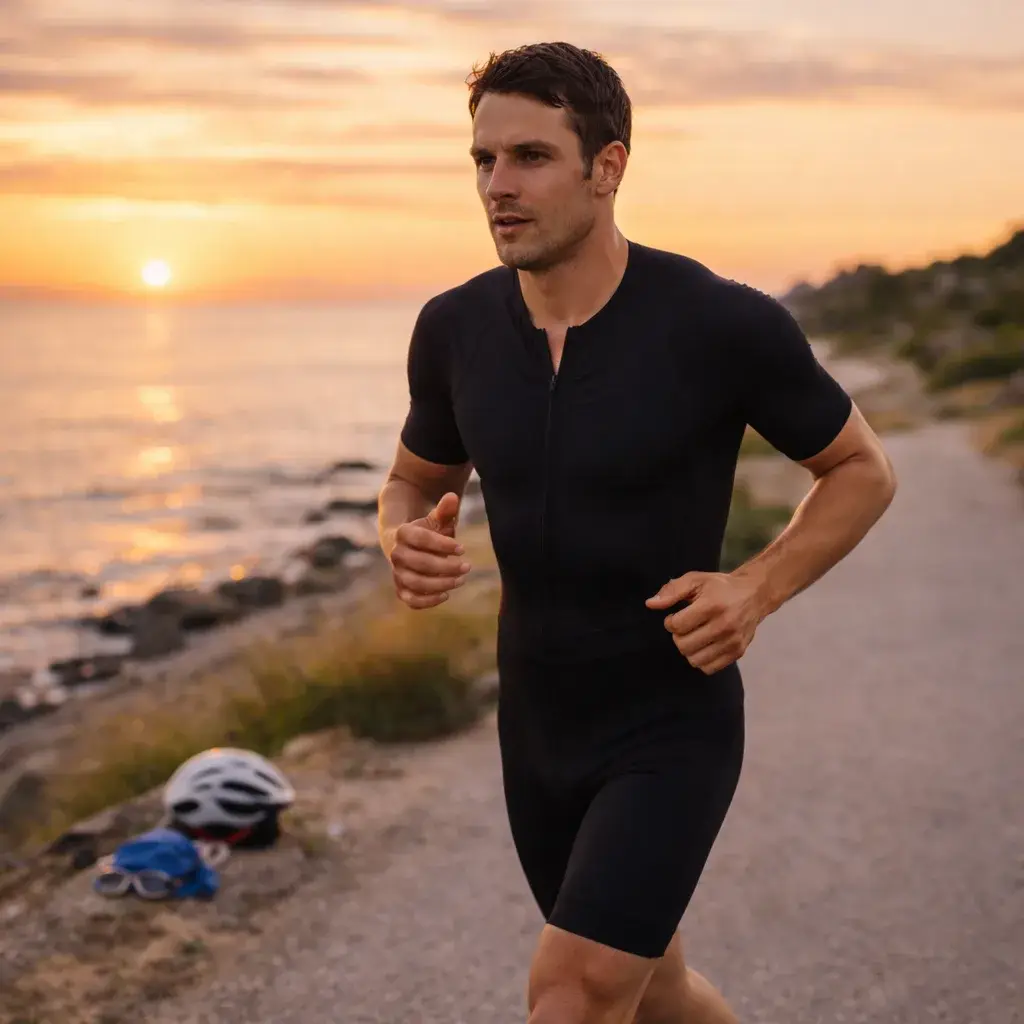
Two training activities done off the bike directly produce free speed on it.
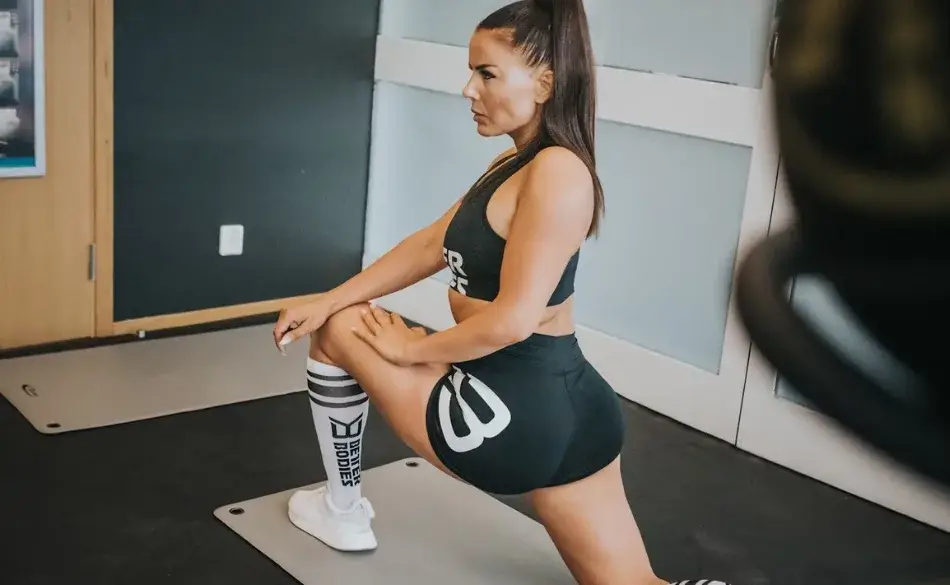
Hip flexor and hamstring flexibility. The aerodynamic position described in tip one — lower torso, rotating pelvis forward — is limited for many cyclists not by willingness but by flexibility. Tight hip flexors prevent pelvic rotation; tight hamstrings limit how far you can lower the torso without discomfort. Regular stretching, particularly a dedicated stretching routine for cyclists, directly unlocks position improvements that are otherwise unavailable. This is free speed from flexibility training, not from buying a new bike.
Leg strength. Squats, lunges, and hip hinge movements build the muscular strength that allows higher power at lower cadence — critical for climbing and hard accelerations. A rider with stronger legs can produce the same watts at lower muscular effort, preserving fatigue reserves for late in the ride. Off-bike strength work 2× per week is one of the most consistently neglected performance gains available to amateur cyclists. Our guide on resistance band training for cyclists covers a practical low-equipment programme that delivers meaningful strength gains without a gym.
Zone 2 base building. While not “free” in the sense of requiring no training time, structured Zone 2 work (easy effort where you can hold a conversation) builds the aerobic engine that makes all other speed possible. Zone 2 training improves VO2 max and fat oxidation efficiency over time, meaning at the same power output you’re working at a lower percentage of maximum — leaving more capacity for harder efforts. This is the free speed gain that keeps compounding: every hour of Zone 2 base makes your high-intensity sessions more effective.
Free speed gains only show up if you measure them. The 12-minute cycling test is a simple, reliable way to establish your current fitness baseline and track improvement over time — it requires no lab, no power meter, and no coach. Establish a benchmark on a known flat route, apply the changes above systematically, and re-test every 4–6 weeks. Free speed is only “free” if you can confirm it’s working.
For a more comprehensive measure of your cycling speed in context, our guide on typical cycling speeds covers what’s normal for different rider types, terrains, and fitness levels — useful reference for setting realistic targets for speed improvement.
Go Faster With Structured Cycling Coaching
Free speed gains get you a long way. Structured coaching takes you further — personalised intervals, power-based training zones, race-day planning, and weekly adjustments based on how you're actually responding to training.
What is free speed in cycling?
Speed gains that require no additional training load or significant spend — primarily aerodynamic position, tyre pressure, drivetrain cleanliness, clothing fit, and tactical riding habits. These gains are available to every cyclist and often produce more immediate speed improvement than additional training.
How much faster can I go just by improving my position?
Significantly. Your body accounts for 70–80% of total aerodynamic drag. Moving from an upright position to riding in the drops, tucking elbows in, and lowering the torso can save 20–40 watts at 40kph — without touching your training or fitness.
What is the correct tyre pressure for cycling?
Weight-dependent. A 70kg rider on 25mm clinchers typically starts around 85–90psi front, 90–95psi rear. Check before every ride — tyres lose 5–10psi overnight. Use a track pump with a gauge, not feel.
Does cadence affect cycling speed?
Yes — matching cadence to effort type reduces muscular fatigue. Most trained cyclists target 80–90rpm for endurance efforts. Very low cadence (under 70rpm) burns the quads disproportionately; very high cadence without neuromuscular training produces less power per breath.
How much speed does a clean chain add?
3–5 watts compared to a dirty drivetrain. At 200 watts output, this is 1.5–2.5% of your total power. Clean and lube every 3–4 rides, or after wet conditions. It takes 5 minutes and is one of the highest-return cycling maintenance actions.
Ready to put your training to the test? Here are some upcoming cycling events matched to this article.
Head Coach & Founder, SportCoaching
Graeme is the founder of SportCoaching and has coached more than 750 athletes from 20 countries, from beginners to Olympians, in cycling, running, triathlon, mountain biking, boxing, and skiing. His coaching philosophy and methods form the foundation of SportCoaching's training programs and resources.
No matter your goals, SportCoaching offers tailored training plans to suit your needs. Whether you’re preparing for a race, tackling long distances, or simply improving your fitness, our expert coaches provide structured guidance to help you reach your full potential.
Structured cycling coaching to build power, endurance, and speed.
What’s included
Browse upcoming Australian running, cycling, and triathlon events in one place. Filter by sport, check dates quickly, and plan your training around something real on the calendar.
Choose your plan to get started with personalized training plans designed to help you reach your goals.


Minna Backman
When you’re new, feedback is especially important, and Graeme is highly skilled at both analyzing numbers and understanding the importance of mental strength.