


Find Your Next Cycling Race
Ready to put your training to the test? Here are some upcoming cycling events matched to this article.
 Coach Graeme

Last updated:
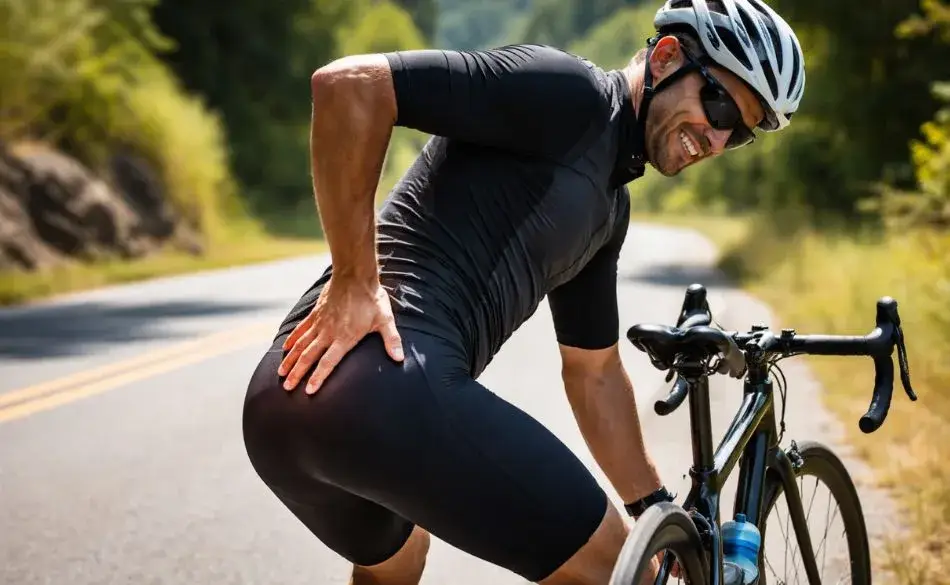
Shin splints and cycling have a complicated relationship. Most people reach for the bike when their shins flare up — and that's usually the right call. But ride with poor form or an ill-fitting setup, and you can extend your recovery by weeks. This guide covers when cycling is safe, what adjustments protect your shins, how to fix the bike fit issues that cause or worsen shin pain, and the exercises that speed your return to full training.
Not sure where to start with training?
Tell us your goal and schedule, and we’ll give you clear direction.
No obligation. Quick, practical advice.
Explore our cycling advice and tips for more helpful articles and resources.
The answer depends on pain severity. Use this guide to make the call:
👉 Swipe to view full table
| Pain Level | Description | What to Do |
|---|---|---|
| Mild | Dull ache before or at start of ride, fades within 10 min of warming up. No pain next morning. | Ride. High cadence, light resistance, flat terrain. Monitor response over 24 hours. |
| Moderate | Ache present throughout ride. Some soreness next morning but settles within a few hours. | Ride with modifications — shorter sessions (20–30 min), very easy effort, no hills. Reduce running completely. |
| Significant | Pain worsens as ride progresses, or lingers for more than 3–4 hours after riding. | Rest from cycling for 2–3 days. Focus on lower leg strengthening only. Reassess. |
| Severe | Sharp, localised pain over a small point on the shin bone that gets worse with activity. | Stop all weight-bearing activity and see a physio immediately — rule out stress fracture. |
One important note on severe pain: shin splints produce a diffuse ache over a broad area of the shin. Pain that is pinpoint and worsens with every pedal stroke is a red flag for a stress fracture, which requires medical assessment. If in doubt, get it checked before riding.
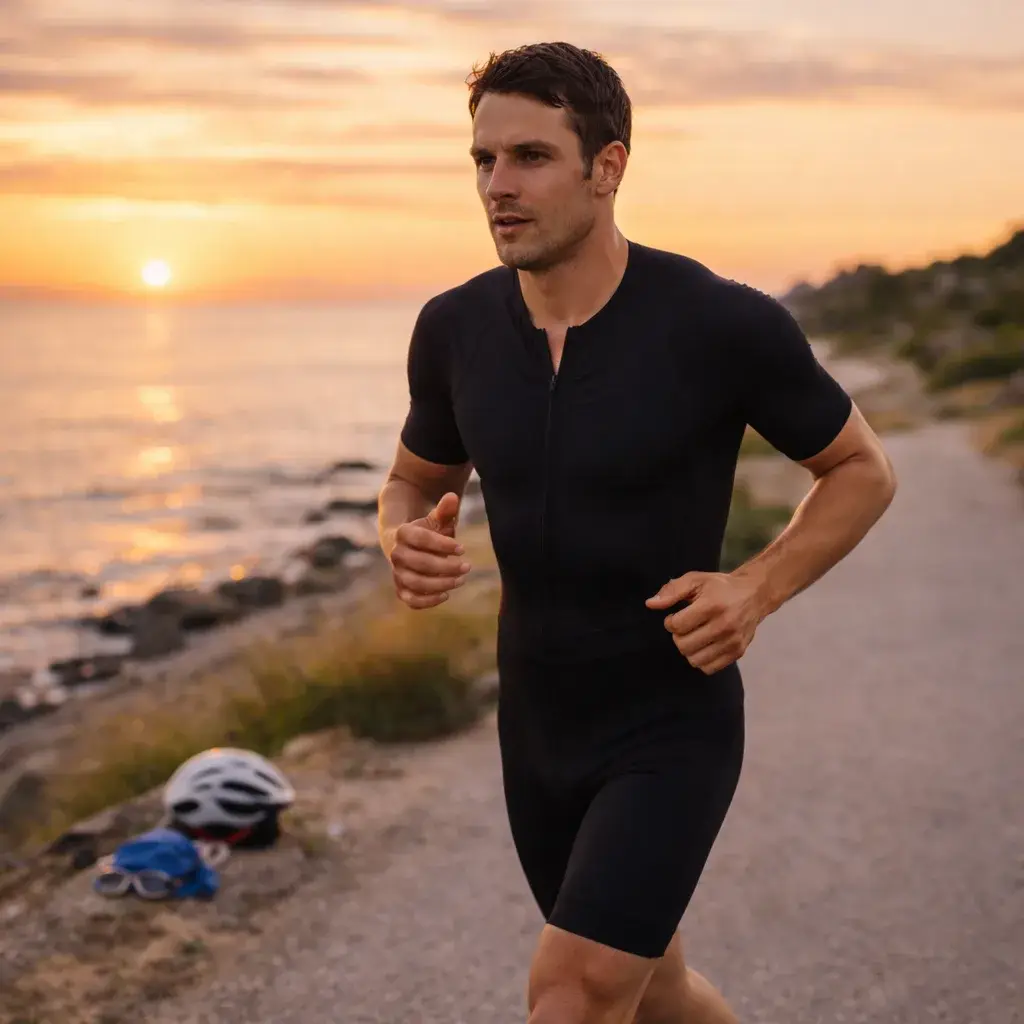
Classic shin splints (medial tibial stress syndrome) are caused by repetitive impact loading — the tibia and surrounding tissue can’t absorb the stress of running or jumping fast enough to recover. Cycling eliminates that impact entirely. Your feet stay fixed to the pedals through every stroke, so the shin bone receives no direct ground reaction force.
This is why physiotherapists routinely prescribe cycling as cross-training during shin splint recovery. It maintains cardiovascular fitness, keeps the legs moving, promotes blood flow to healing tissue, and doesn’t add to the tibial stress that caused the problem in the first place.
The situation where cycling becomes a problem is specific: when a poor pedal stroke causes the tibialis anterior muscle — the large muscle running down the front of the shin — to overwork. If you drop your heel excessively on the downstroke, the tibialis anterior fires hard to control ankle position, and that repeated contraction against load creates its own version of shin pain. This isn’t technically medial tibial stress syndrome, but it feels almost identical and responds to the same recovery approach. For a more detailed breakdown of whether cycling itself can cause shin pain, see our full guide on can cycling cause shin splints.
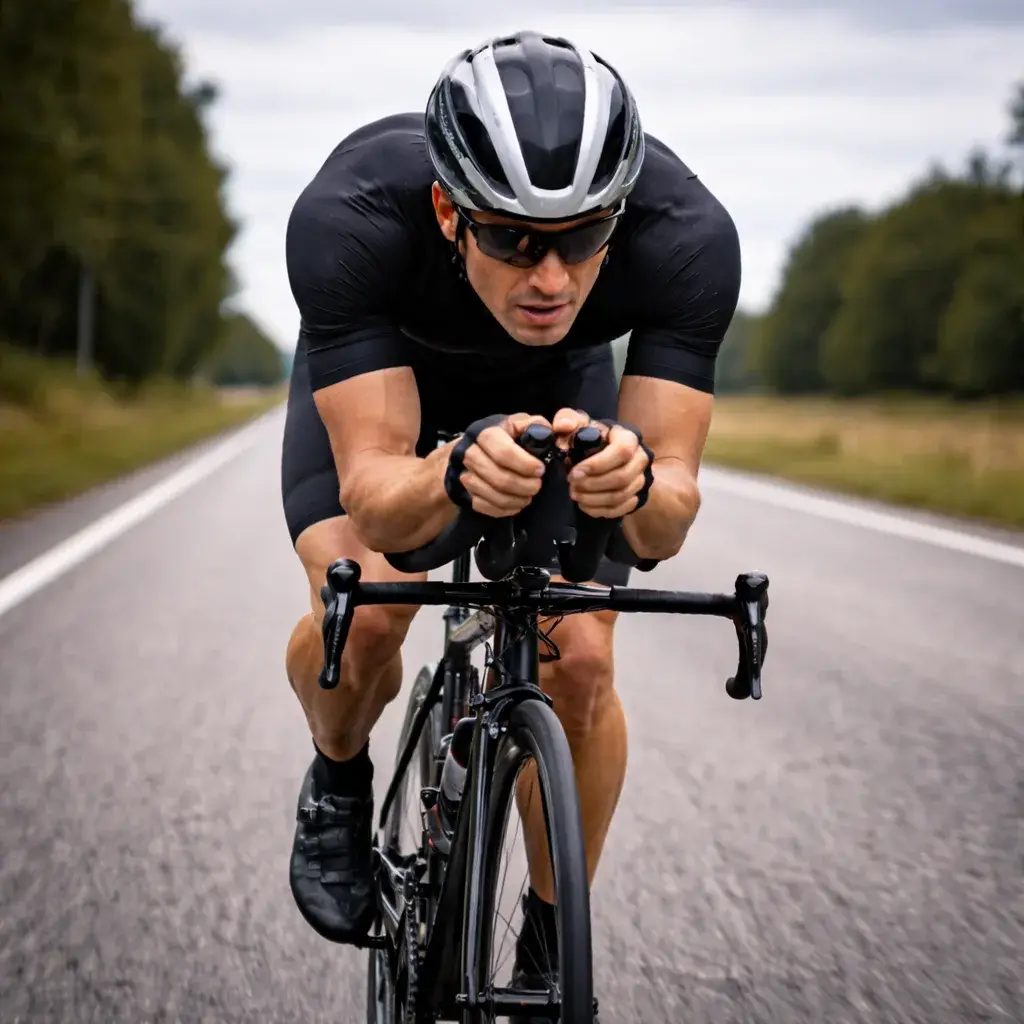
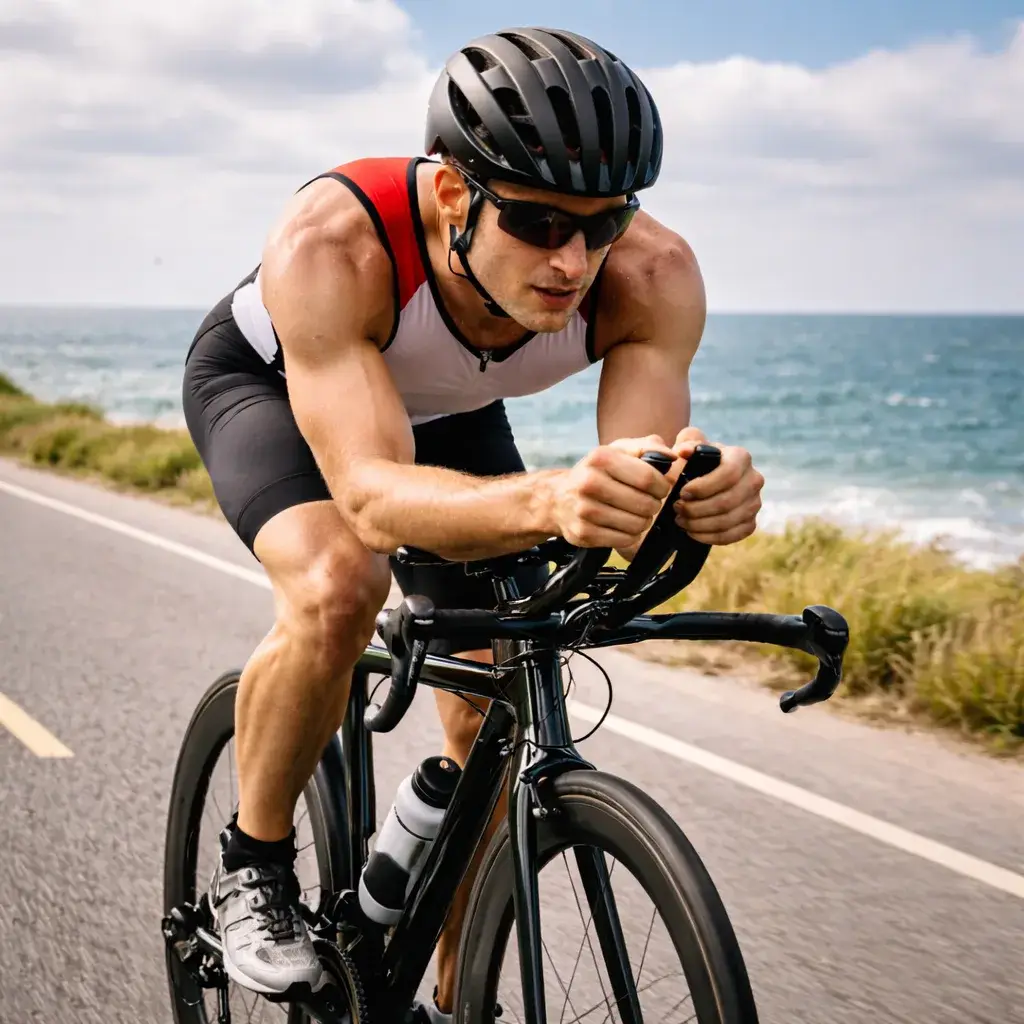
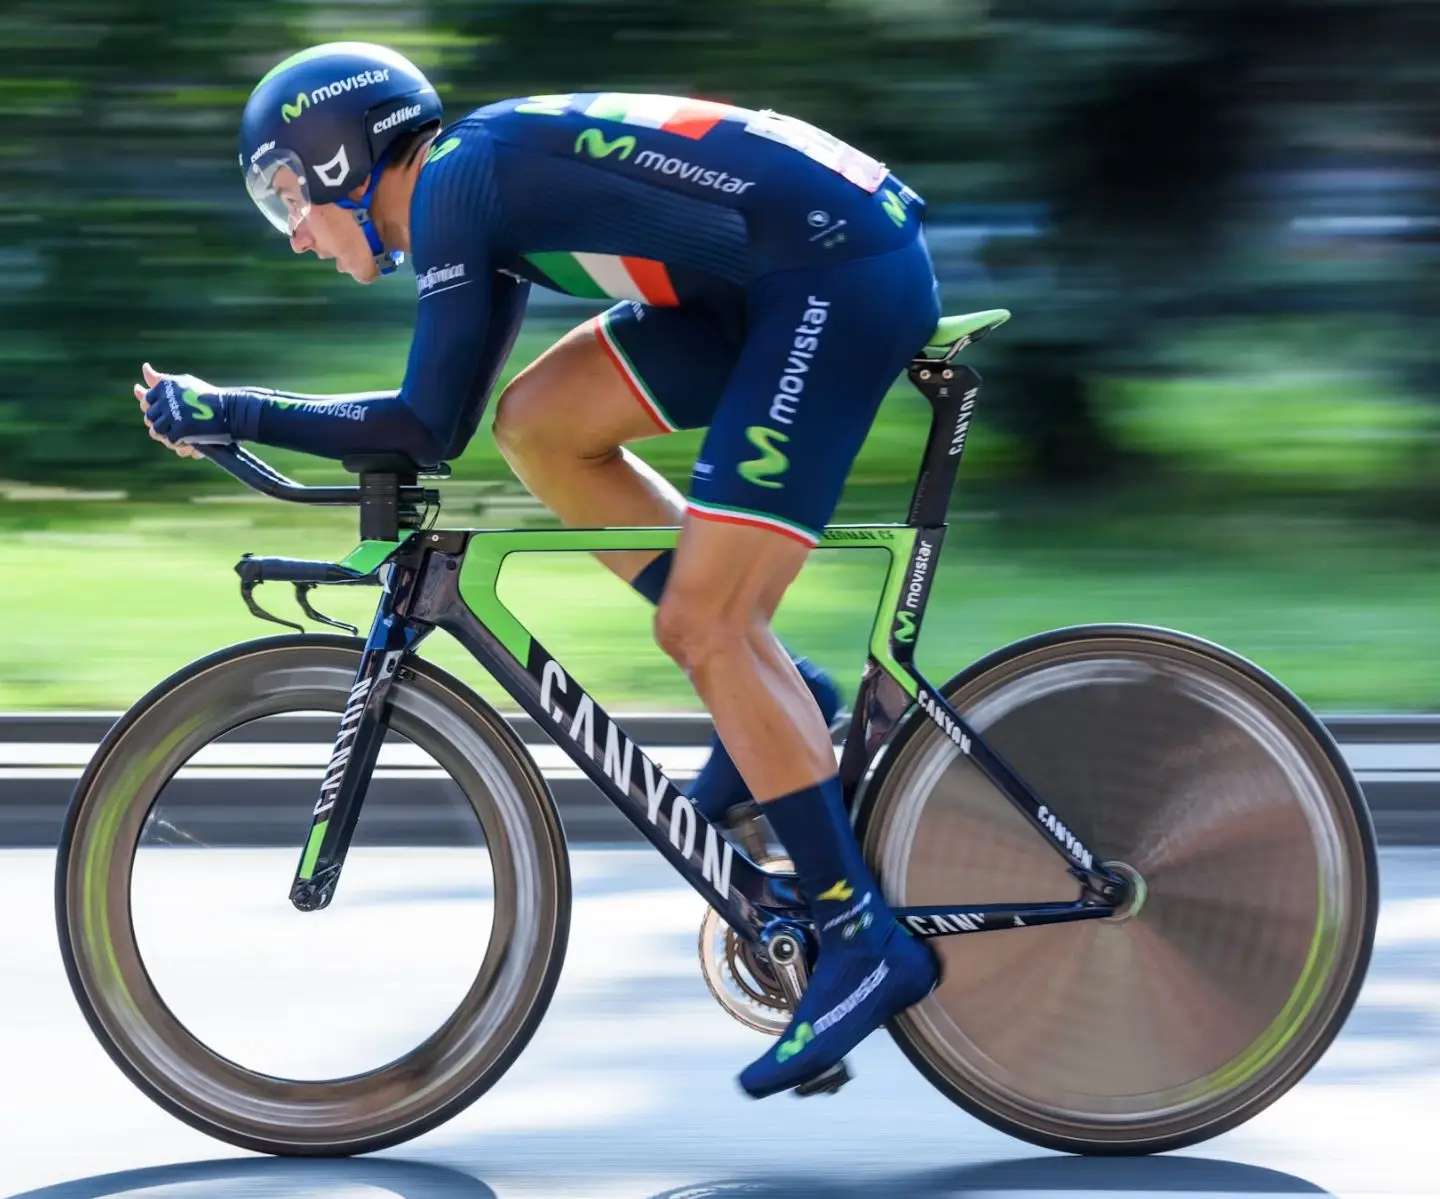
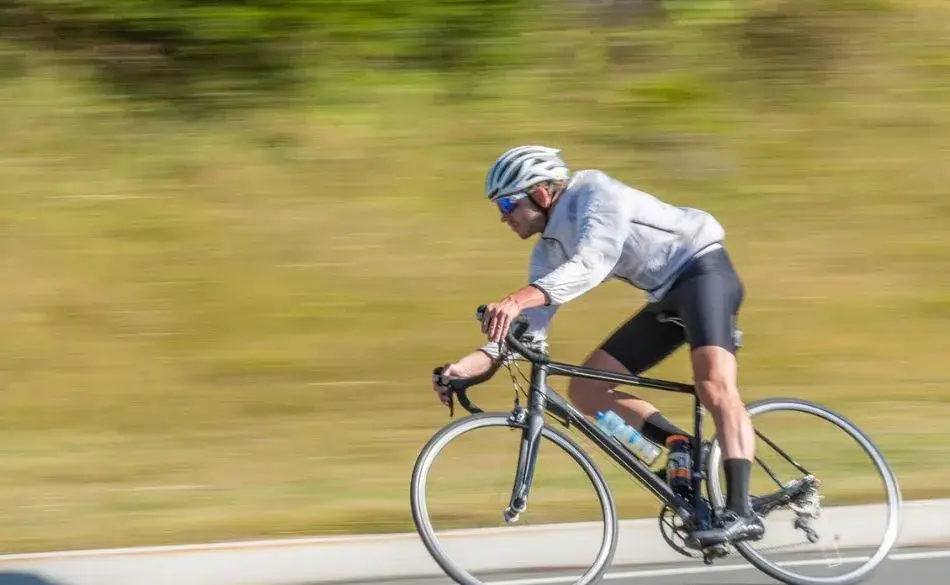
Increase your cadence. Target 85–95 rpm. A higher cadence spreads the load across more pedal strokes with less force per stroke, reducing peak stress on the lower leg muscles. If you’re a natural grinder (70–75 rpm), this will feel unnatural at first — persist with it during recovery.
Reduce resistance. Stay in easier gears. Pushing hard against high resistance increases the force your lower legs must manage and risks flaring up irritated tissue. Save the hard efforts for when you’re pain-free.
Stay in the saddle. Out-of-saddle climbing significantly increases tibialis anterior activity. Avoid it entirely until symptoms resolve.
Avoid steep hills. Even seated climbing on steep gradients forces you to push against significant resistance. Keep your routes flat or gently rolling.
Start short. Begin with 20–30 minute sessions and extend gradually — adding no more than 10 minutes per ride — only if pain doesn’t increase during or within 24 hours of each session.
Monitor the 24-hour response. How you feel during the ride matters, but how you feel the next morning matters more. If you’re consistently pain-free the morning after, you can gradually increase load. If you wake with shin soreness, hold the current level for another 2–3 sessions before progressing.
If your shin pain is occurring during cycling — not just during running — your bike fit is almost certainly contributing. These are the adjustments that make the most difference.
A saddle set too low encourages heel drop at the bottom of the pedal stroke. As you push through the downstroke, the ankle drops below the pedal and the tibialis anterior fires hard to control it. Raising the saddle height by 2–5mm (checking that the knee still has a slight bend at the bottom of the stroke — around 25–35 degrees) reduces heel drop and takes stress off the anterior shin. For a detailed guide to finding the right position, our LeMond saddle height guide walks through the most reliable measurement method.
Moving the saddle slightly back shifts your centre of pressure rearward, reducing the forward loading that can stress the anterior lower leg. A small adjustment (3–5mm) can make a meaningful difference if you’re feeling tibialis anterior fatigue during rides.
Cleats positioned too far forward on the shoe increase lever arm through the forefoot and raise tibialis anterior demand. Cleats with excessive toe-out rotation can also create a pronation pattern that loads the medial shin. Check that your cleats are positioned midfoot (ball of the foot over the pedal axle) and that the float angle matches your natural foot angle when pedalling.
Focus on keeping your foot angle neutral through the pedal stroke — ankle neither rising above nor dropping below horizontal. Concentrate on pushing down through the whole forefoot rather than driving through the toes or dropping through the heel. A smooth, circular stroke pattern reduces the tibialis anterior spikes that come from jerky or toe-pointed technique.
Cycling cross-trains your cardiovascular system but doesn’t directly address the tibialis anterior and calf weakness that underlies most shin splint cases. These exercises target the right muscles.
Stand with heels against a wall, feet about 15cm away. Lift your toes as high as possible, hold for 2 seconds, lower slowly. This directly strengthens the tibialis anterior. Start with 3 sets of 20 reps. Progress to single-leg, then add load by wearing a weighted backpack. This is the most evidence-backed exercise for medial tibial stress syndrome rehabilitation.
Stand on the edge of a step. Rise up on both feet, then lower down slowly on one foot over 3–4 seconds. The eccentric (lowering) phase is the key stimulus. 3 sets of 15 reps each leg. Strong calves reduce the compensatory load on the tibialis anterior — calf exercises for cyclists covers the full progression.
Seated or lying down, trace the full alphabet in the air with your toes, using ankle movement only. This mobilises the ankle joint and activates all the small lower leg muscles without loading the shin. 2 sets per foot daily. Simple, effective, can be done anywhere.
Standing flat, rise onto the toes of one foot, lower slowly. 3 sets of 15 reps each side. Builds the soleus and gastrocnemius and improves ankle stability, reducing compensatory tibialis anterior loading during the pedal stroke.
For a complete rehabilitation exercise programme, our shin splint exercises guide covers the full progression from acute phase through return to running.
👉 Swipe to view full table
| Activity | Impact on Shins | Recommendation During Recovery |
|---|---|---|
| Cycling (outdoor) | Non-impact — no tibial loading | ✅ Best option — maintain fitness without stressing healing tissue |
| Stationary bike | Non-impact | ✅ Excellent — same benefit, more controlled environment |
| Swimming | Non-impact | ✅ Equally good — zero lower leg stress |
| Walking | Low impact but repeated tibial loading | ⚠️ Use only for daily activity — avoid as deliberate training |
| Running | High impact — primary cause of shin splints | ❌ Avoid until pain-free at walk and able to hop on one leg without pain |
| Elliptical | Low impact | ✅ Acceptable alternative if cycling not available |
Most shin splints resolve with relative rest, cycling cross-training, and strengthening within 4–6 weeks. See a physiotherapist if any of the following apply: pain is pinpoint rather than diffuse; pain doesn’t improve after 2 weeks of reduced loading; pain is present at rest or at night; you’ve had multiple recurrences of shin splints in the same location; or the shin feels warm, swollen, or tender to direct pressure on a specific spot.
These signs warrant imaging to rule out a stress fracture, which presents similarly to shin splints but requires a completely different management approach and does not respond to cycling cross-training.
Shin splints don’t have to mean weeks off the bike or off training entirely. In most cases, swapping runs for easy cycling, fixing heel drop with a small saddle adjustment, and consistently doing tibialis anterior strengthening will resolve the problem faster than complete rest. The key is treating cycling not just as a stopgap but as an active recovery tool — and addressing the underlying cause before you return to full running load.
Want a structured training plan that works around your injury?
Our cycling coaches build programmes around your current fitness, injury status, and race goals — so you keep making progress even when running is off the table.
Explore Cycling Coaching → Browse Cycling Plans →Can you cycle with shin splints?
Yes. Cycling is non-impact and is one of the best cross-training options during recovery. Keep cadence high, resistance light, stay seated, and avoid hills. Stop if pain increases mid-ride or persists for hours afterward.
Can cycling cause shin splints?
Not directly. Classic shin splints require impact loading that cycling doesn’t produce. However, a poor pedal stroke — particularly excessive heel drop on the downstroke — can overload the tibialis anterior and cause shin pain that feels very similar. Poor bike fit and cleat alignment are the most common triggers.
Is cycling or walking better for shin splints?
Cycling. Walking involves repeated tibial impact with every step, which irritates healing shin tissue. Cycling is completely non-impact, making it the better choice for maintaining fitness during recovery.
How long does it take to recover from shin splints while cycling?
Most mild cases resolve within 2–4 weeks with cycling cross-training and tibialis anterior strengthening. More severe cases take 6–8 weeks. Continuing to run through shin splints is the main reason recovery drags on.
What bike fit adjustments help with shin splints?
Raise the saddle height slightly to reduce heel drop on the downstroke. Move the saddle back marginally to reduce anterior shin loading. Check cleat position — too far forward or with excess toe-out rotation increases tibialis anterior demand.
Ready to put your training to the test? Here are some upcoming cycling events matched to this article.
Head Coach & Founder, SportCoaching
Graeme is the founder of SportCoaching and has coached more than 750 athletes from 20 countries, from beginners to Olympians, in cycling, running, triathlon, mountain biking, boxing, and skiing. His coaching philosophy and methods form the foundation of SportCoaching's training programs and resources.
No matter your goals, SportCoaching offers tailored training plans to suit your needs. Whether you’re preparing for a race, tackling long distances, or simply improving your fitness, our expert coaches provide structured guidance to help you reach your full potential.
Structured cycling coaching to build power, endurance, and speed.
What’s included
Browse upcoming Australian running, cycling, and triathlon events in one place. Filter by sport, check dates quickly, and plan your training around something real on the calendar.
Choose your plan to get started with personalized training plans designed to help you reach your goals.


Minna Backman
When you’re new, feedback is especially important, and Graeme is highly skilled at both analyzing numbers and understanding the importance of mental strength.