


Find Your Next Triathlon Race
Ready to put your training to the test? Here are some upcoming triathlon events matched to this article.
 Coach Graeme
Last updated:
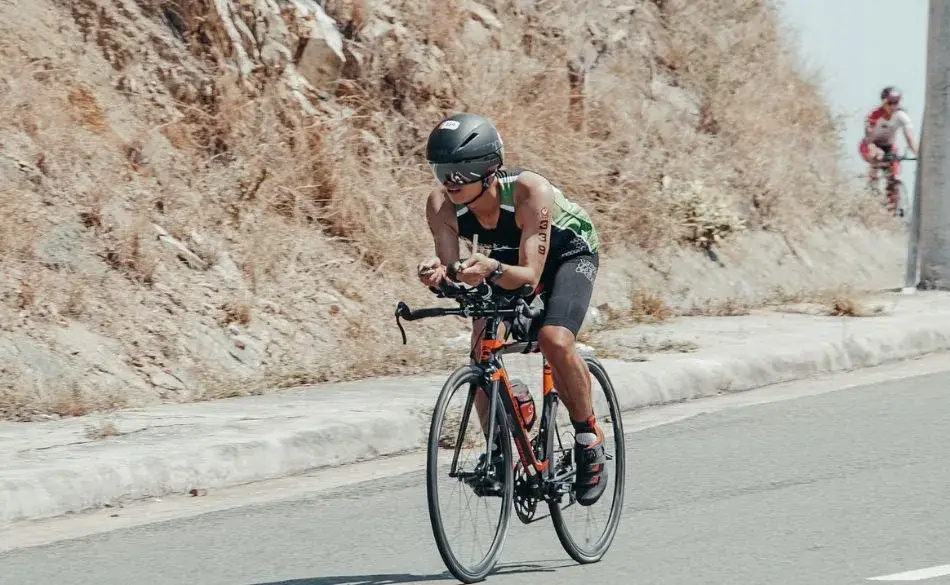
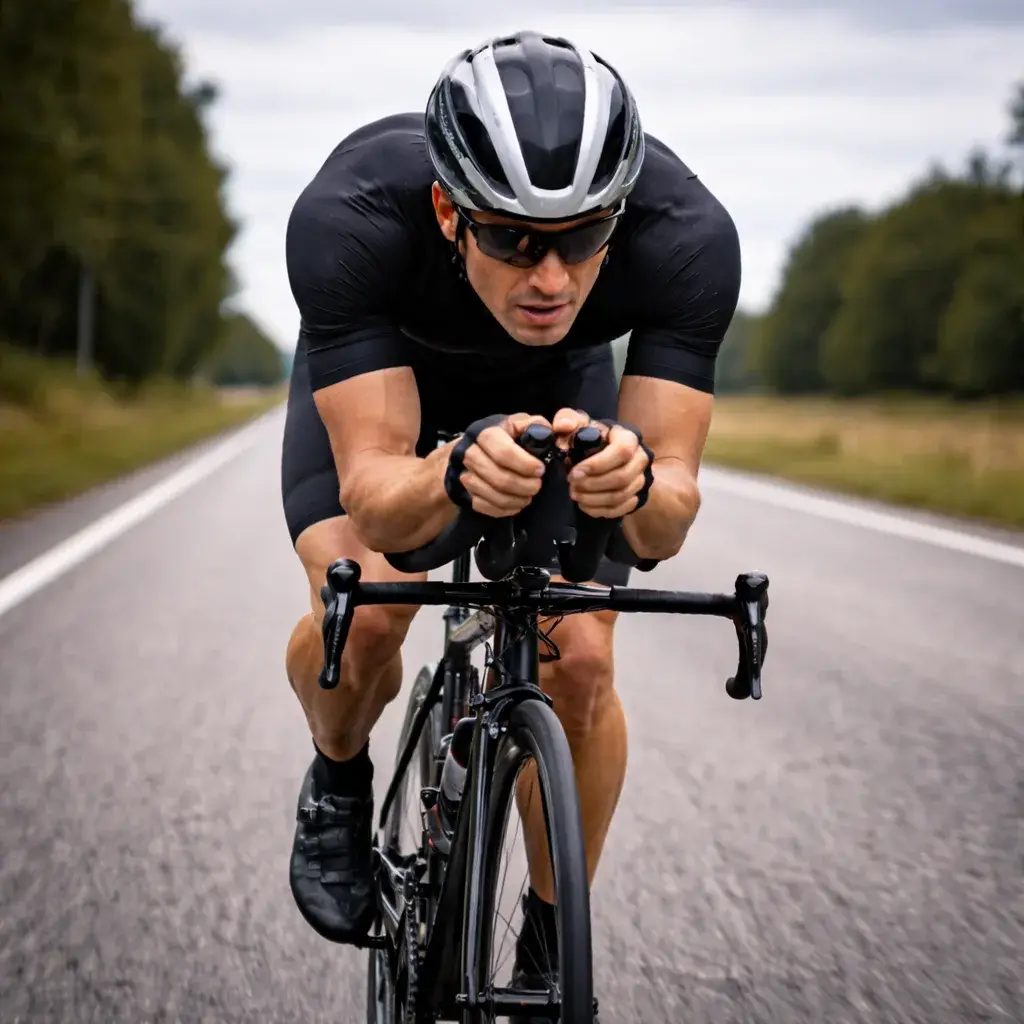
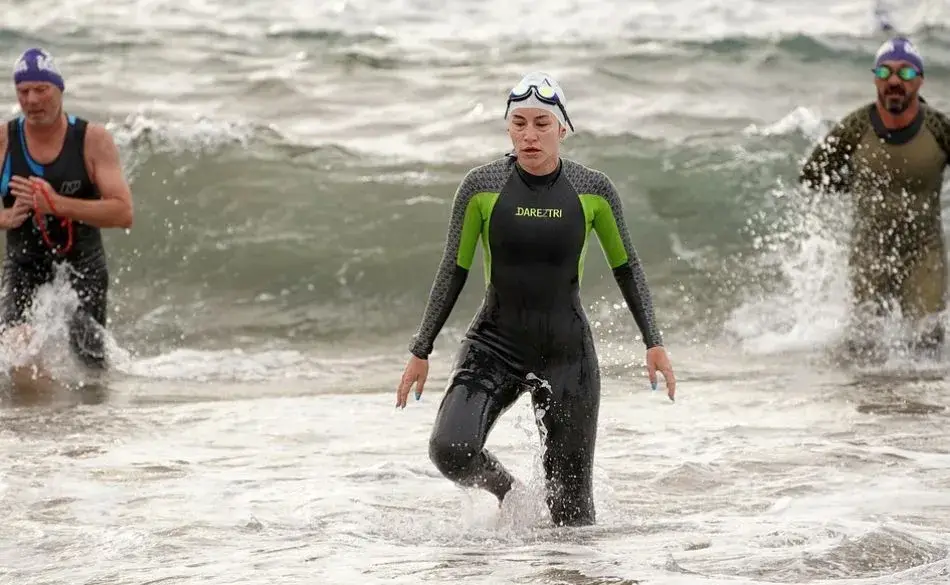
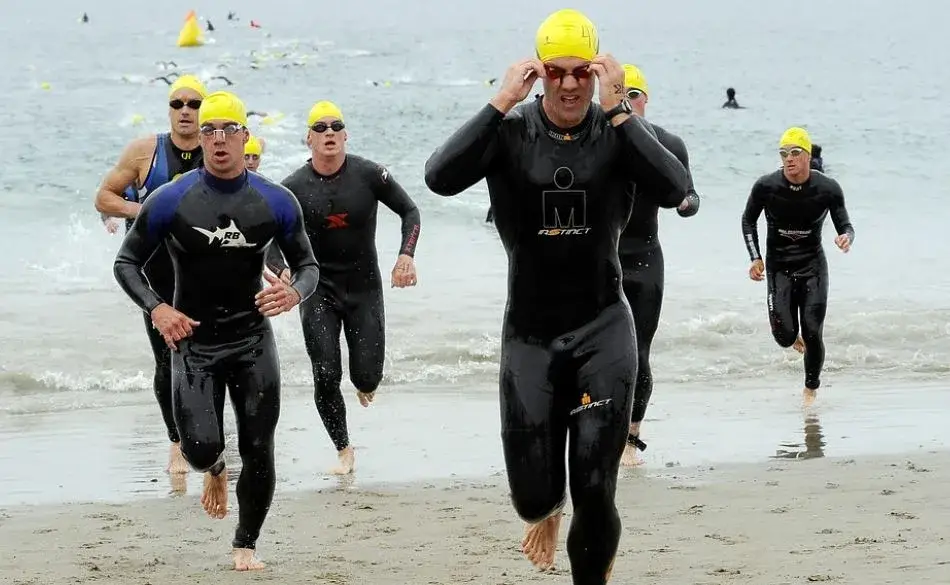
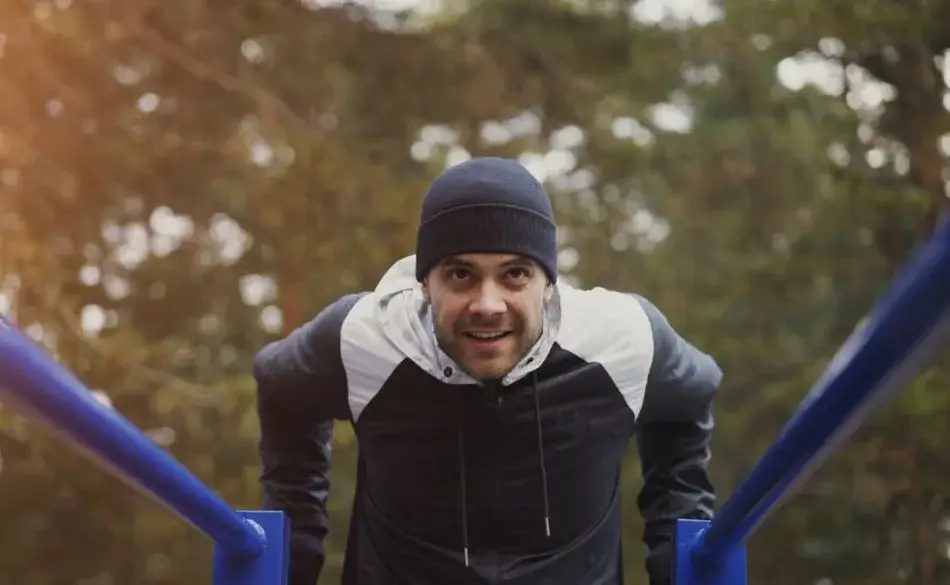
Transitions are often called the fourth discipline of triathlon. Unlike the swim, bike, and run, they receive almost no training time — most first-timers arrive at their first race with a rough mental plan and hope for the best. The result is usually a slow, slightly panicked few minutes at the bike rack that costs more time than any equipment decision would recover. Transitions are also where disqualifications happen. A well-practiced T1 and T2 is free speed — it costs no extra fitness, requires no special equipment, and is entirely within your control.
Not sure where to start with training?
Tell us your goal and schedule, and we’ll give you clear direction.
No obligation. Quick, practical advice.
Explore our triathlon workouts and tips for more helpful articles and resources.
Every triathlon has two transitions. T1 is the swim-to-bike transition: the clock runs from the moment you exit the water to the moment you cross the mount line on your bike. T2 is the bike-to-run transition: the clock runs from the moment you cross the dismount line to the moment you exit the transition area onto the run course. Both times are included in your official race result.
In standard sprint, Olympic, and Ironman 70.3 races, there is one shared transition area used for both T1 and T2. You rack your bike, set out your gear, and return to the same spot twice during the race. In full Ironman events — and some large point-to-point races — a bag-based transition system is used instead: you pre-pack separate bags for T1 and T2, which are handed to you by volunteers, and you change in designated changing tents. This guide focuses on the standard rack-based transition used at most races.
Understanding the race order helps context here — if you’re new to triathlon and still getting familiar with the full sequence of events, our guide on triathlon event order covers the complete race structure from start to finish. And if you’re still deciding which distance to enter, our mini triathlon distances guide covers the shortest race formats that keep transition demands manageable for first-timers.
Rule 1: Helmet on before touching your bike in T1. Your helmet must be on your head and the chin strap fastened before you touch your bike or remove it from the rack. If a race official sees you moving your bike — even pushing it sideways to get it off the rack — before your helmet is on and fastened, you will be disqualified. This is the most common DQ rule in triathlon and it applies to every athlete, amateur to professional. The helmet goes on before anything else bike-related.
Rule 2: Helmet stays on until your bike is racked in T2. After the bike leg, your helmet must remain on and fastened until your bike is back on the rack. Many athletes instinctively begin unfastening their helmet while running into T2, or even while still on the bike approaching the dismount line. Both are disqualifying. Rack the bike, then remove the helmet — in that order, every time.
Rule 3: Mount only after the mount line. There is a clearly marked mount line at the exit of transition. You must push your bike to this line on foot and mount after crossing it. Mounting early — even by a metre — results in a time penalty.
Rule 4: Dismount before the dismount line. Coming in from the bike, there is a dismount line before the transition entrance. You must be off your bike (both feet on the ground) before crossing it. Riding across the dismount line results in a penalty.
Rule 5: Keep your gear inside your designated space. Transition areas are tight. Your gear — wetsuit, goggles, towel, shoes — must stay within the space allocated to your rack position. Gear left across the lane or into your neighbour’s space can result in a littering penalty.
The goal of transition setup is to create a system you can execute automatically under race conditions — elevated heart rate, wet hands, and the adrenaline of racing. Everything should be in a position where you pick it up in the order you need it, without having to think.
Rack your bike in your designated spot. Most races use one of two racking systems: nose-in (the front wheel goes into a slot) or hook racking where you hang the bike by the saddle from the rack — check which your race uses in the athlete briefing. Place a small towel or mat on the ground beneath your bike.
Front row of towel (T1 gear — what you need first):
Helmet placed upside-down with chin strap straps open and extended (so it lifts straight onto your head without untangling). Sunglasses placed inside the helmet bowl — they’re already in position when you lift the helmet. Cycling shoes placed directly in front of the helmet, laces open or elastic laces fitted.
Back row of towel (T2 gear — what you need second):
Running shoes placed behind the cycling shoes, pointing toward the run exit direction. Race belt coiled inside the left running shoe. Run cap or visor placed on top of the right shoe. If carrying run nutrition (gels), place in a small ziplock bag inside the right shoe — easier to grab and pocket while running than finding them in T2.
On the bike before the race:
Water bottles in cages. Nutrition in a bento box or taped to the top tube. Any cycling glasses already on the bike. This keeps T1 focused on the essentials — helmet, shoes, go.
In a race with dozens or hundreds of bikes, identifying your rack position while running in from the swim is harder than it sounds. You’ll be breathing hard, potentially goggle-marked, and moving fast. Use two visual anchors: memorise your rack number and row marker, and add something visible at ground level near your spot — a brightly coloured balloon tied to the rack, a distinctive coloured towel, or a bright water bottle. Walk the transition route from swim exit to your bike before the race opens — run the path, count the row markers, clock the distance.
| Step | Action | Key tip |
|---|---|---|
| 1 | Exit water, begin running toward transition | Start unzipping wetsuit while running — reach back, pull the cord, peel to the waist |
| 2 | Remove swim cap and goggles | Pull both off together in one motion — cap first lifts goggles with it |
| 3 | Strip wetsuit to knees at your bike spot | Step on the legs one at a time while pulling the suit off — practice this, it's awkward cold |
| 4 | Put helmet on and fasten chin strap | Do this before touching the bike. Non-negotiable. Sunglasses come out of the helmet bowl as you lift it. |
| 5 | Put on cycling shoes | If wearing socks, dry feet briefly on towel first. Elastic laces eliminate fumbling. |
| 6 | Unhook bike, run it to the mount line | Run alongside the bike — don't ride it inside transition. |
| 7 | Mount after the mount line | Cross the line, stop, mount — or practise a flying mount if experienced. |
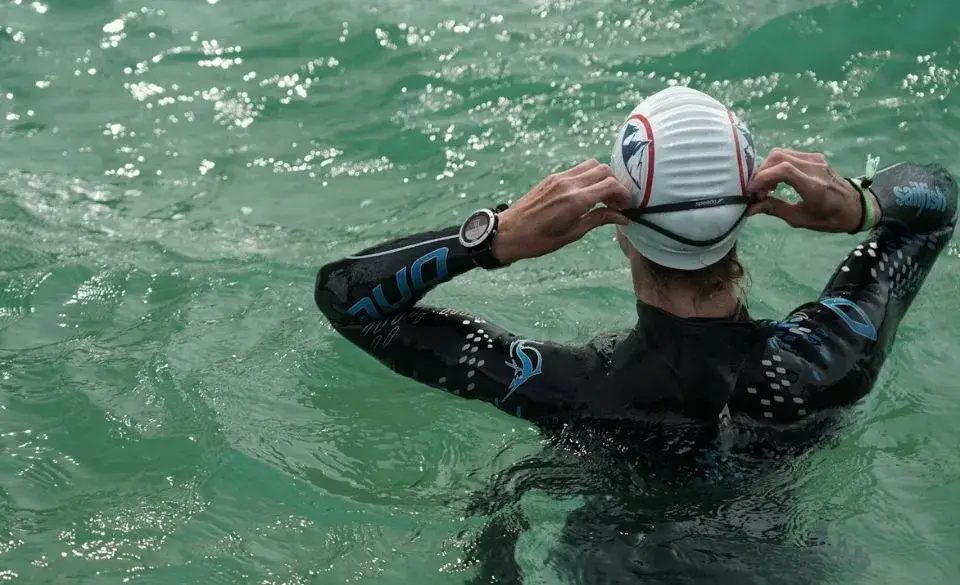
The biggest time loss in T1 for beginners is wetsuit removal. Cold hands and a suit that’s stuck at the ankles are the main culprits. Practice this specifically — strip the suit at home while wearing it after a shower so it’s wet, replicate the conditions. The technique: once at your waist, put your thumbs inside the suit at the hips and push it down past your thighs. Step on the left leg opening with your right foot while pulling the left leg out. Then stand on the left suit material with your left foot and pull the right leg free.
| Step | Action | Key tip |
|---|---|---|
| 1 | Approaching dismount line, prepare to stop | Spin legs at higher cadence in the last 2 minutes — flushes lactic acid, prepares legs for running |
| 2 | Dismount before the dismount line | Both feet on the ground before the line. Run alongside bike to rack. |
| 3 | Rack bike by saddle (or as race specifies) | Learn your rack's system — saddle hook or nose-in. Know before race day. |
| 4 | Remove helmet | Only after bike is racked. Never before. |
| 5 | Put on running shoes | Elastic laces mean you step in and go — no tying. If you insist on laces, practice tying wet. |
| 6 | Clip on race belt and put on run cap | Race belt can go on while jogging out of transition — saves 10 seconds. |
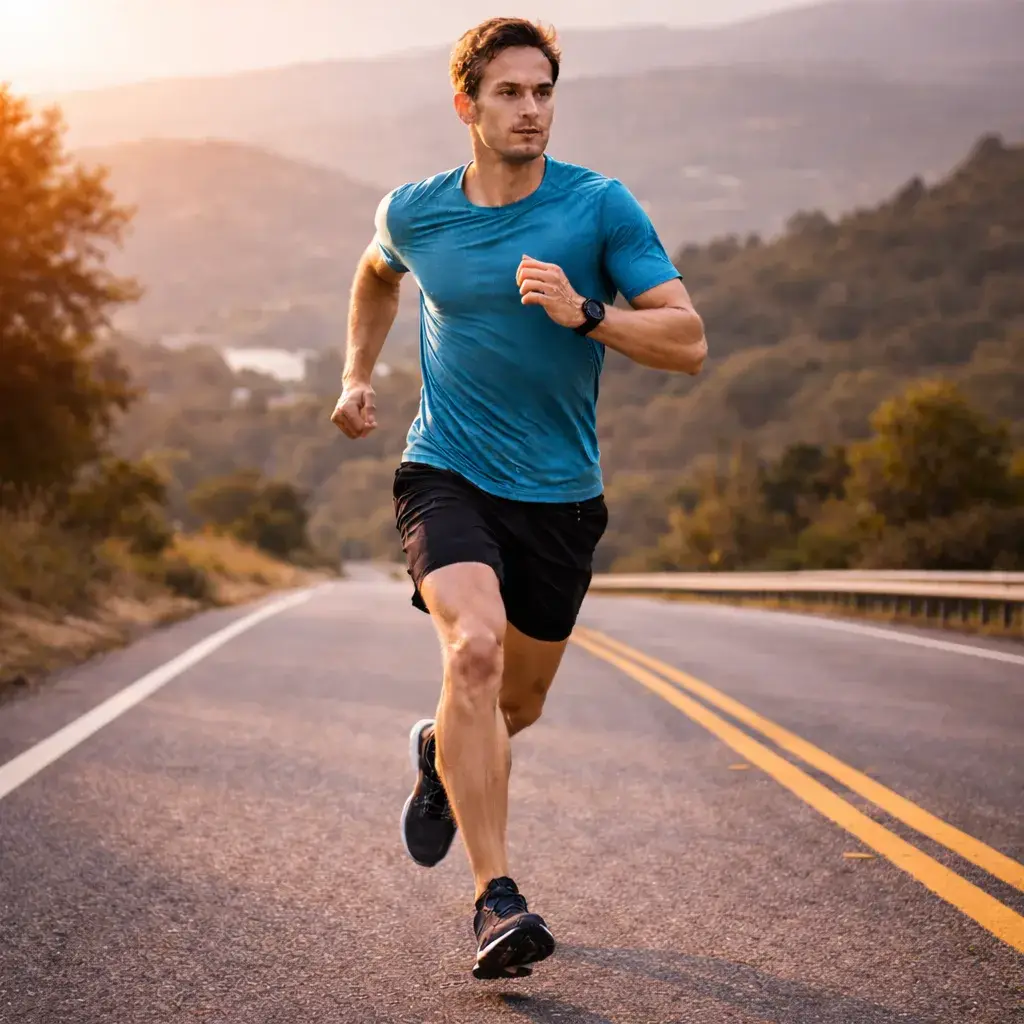
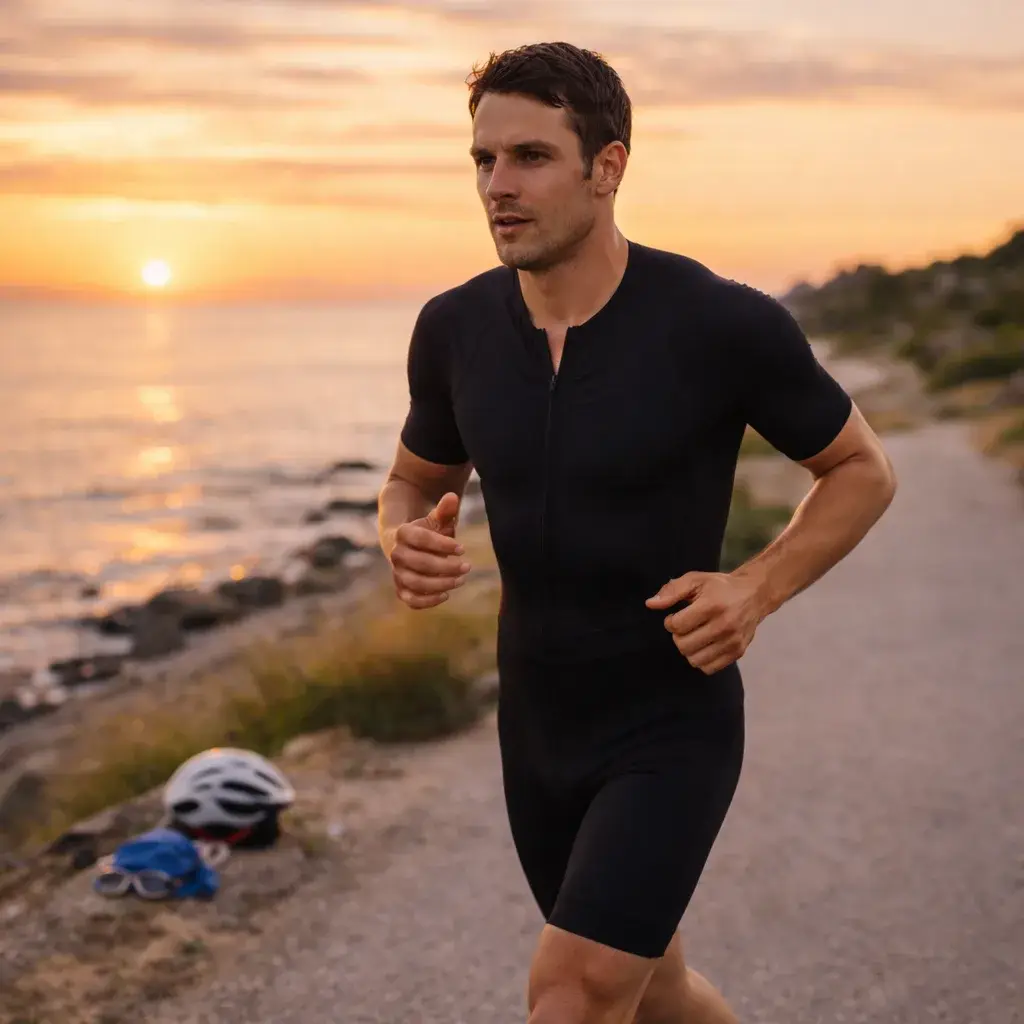
| 7 | Exit transition and begin run | The first kilometre will feel strange — legs adapting from cycling. This is normal. Our guide on running off the bike covers exactly what to expect and how to manage pace. |
The T2 mental checklist used by experienced athletes: Feet out (of bike shoes if applicable), dismount line, rack, helmet off, run shoes, belt, go. Repeat this mentally during the last two minutes of the bike leg so the sequence is pre-loaded when you arrive at T2.
| Athlete level | T1 (sprint/Olympic) | T2 (sprint/Olympic) |
|---|---|---|
| First-time beginner | 2–4 minutes | 1.5–3 minutes |
| Experienced age-grouper | 60–90 seconds | 45–75 seconds |
| Competitive age-grouper | 40–70 seconds | 30–50 seconds |
| Elite/professional | 15–30 seconds | 10–20 seconds |
A first-time triathlete with a 3-minute T1 and 2-minute T2 is adding 5 minutes to their race time. An experienced age-grouper does the same transitions in under 2.5 minutes combined. That 2.5-minute gap closes almost entirely between the first and third race — transitions improve more rapidly than swim, bike, or run fitness simply through repetition and familiarity. There is no benchmark to hit at your first race. Slow and correct is the only target.
Two to three practice runs in the weeks before your race make a significant difference. The neuromuscular memory of the sequence — not the physical fitness — is what makes transitions automatic under race conditions.
Practice T1 after a swim session: Set up a mock transition area beside the pool — helmet, shoes, bike if accessible. Come out of the pool and run through the full T1 sequence at walking pace first, then progressively faster. Focus on the wetsuit sequence especially: the ankle removal is what trips most people up on race day.
Practice T2 in a parking lot or driveway: After a bike ride, practice the dismount, rack (use a fence or wall), helmet off, shoes on sequence. Repeat five times until it’s automatic. The key is muscle memory, not speed — speed comes from the sequence being ingrained, not from rushing.
Do a full brick workout with a practice transition: Set up a mini transition area at your turnaround point during a brick session — bike, then full T2 sequence, then run. This replicates the race-day combination of elevated heart rate and the gear change. Athletes who do this even once report that T2 feels completely different (and easier) in a race than it did the first time. Our guide on time-crunched triathlon training covers how brick workouts fit into a compressed training week efficiently.
Elastic laces (triathlon laces): Replace standard laces on both cycling and running shoes. Step in and go — no tying, no fumbling. The single highest-value piece of transition gear for the cost (under AUD $10 per pair).
Race belt: A simple elastic belt with a clip for your race number. Rather than pinning the number to your tri suit (which requires fiddling in T1 or T2), a race belt clips on in two seconds and rotates between front and back for bike and run. Essential for race day.
Triathlon wetsuit with speed cuffs: Wetsuits designed for triathlon have wider leg openings and smoother inner material than open-water wetsuits, specifically to aid fast removal. If you’re using a surfing or open-water wetsuit, expect significantly slower stripping in T1.
Bright visual marker: A coloured balloon tied to your rack or a distinctive coloured towel helps you spot your position from 15+ metres in a field of identical black bikes. Low cost, high impact.
What not to bring: Chairs, rinse bins, towels larger than necessary, extra clothing you won’t actually use, anything that extends beyond your allocated mat space. Keep your setup minimal — everything in your designated zone, everything in its place.
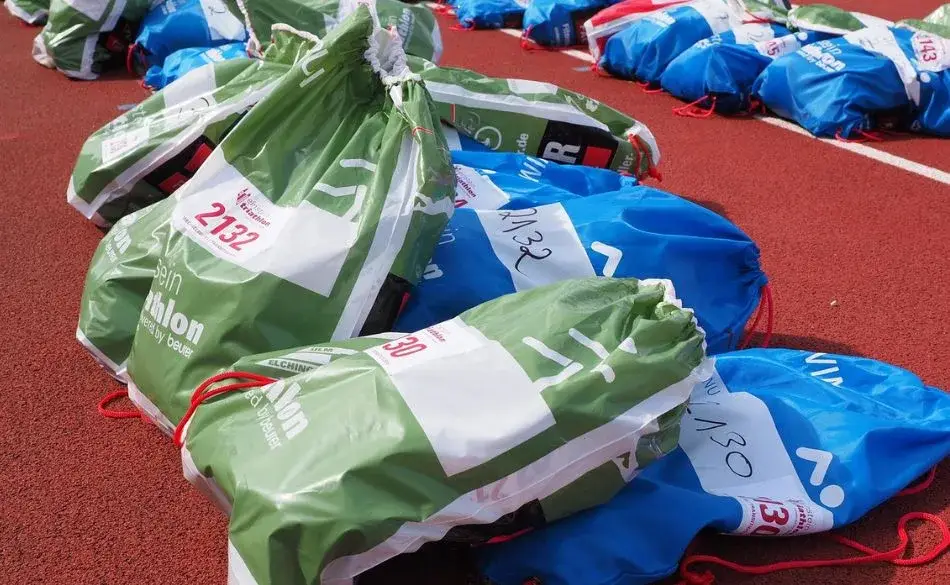
Full Ironman events (140.6) and some large long-course races use a bag-based transition system rather than rack-based. At registration you receive coloured bags — typically swim-to-bike bag (T1), bike-to-run bag (T2), and sometimes a special needs bag for mid-course nutrition access. Your gear goes in the bags pre-race; on race day, a volunteer hands you your bag, you take it to a changing tent, and transition there.
The bag system requires different preparation: pack your T1 and T2 bags the evening before with everything you need (no bike-rack setup), and know which coloured bag contains what. The physical transition actions are the same — helmet, shoes, the DQ rules all still apply. If you’re planning your first race, our guide to the best triathlons in Australia covers beginner-friendly events and our guide on whether you need a coach for your first triathlon helps with preparation decisions. Our Ironman vs standard triathlon comparison covers all key differences between distances including transition format.
Race Ready With a Coach Who Prepares You for Everything
A triathlon coach builds your programme to include brick workouts and transition practice — not just swim, bike, and run fitness. SportCoaching's triathlon coaching is AUD $143/month with no lock-in and a 90-day performance guarantee.
What is T1 and T2 in a triathlon?
T1 is the swim-to-bike transition (exit water → helmet on → cycling shoes → mount line). T2 is the bike-to-run transition (dismount line → rack bike → helmet off → run shoes → run exit). Both times count toward your race total.
How long do triathlon transitions take for beginners?
Beginners typically take 2–4 minutes for T1 and 1–3 minutes for T2. Experienced age-groupers average 60–90 seconds (T1) and 45–75 seconds (T2). Times halve between first and third race through practice alone.
What are the transition rules in triathlon?
Helmet must be on and fastened before touching your bike in T1. Helmet must remain on until bike is racked in T2. Mount only after the mount line. Dismount before the dismount line. Keep gear within your designated space. Violations result in disqualification or time penalties.
How do I set up my triathlon transition area?
Rack bike at your designated spot. Towel beneath. Front row: helmet (upside-down, straps open), sunglasses inside, cycling shoes. Back row: run shoes (elastic laces), race belt in left shoe, cap on right shoe. Pre-load bike with bottles and nutrition before transition closes.
Do I need to practice triathlon transitions?
Yes — two to three practice runs before race day makes a significant difference. Practice T1 after a swim session and T2 in a parking lot. Include one full brick workout with a transition sequence. The neuromuscular memory built through rehearsal prevents the blank-mind moments most first-timers experience at the bike rack.
Ready to put your training to the test? Here are some upcoming triathlon events matched to this article.


Head Coach & Founder, SportCoaching
Graeme is the founder of SportCoaching and has coached more than 750 athletes from 20 countries, from beginners to Olympians, in cycling, running, triathlon, mountain biking, boxing, and skiing. His coaching philosophy and methods form the foundation of SportCoaching's training programs and resources.
No matter your goals, SportCoaching offers tailored training plans to suit your needs. Whether you’re preparing for a race, tackling long distances, or simply improving your fitness, our expert coaches provide structured guidance to help you reach your full potential.
Personalised coaching to improve your swim, bike, and run performance.
What’s included
Browse upcoming Australian running, cycling, and triathlon events in one place. Filter by sport, check dates quickly, and plan your training around something real on the calendar.
Choose your plan to get started with personalized training plans designed to help you reach your goals.


Minna Backman
When you’re new, feedback is especially important, and Graeme is highly skilled at both analyzing numbers and understanding the importance of mental strength.